

Spring is nearly here and it is time to start switching from crocheting cold weather hats to spring and summer items. Sometimes it is difficult to find a fun, quick summer crochet project. However, today I have a very cute and simple flower headband tutorial you are going to love.

A Quick Stash Buster Project for Craft Fairs
The pattern for the Simple Flower Headband works up quick. It is an easy 2 rows that you will memorize and make up a whole dozen before you know it!
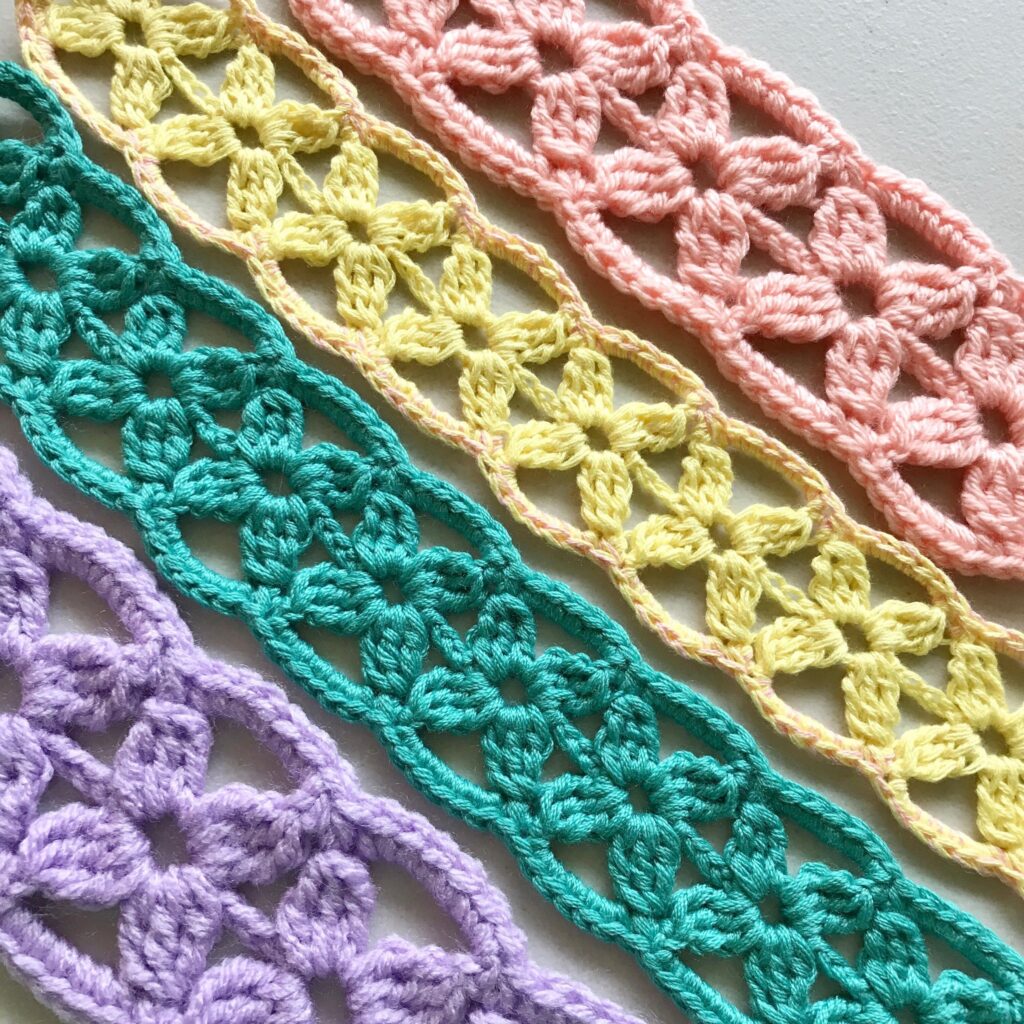
Another fun feature about this pattern is you can customize it to be crocheted with any weight of yarn. That means this is an amazing stash buster project to help you use up your left over yarn.
Craft Fair Idea
A quick project that uses up your left over yarn and turns out is simply adorable! All these features make the Simple Flower Headband is a great idea for craft fairs.
Materials Needed for the Flower Headband
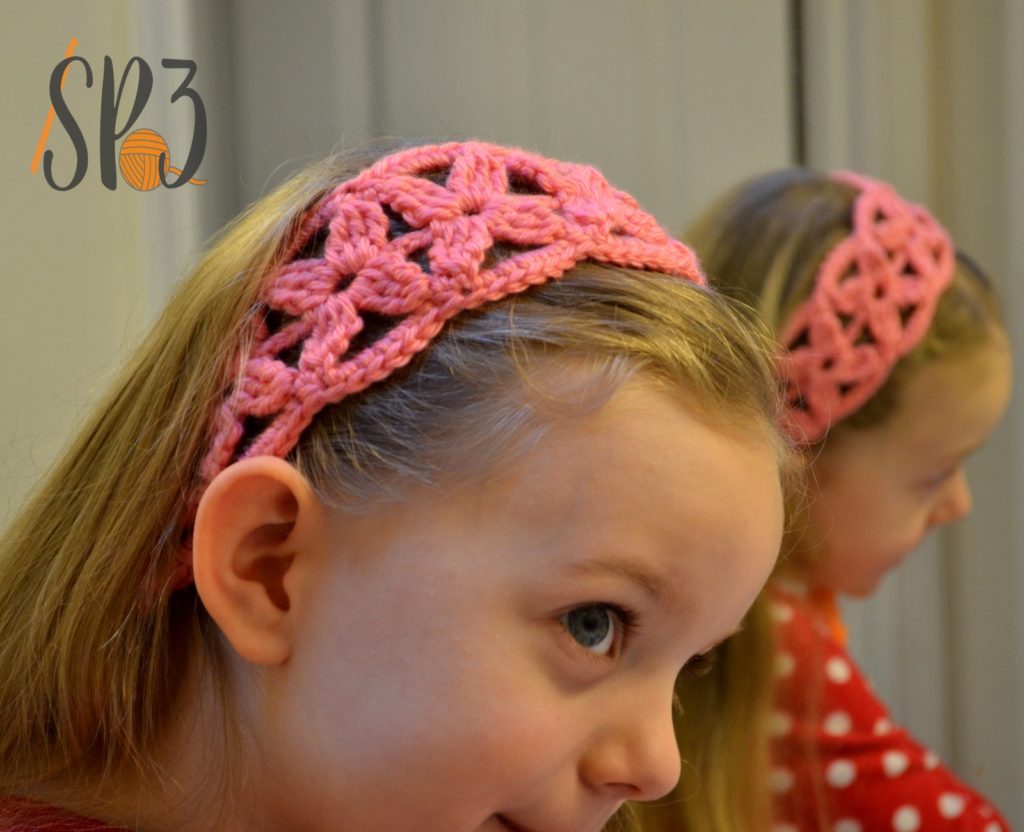
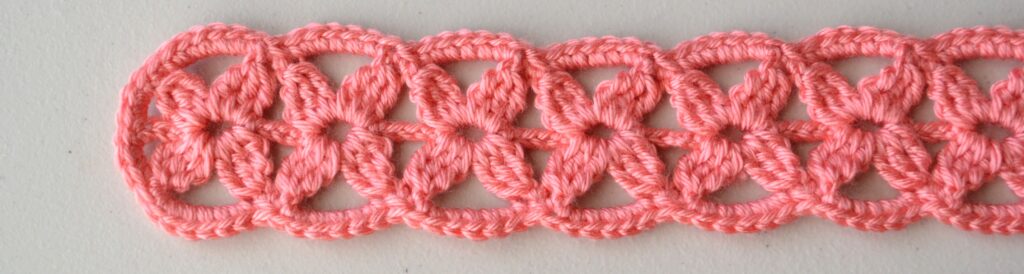
- Yarn of any weight (see images below to see difference in how the headband will look with a thicker or thinner yarn weight)
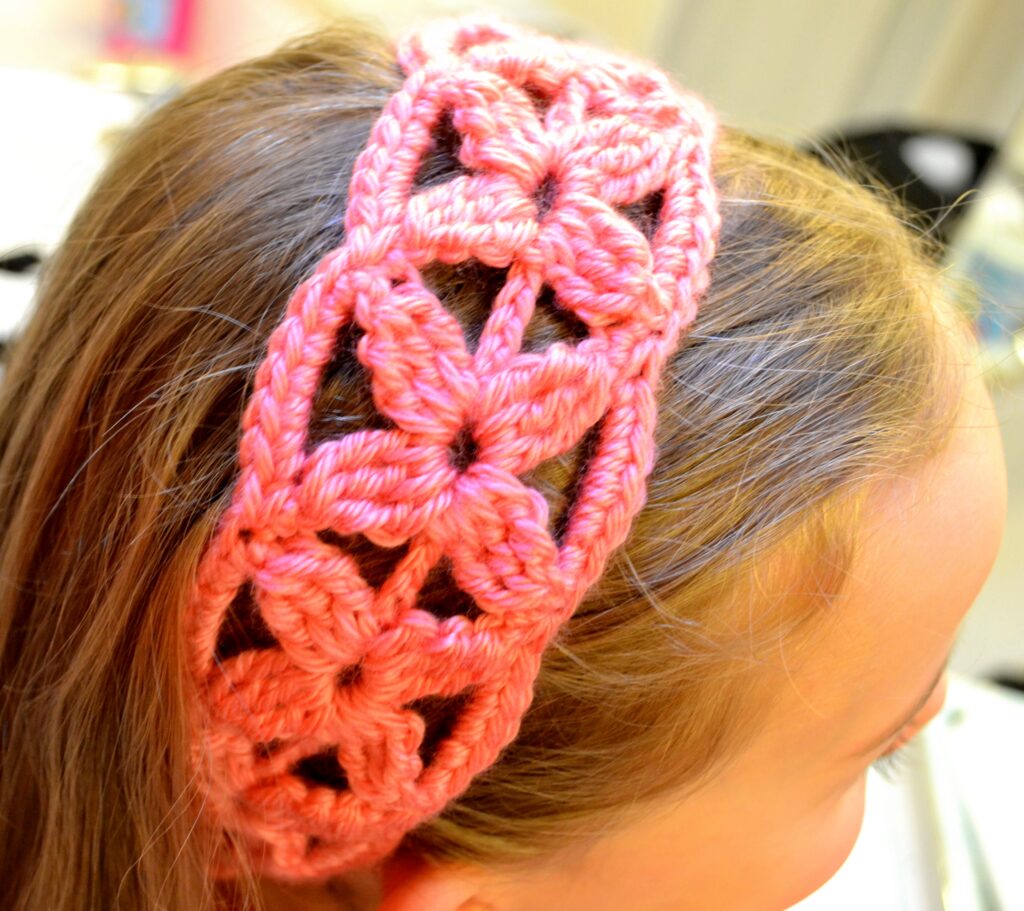
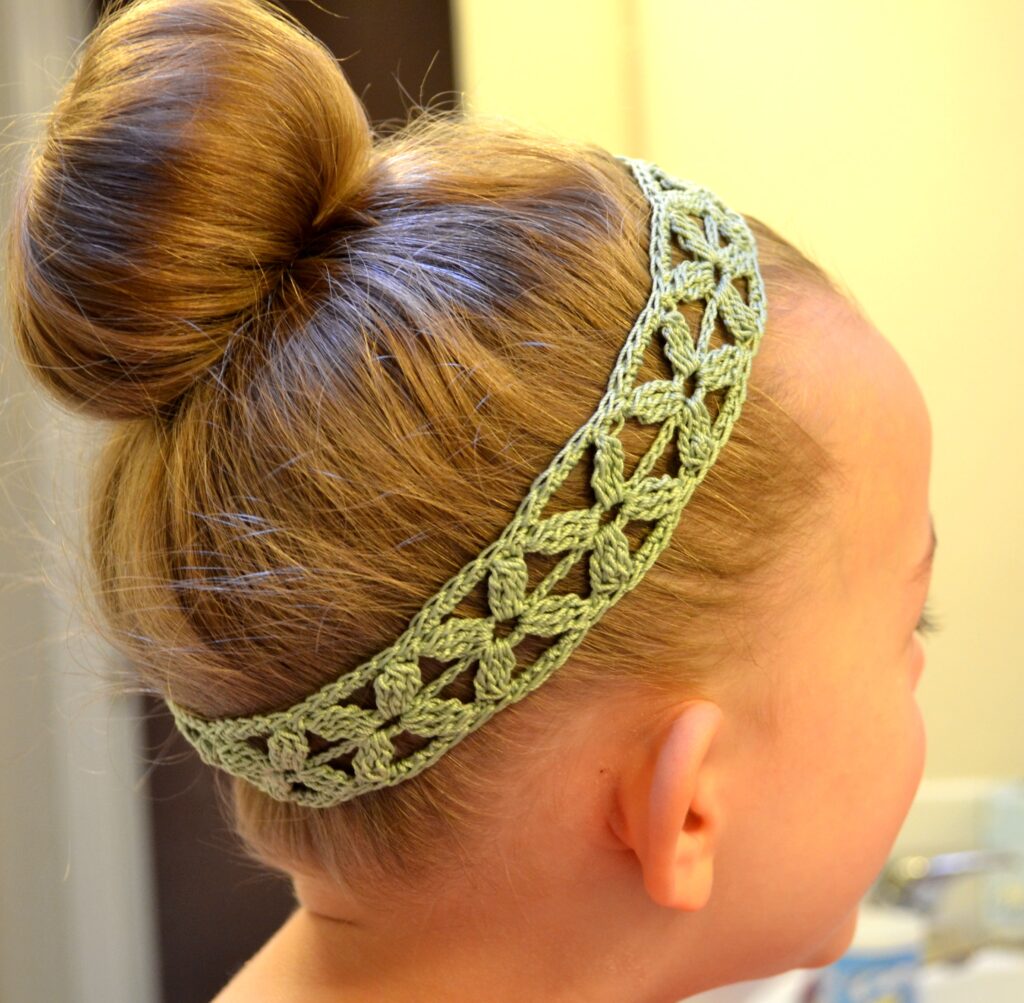
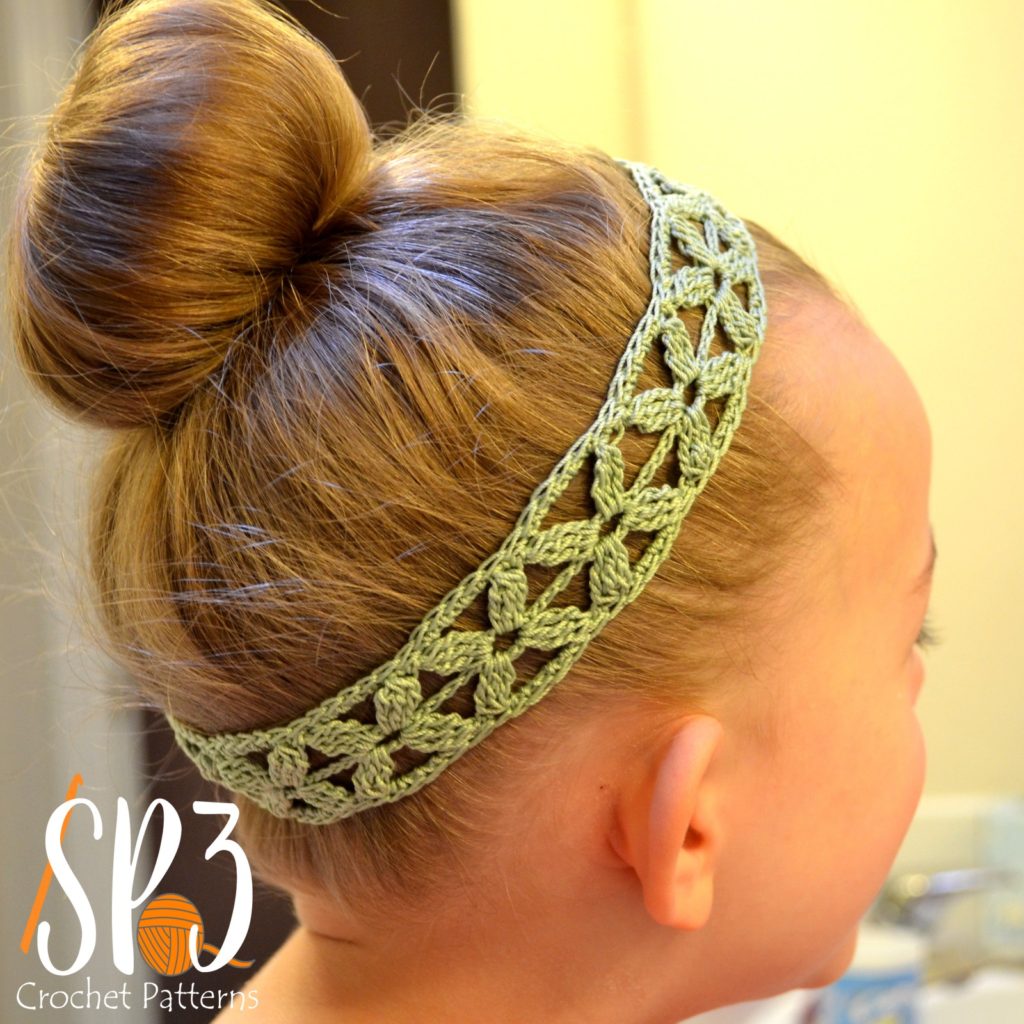
- Crochet Hook that is 1 size smaller than the recommended hook size on yarn label. In the samples on my daughter (in the photos) I used Caron Simple Soft (pink one) and Crochet Hook G (4.25 mm). The green sample was made with Lydia thread #10 and Crochet Hook 1 (2.75 mm).
- Measuring Tape
- Yarn Needle
- Scissors
Stitches and Abbreviations Used
Ch = Chain
Sc = Single Crochet
Dc = Double Crochet
Tc3tog = Treble Crochet 3 Together
Treble Crochet 3 Together Instructions: [yarn over 2 times, insert hook (these will all be completed in
the same chain space), pull up a loop, yarn over pull through 2 loops, yarn over, pull
through 2 loops], repeat for a total of 3 times, you will have 4 loops on your hook, yarn
over and pull through all 4 loops
Gauge Information
Typically you will hear me preach about how important it is to check your gauge. But, for this pattern, there will be no gauge check. Since you can pick any yarn weight each headband you make may be made with a different stitch count to reach the desired size.
The pattern will be made according to measurements, so make sure you have a measuring tape, ruler or some for of measuring tool on hand.
Headband Sizing Guide
You can make your headband in any size and to do this, you will need to utilize the sizing guide below:
- Newborn: desired length 12 ¼” – fits up to 14” circumference
- 3 to 6 Months: desired length 14” – fits up to 15″ or 16″ circumference
- 6 to 12 Months: desired length 16″ – fits up to 18″ circumference
- 12 to 24 Months: desired length 17″ – fits up to 19″ circumference
- Child: desired length 18” – fits up to 20″ circumference
- Teen / Ladies: desired length 19” – fits up to 21” circumference
The Simple Flower Headband Pattern
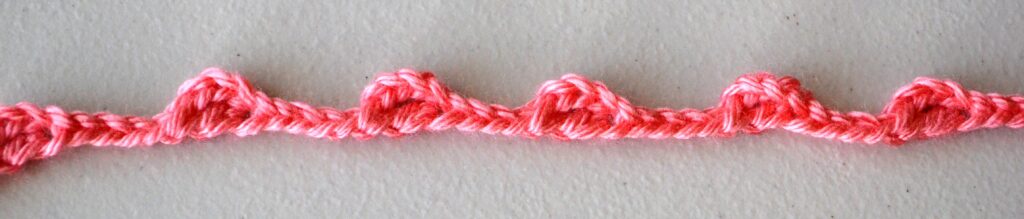
Ch 7, dc in 4th ch from hook, [ch 8, dc in 4th ch from hook], repeat [] until you reach the *desired length (desired length can be found under the sizing guide above). Ch 5 more, do not turn, instead you will rotate the chain and work along the opposite side/this is the same as if you were to turn and work along the beginning chain).
Crochet the following in the dc/ch space [tc3tog, ch 6, tc3tog], repeat [] in each dc/ch
space to end, ch 2 (there will be 3 chs of the beginning ch left), slst in ch at the end.
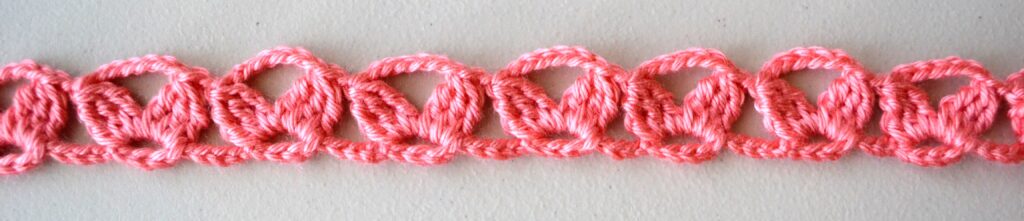
Rotate your work, you will now crochet along the opposite side of the beg chain. Ch 2, [tc3tog, ch 6, tc3tog], repeat [] in each dc/ch space to end. Ch 2, slst in the 3rd ch of the ch 5.
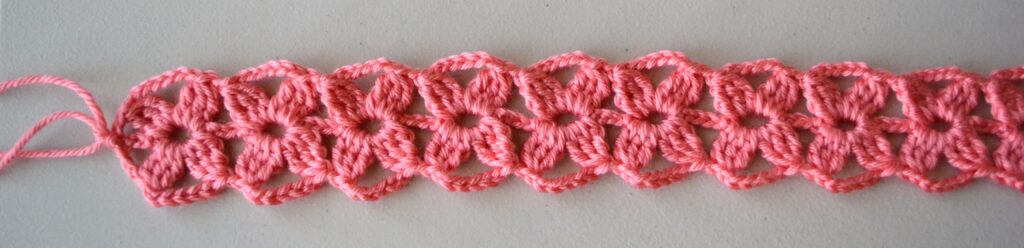
For the second round begin with a Ch 1, work 3 sc in 1st ch space, [sc in top of tc3tog, 6 sc in ch space, (in top of the next 2 tc3tog work a sc2tog, 6sc in next ch sp), repeat () to end of the top part of your row. Sc in top of last tc3tog, at end of row work 3 sc in each of the next 2 ch sps, sc in top of next st. Begin row with 6sc in next ch sp, repeat () to the end of the row, sc in next st, 3sc in last ch sp, join with an invisible join (click HERE for tutorial) fasten off, leaving tail to sew ends.
Making sure the headband is not twisted, sew the ends of the row together to complete your headband. Now you know how quick and easy that was. have fun and play with different yarn weights to create the perfect look for you.
Watch a tutorial on creating the simple flower headband
Other Crochet Patterns You May Love
- How to Make a Twist Ear Warmer / Headband (free tutorial) – click HERE
- Addictive Angles Ear Warmers – click HERE
Share your Project with me
If you make something from a Sweet Potato 3 pattern I would love to see it. Join my interactive Facebook group called, SP3 Crochet & Conversations, for tons of fun, just click HERE. Then you can also follow @SweetPotato3Patterns on Instagram and tag me in your project. I hope to see your crochet projects soon.
I have joined the SP3 group on FB as suggested. So far, much to my disappointment I haven’t been ab,able, to get this Simple Flower headband. Why? It’s so cute and I’m soooo ?
Joining the group is not required to get the pattern. All you have to do is click where it says “click HERE” to get the pattern and it should download to your device.
Can’t get the pattern to download! Would love this for my granddaughters
Susan, I just tried it and it appears to be working on my end. Make sure you don’t have any pop-up blockers on and it should work. If you are still having troubles let me know 🙂
Beautiful headband.
Genius, beautiful, easy, and adjustable to any yarn! Thanks.
I just did this! It’s so pretty, easy and so much fun to do. Thank u so much for sharing!