
I love receiving handmade practical gifts and today I am going to show you just that. I am going to walk you through how to make a traditional hot pad and dish scrubby and I will give you a cute printable to make your gifts perfect.


Hot Pad Crochet Tutorial
To make the hat pad, all you need is worsted weight yarn, a crochet hook K (6.5 mm), a yarn needle and some scissors. Gauge isn’t essential in making the hot pad but will affect your final size. It is important that your stitches are tight enough that the heat from the pans doesn’t go through, but keep in mind these will be double layered.
To begin, you will crochet your beginning chain and will want it to be the diagonal length of your hot pad. I want my final hot pad to measure about 7″ X 7″ square, and I am going to save you the lesson on math, I want my diagonal to measure about 9″.
- Using your crochet hook K, chain 36
- Sc in the 2nd chain from your hook and in each remaining chain to the end
- do NOT join, you will work in continuous rounds
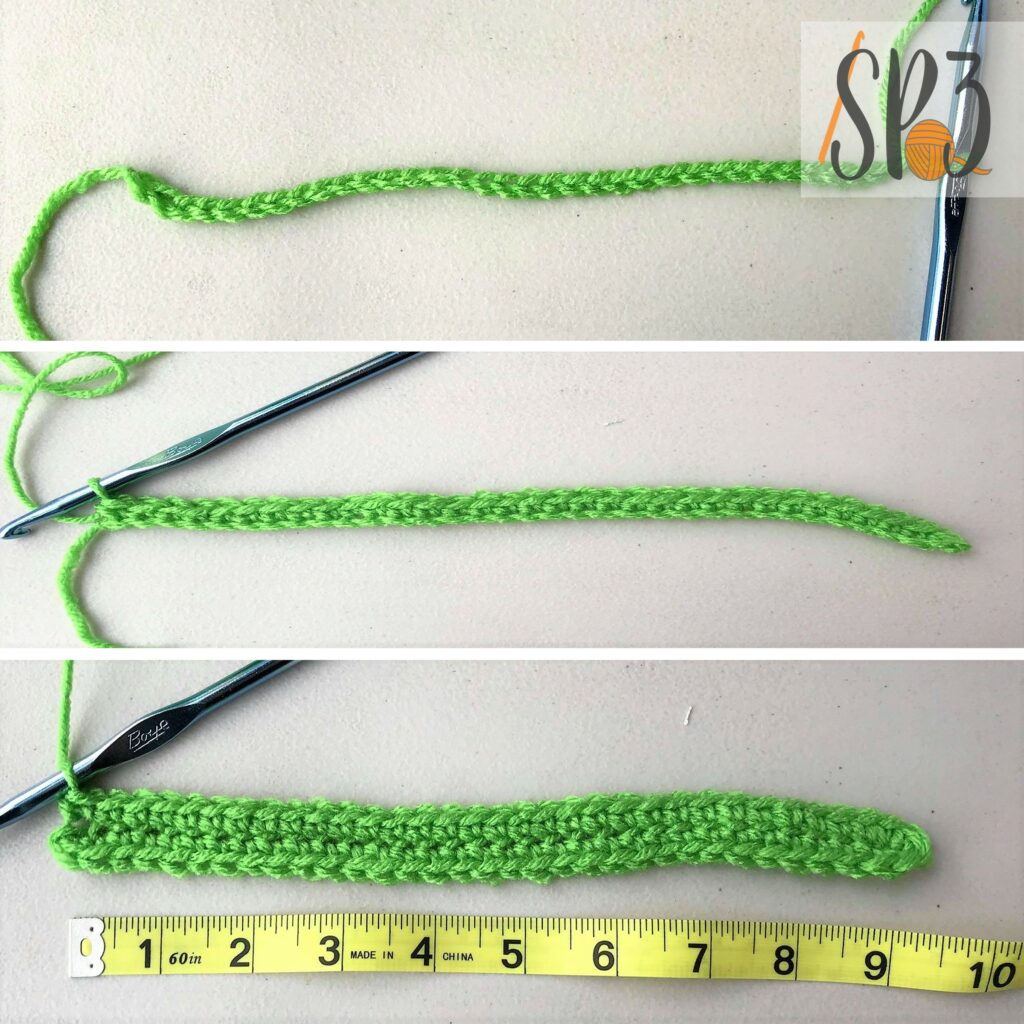
- Sc in the first sc and in each stitch around
- Continue working sc’s in the round
Want to Include Stripes / Color Changes
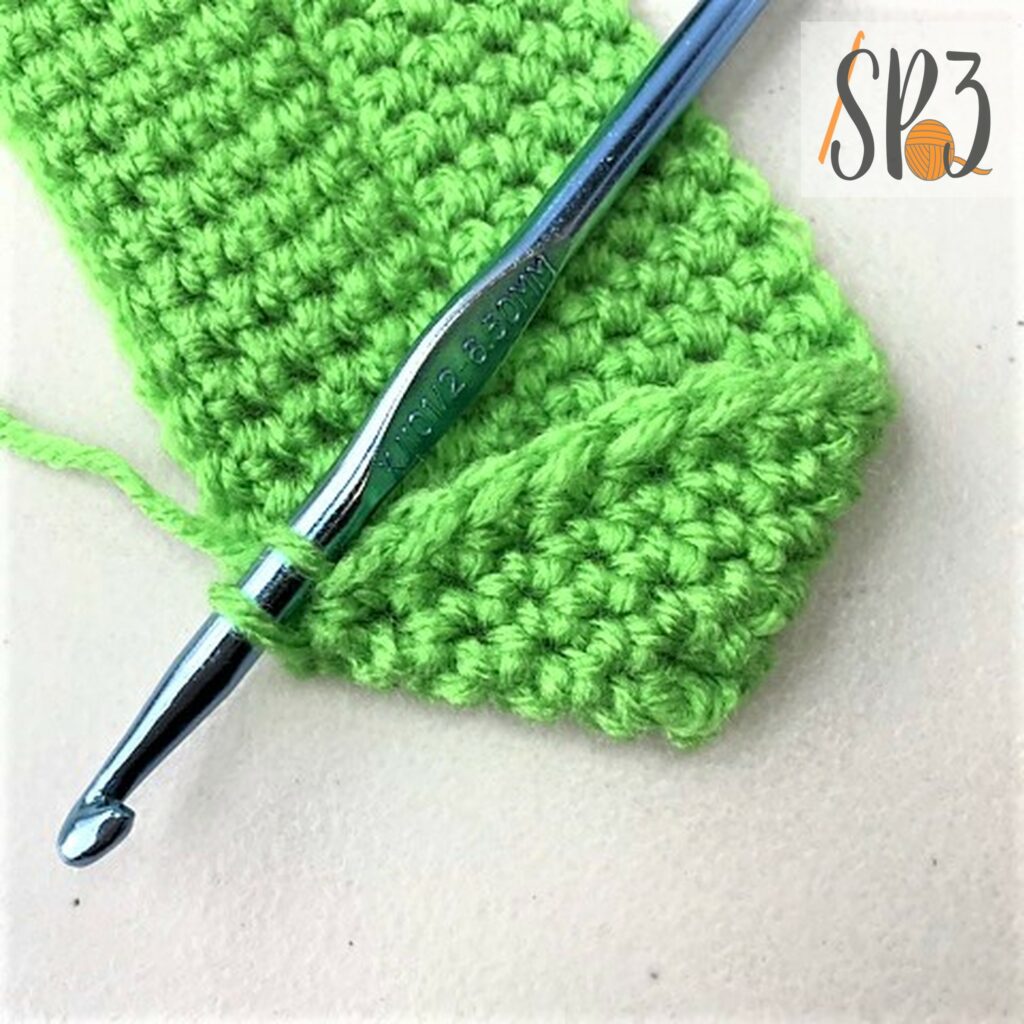
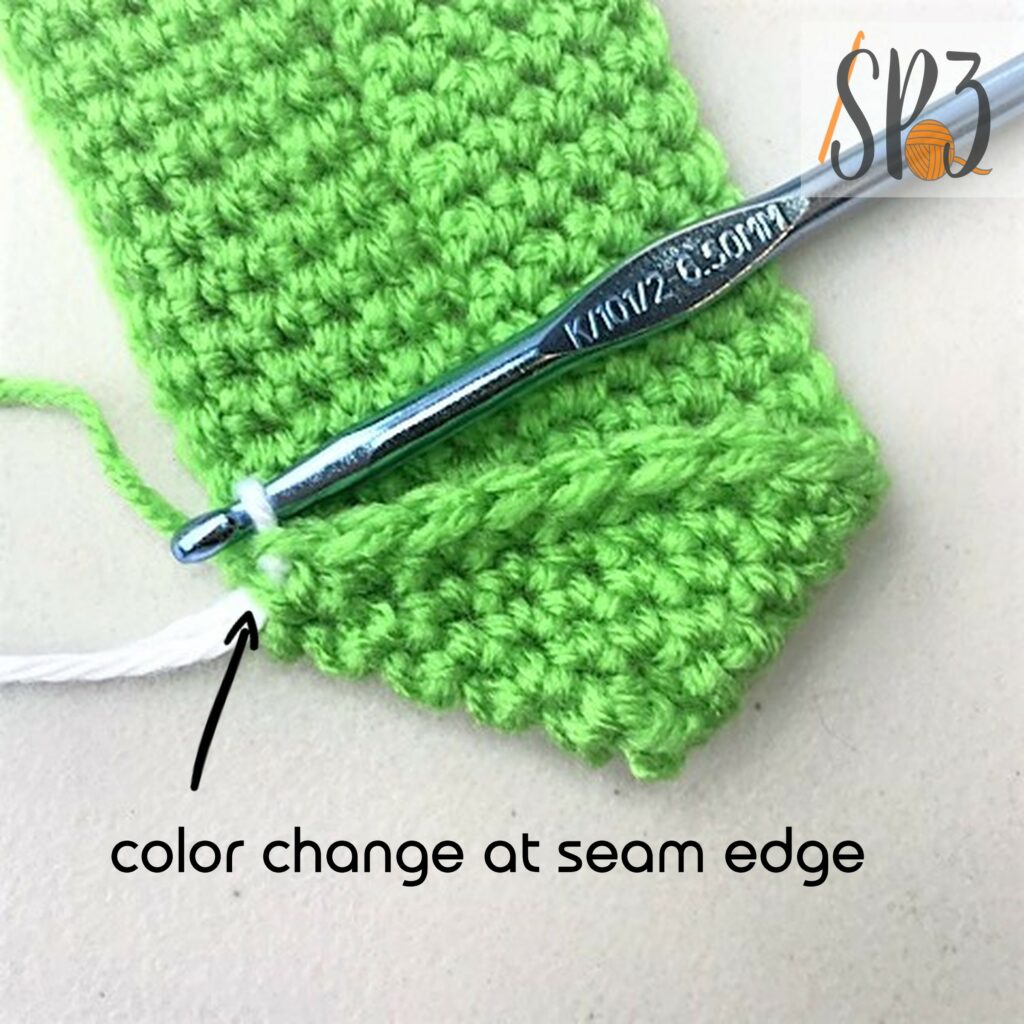
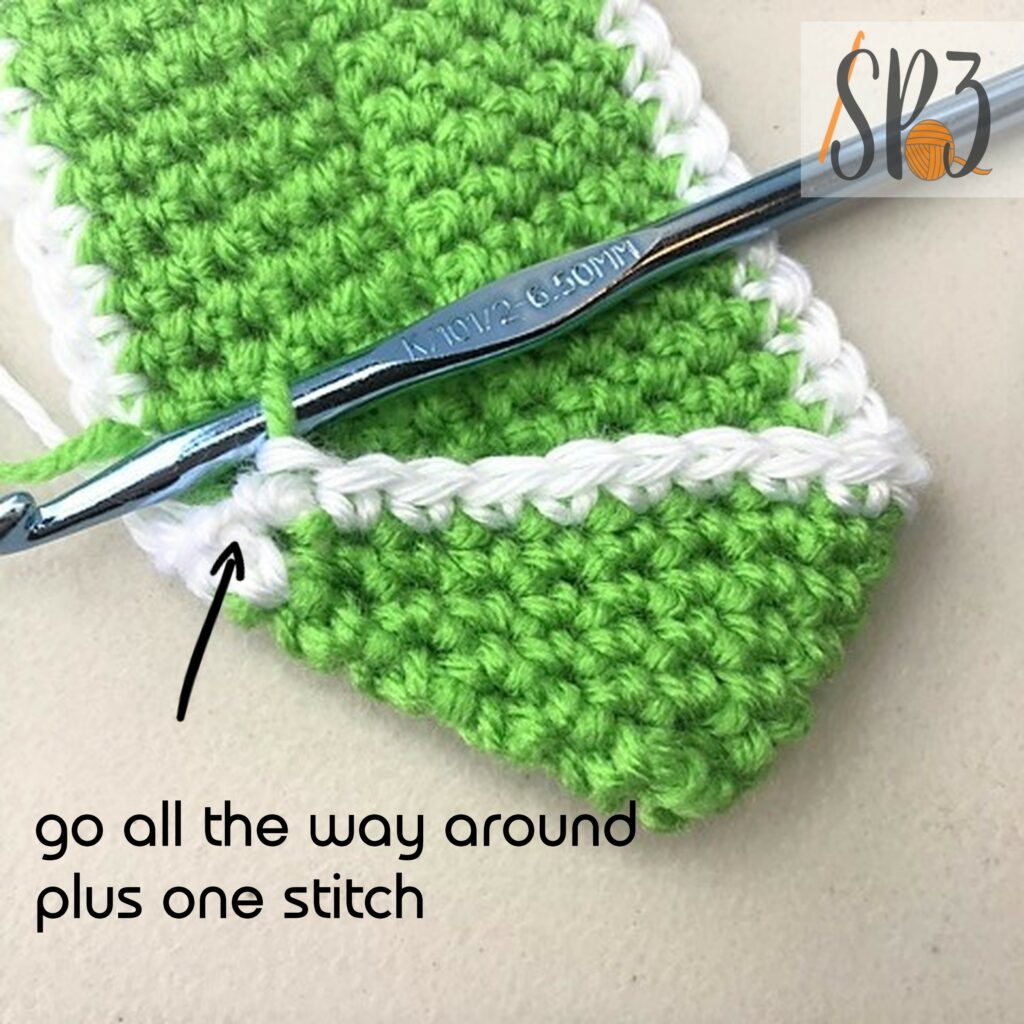
Because the hotpad naturally folds at an angle, you will want to work your color changes in the stitch immediately before the seam/fold, instead of in the first stitch of each row.
This is best done if you just eyeball where the edge of the hotpad is and work your color change in the top of that stitch. If you are working only 1 row of color change, make sure you complete the entire round plus one more stitch.
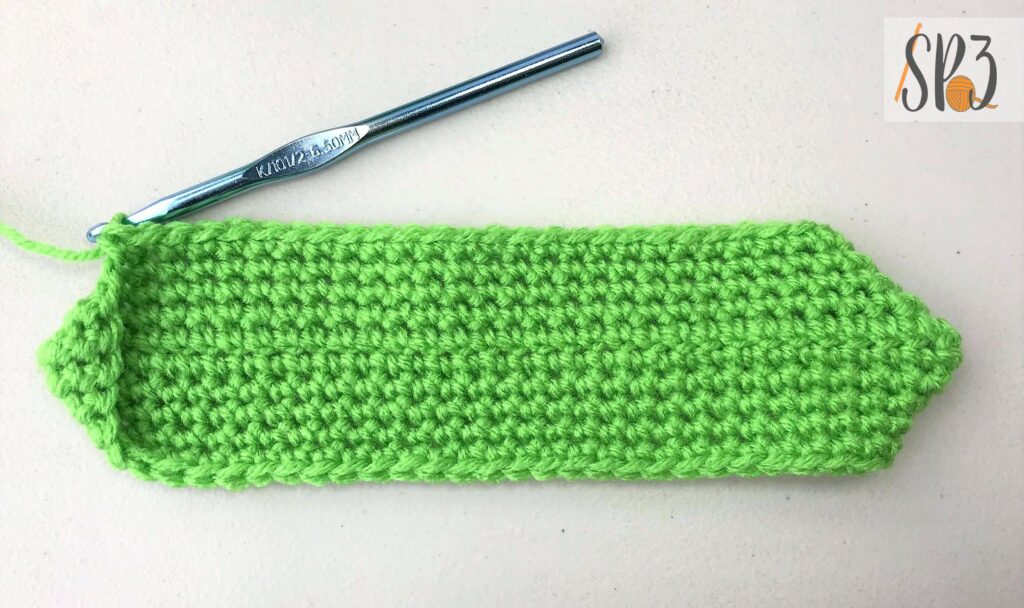
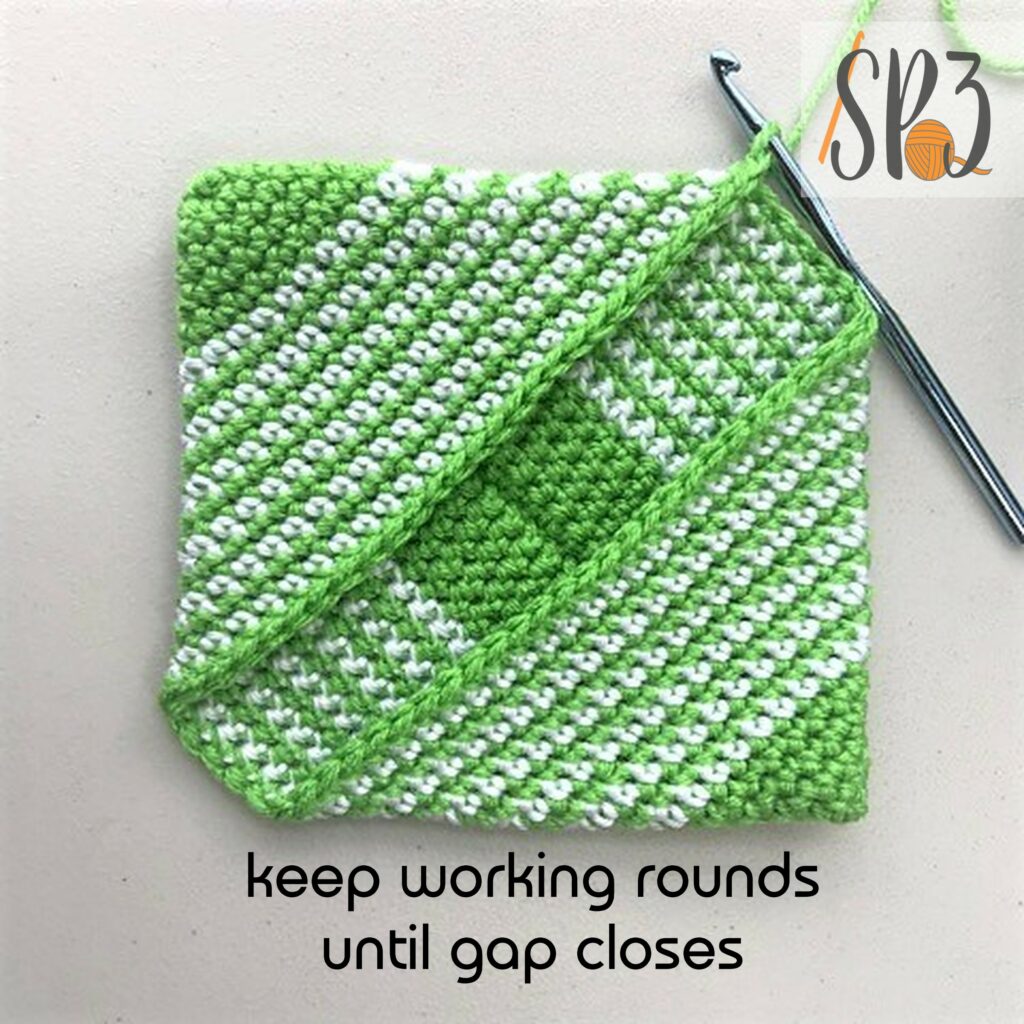
Continue to work rounds of single crochets until the top of the row meets in the middle and lays nicely. There should be no space between the edges and the seam should not pucker either.
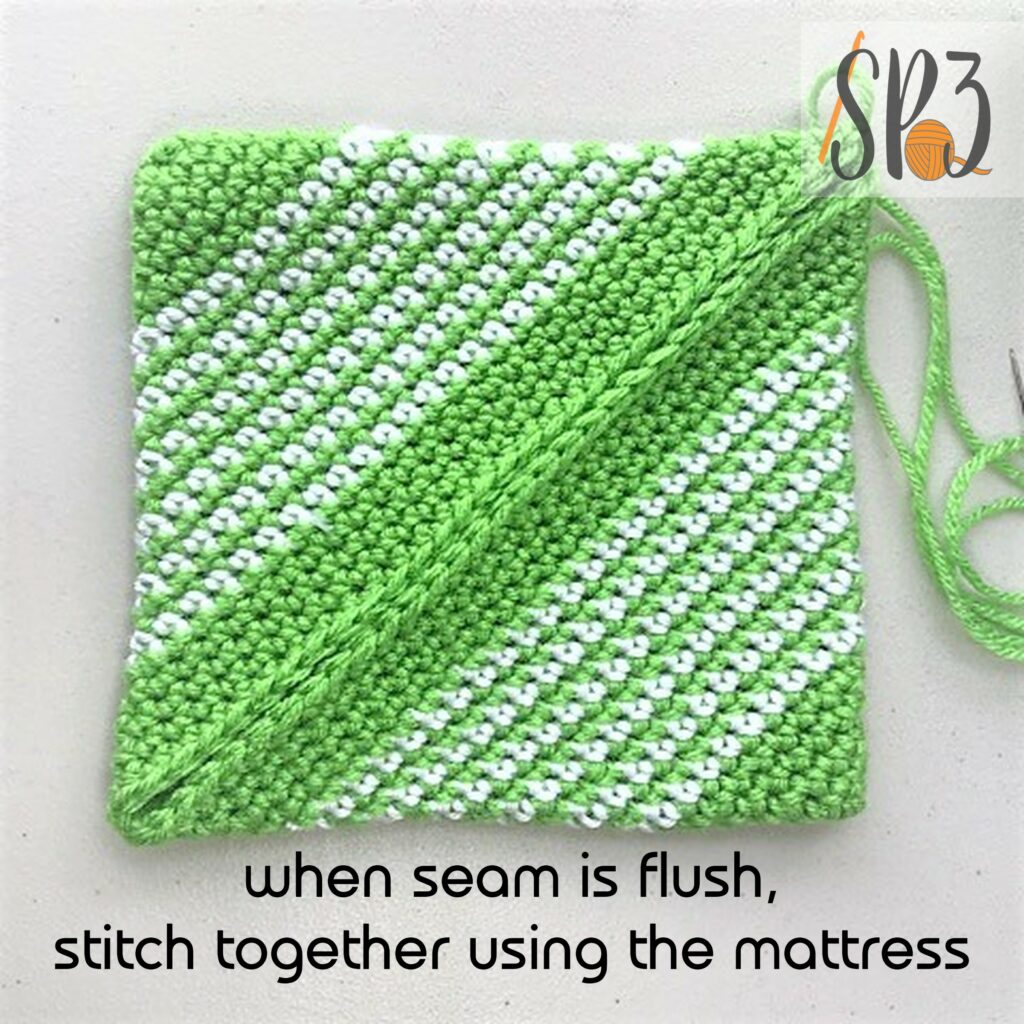
Sew the seams together using the Mattress stitch, working under both loops of the stitch. Work your yarn from the inside of the hot pat to the outside (see video below). After the seam is stitches close, secure with a knot and weave in all ends.
A set of hot pads is always nice to receive. So, I recommend making a second one that coordinates with your first hot pad.
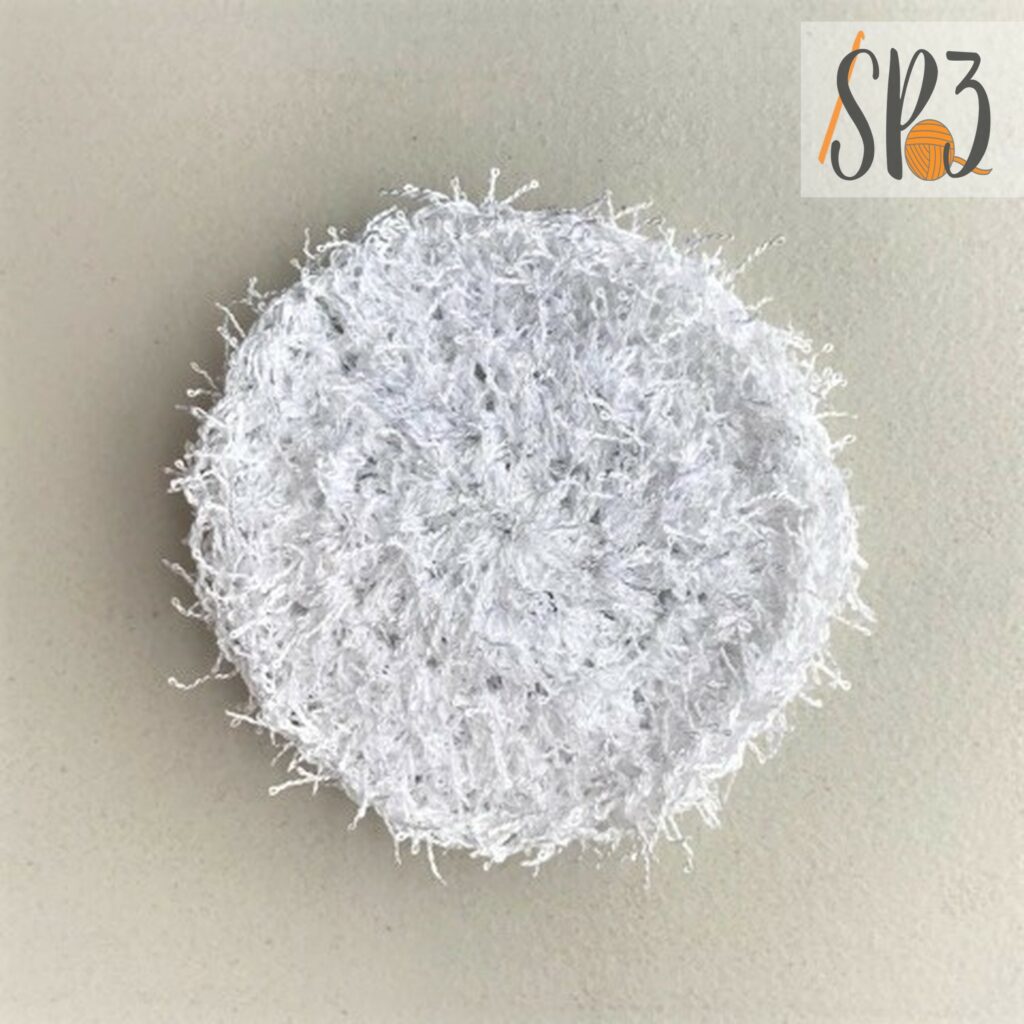
Scrubby Crochet Tutorial
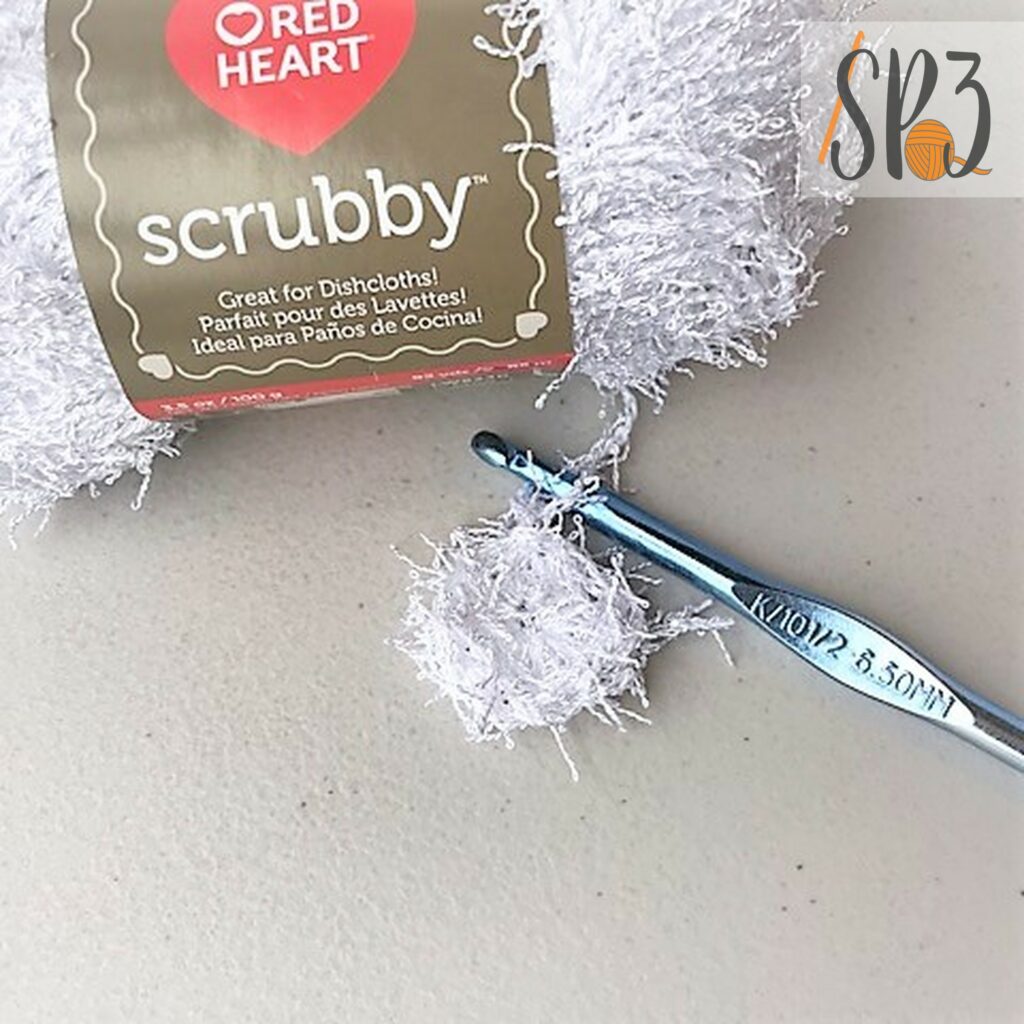
Scrubbies are so much easier than they were to make years ago. Thankfully, many yarn companies are making yarn that is made specifically for scrubbies. In the tutorial I used Red Heart Scrubby. With one skein of yarn you will be able to crochet at least 4 scrubbies.
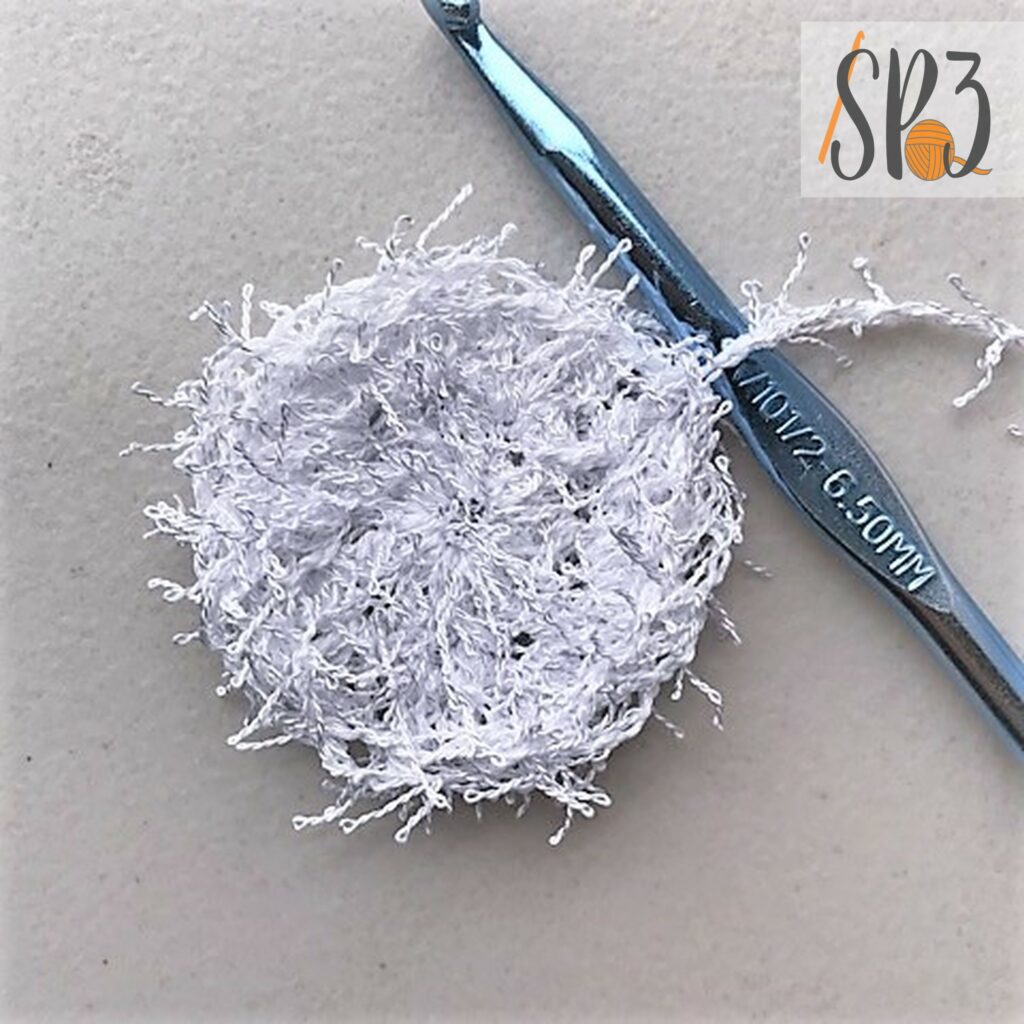
- Ch 2, in 2nd chain from hook crochet 8hdc, join in top of the 1st hdc to create a round
- Begin with a ch 1, work 2hdc in each st around, join in top of 1st hdc (16 total stitches in round)
- Ch 1, [2hdc in 1st st, hdc in next st], repeat [] around, join in top o f 1st hdc, fasten off (24 total stitches in round)
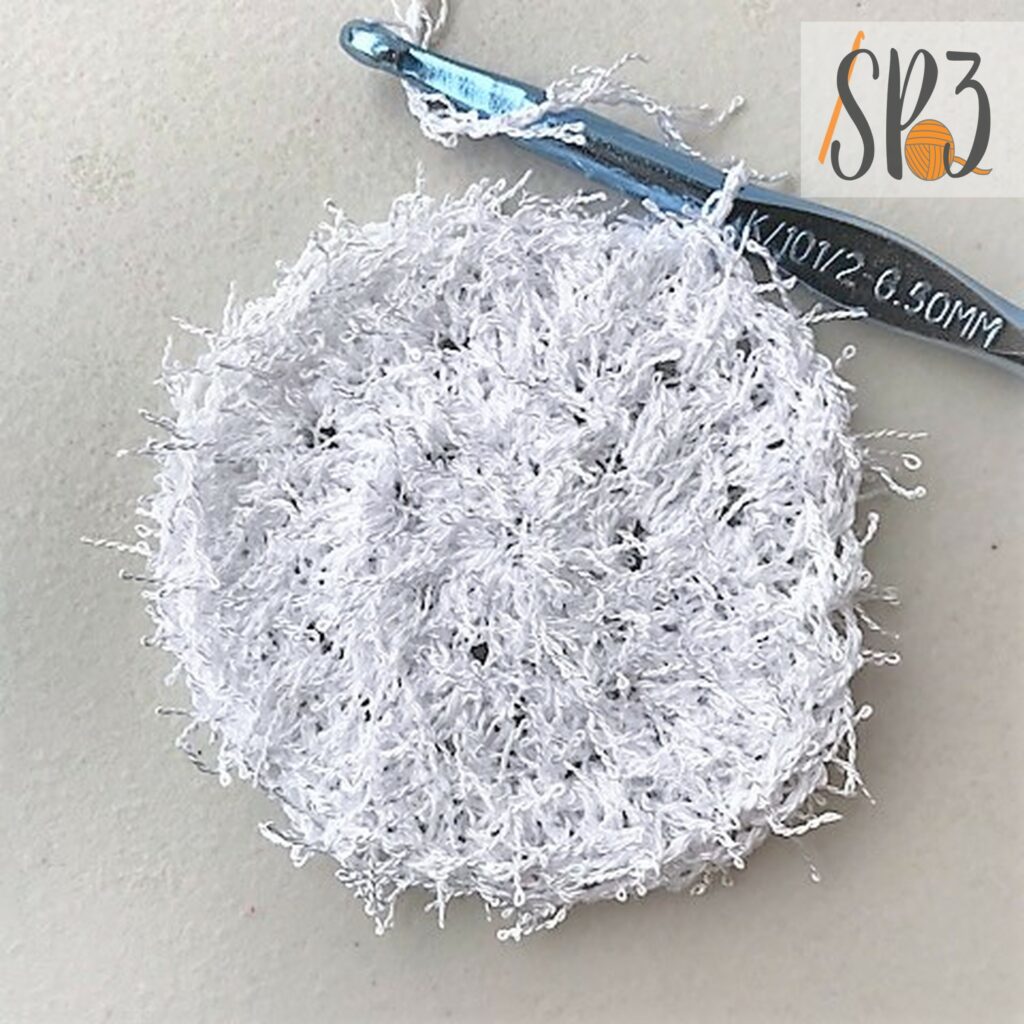
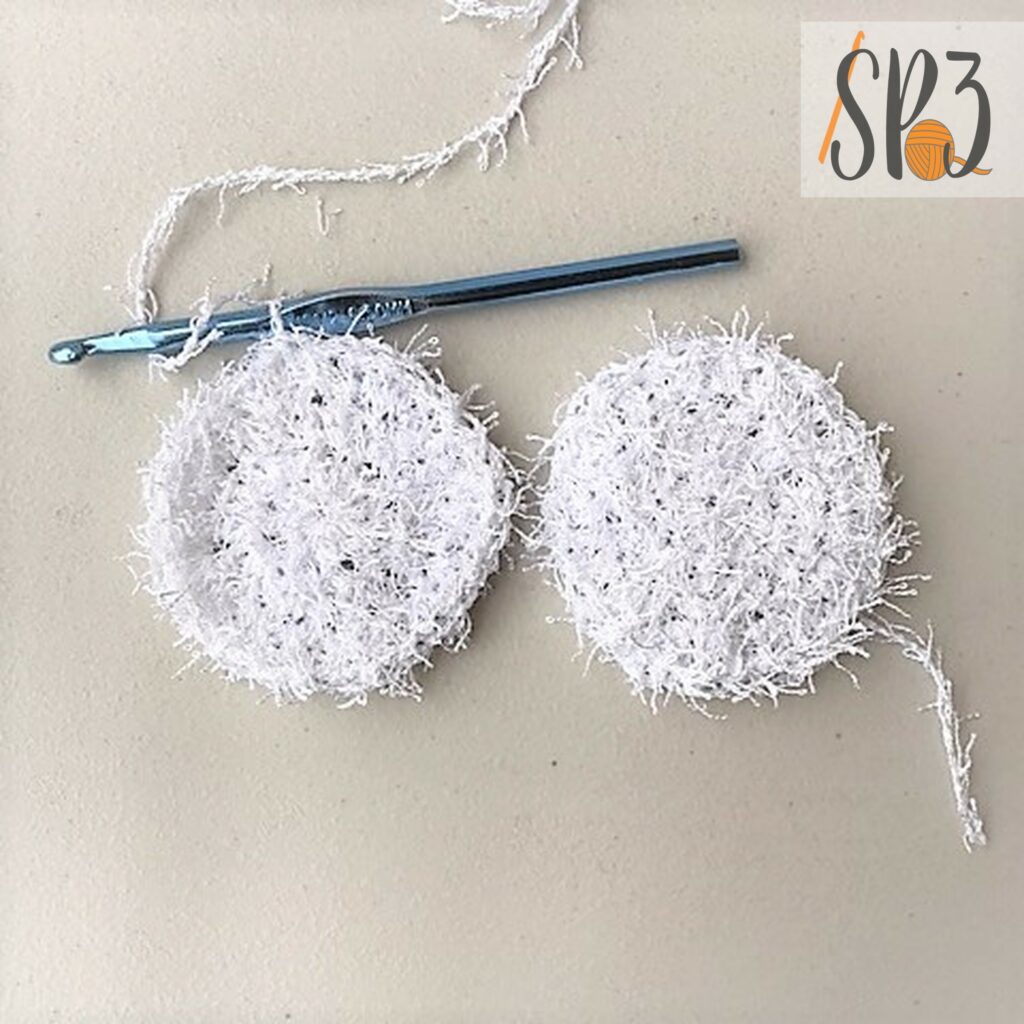
- Repeat steps above again but to not fasten off after round 3
- Hold back sides of both circle crochet pieces together
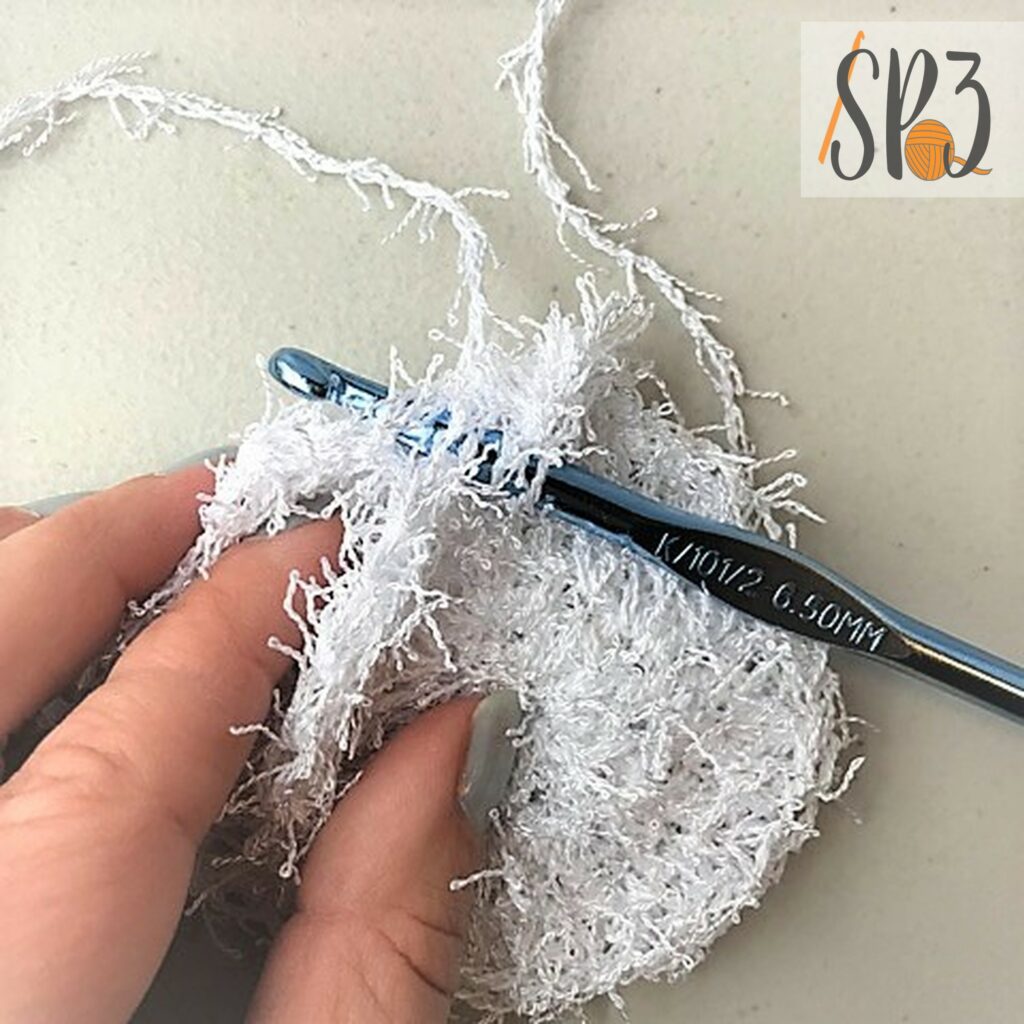
- In this next round you will work through both pieces, crocheting them together
- Ch 1, [2hdc in 1st st, hdc in each of the next 2 sts], repeat [] around, join in top of 1st hdc, fasten off and weave in all ends (32 total stitches in round)
Add Printable Tags for the Holidays
Now you have an amazing set of 2 hot pads and a scrubby! Get read to assemble them into the perfect holiday gift by adding a simple but catchy tag.
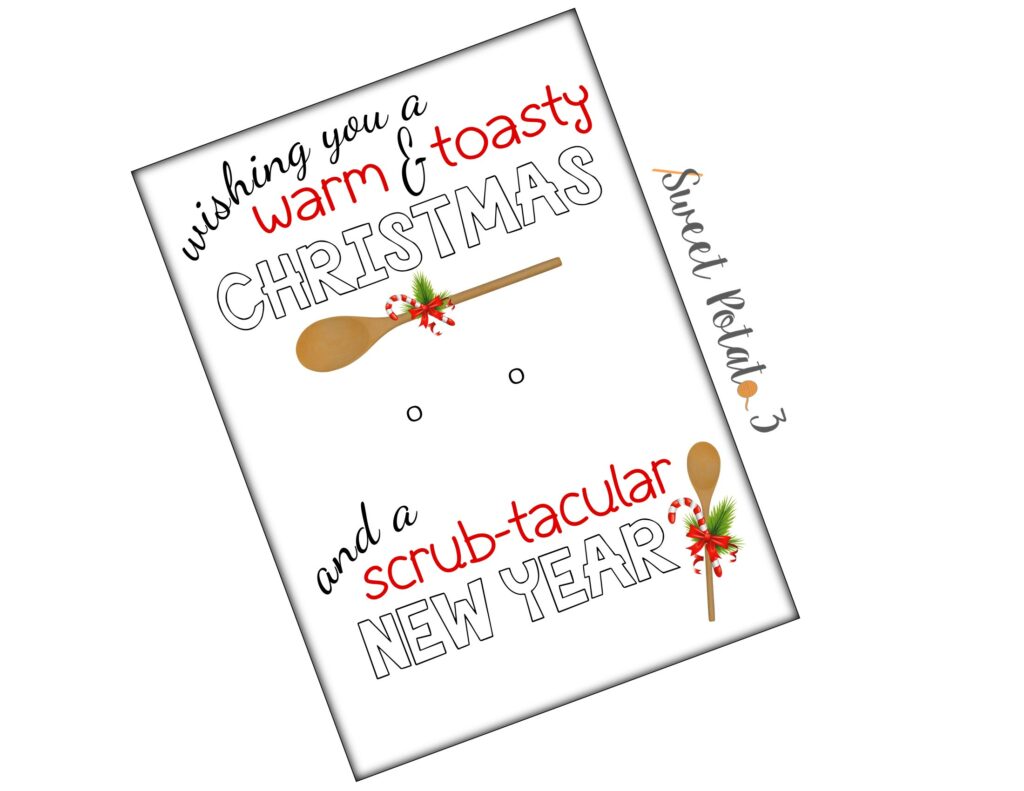
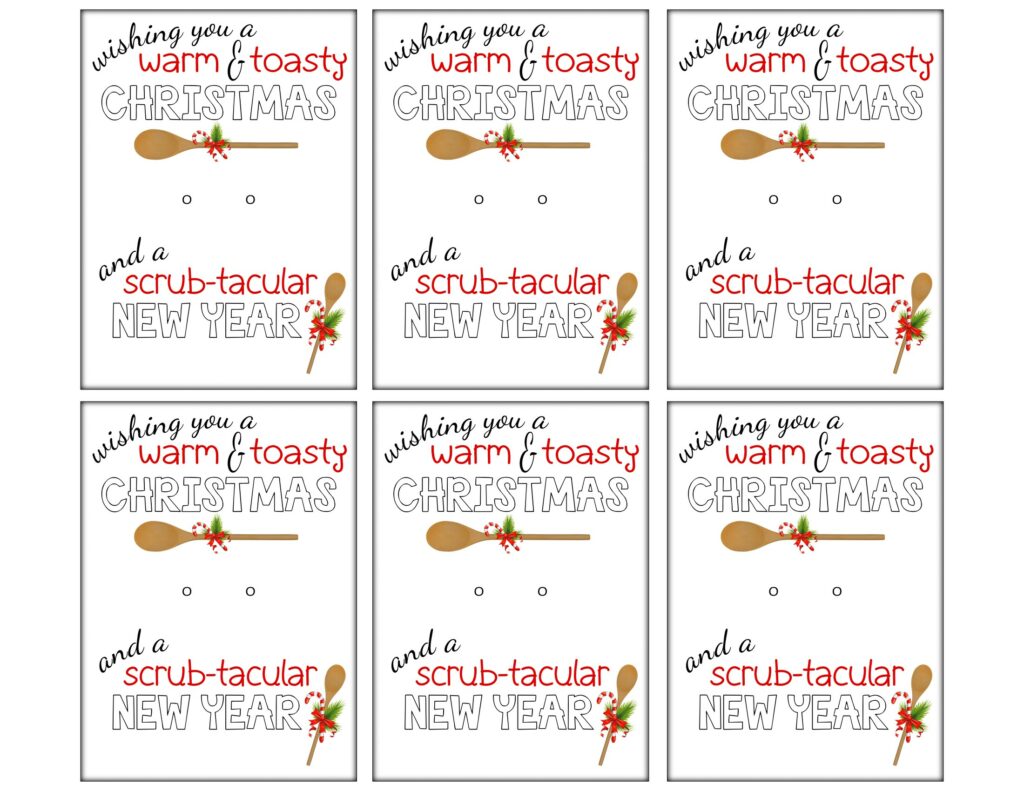
Are these not the cutest! You can download a copy of the tag on a regular 8 1/2 X 11 paper. There will be 6 tags per sheet. I do recommend you print them on cardstock to give them a little extra sturdiness.
Once you have printed the tags, cut them to size and use a hole punch on the double holes in the middle of the tag. Using scrap yarn and a needle, attach the tags to your 2 hot pads and scrubby. I show how simple this step is in the video tutorial below.
Print your tags by clicking HERE.
See how easy these gift sets are to assemble
I created a video below that will walk you through all the steps discussed above including:
- How to make a traditional hot pad
- How to make a perfect scrubby
- Assembling your gift set with printable tag
If you enjoyed this Tutorial, check out the ones below:
- Coffee Cozy Sweater Wrap pattern, click HERE
- One Cup at a Time Coasters pattern, click HERE
- Hygge Coffee & Wine Cozy pattern, click HERE
More Crochet Fun
Follow Sweet Potato 3 on Facebook to see more pattern releases, sales and crochet fun, just click HERE.
However, if you would enjoy a more interactive group experience, you need to join my Crochet & Conversations facebook group, click HERE. It is a ton of fun and I encourage everyone to share their projects, WIPS (works in progress) and inspirations. Plus you get exclusive deals, are the first to see new releases, give input on designs and have opportunities to win patterns. Join now and get to know others who also enjoy the art of crochet.

Love the gift card. Thanks so much!!
love this – a perfect gift for friends, neighbors, craft shows
Is the worsted yarn number 3/4 also should I use a cotton blend thank you!!
Worsted weight yarn is #4. You can use any type of yarn depending on your project. The sample in the post are made using acrylic yarn.
Pingback: Cabled Candle Wraps - A Home Decor Crochet Pattern ~ Sweet Potato 3
I love your pattern!! The instructions and video are very easy to follow. I appreciate that it is available at no cost. Thank you!!
Thank you so much for the cute patterns, just what I needed. Merry Christmas