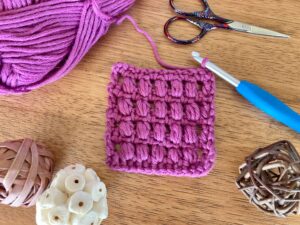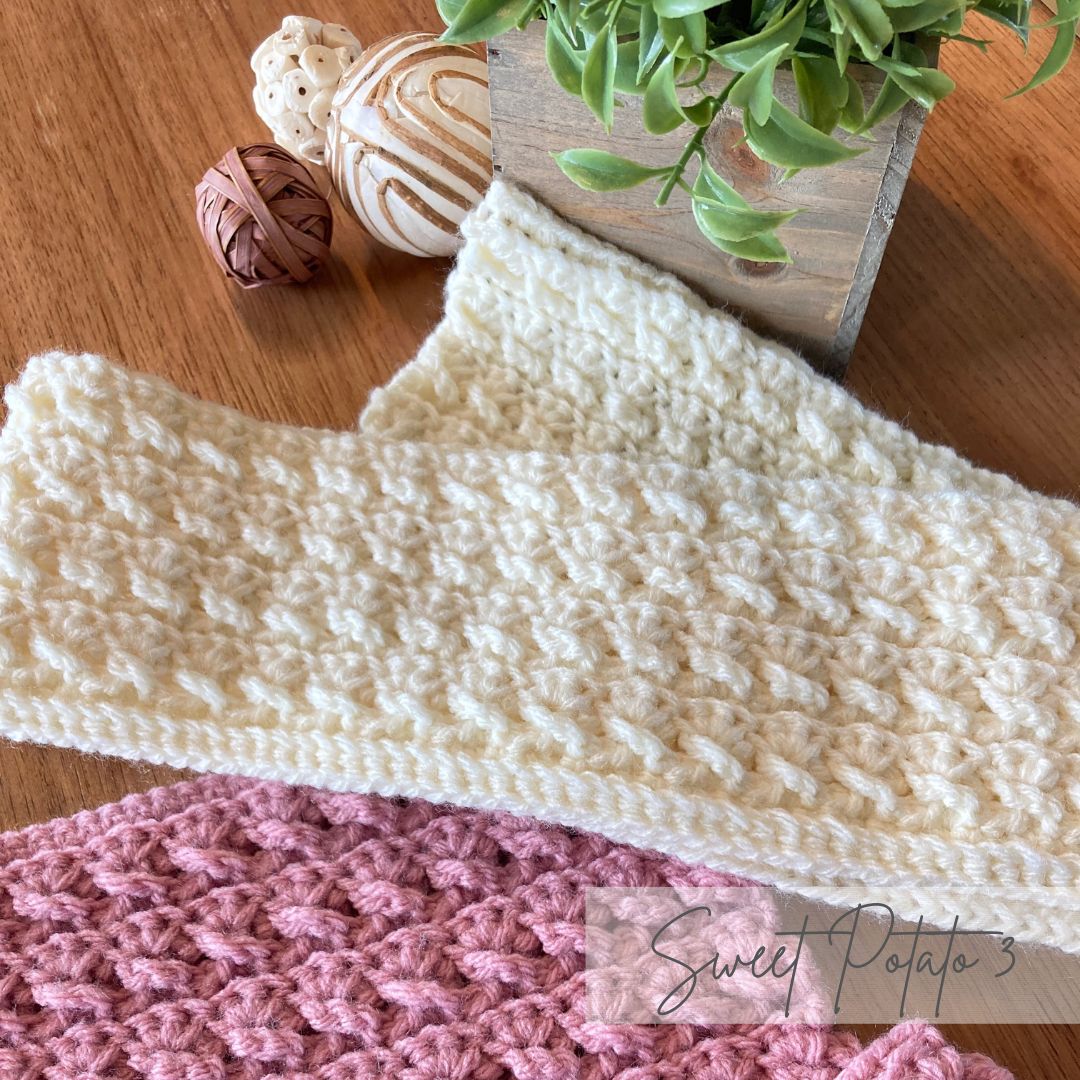

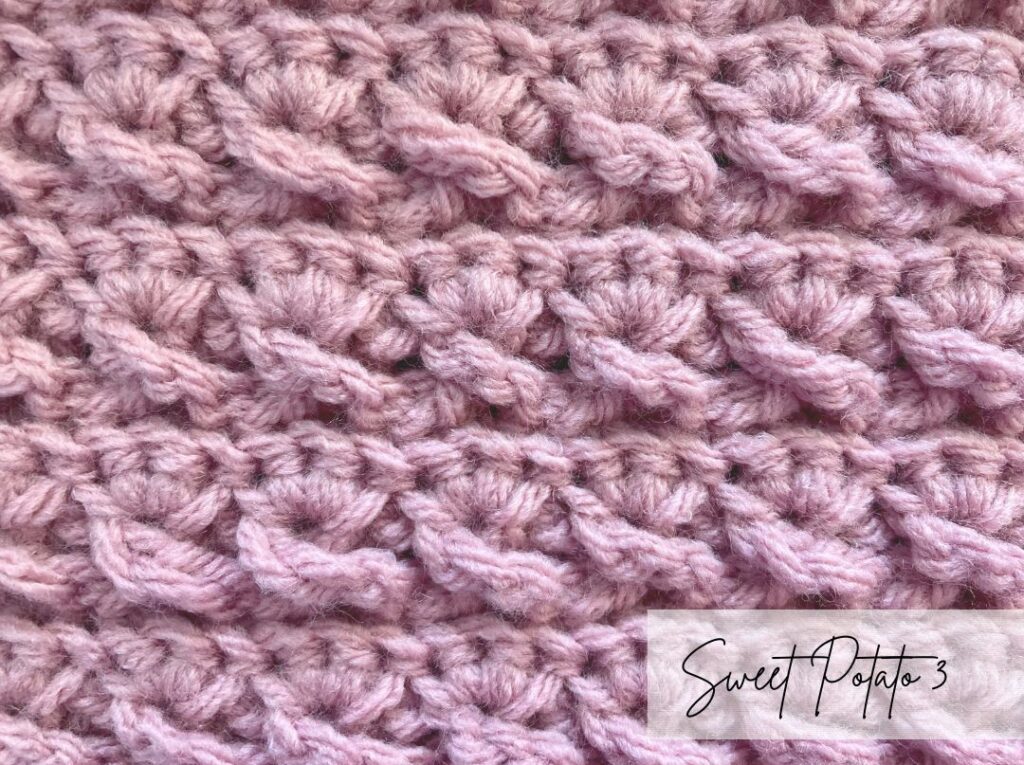
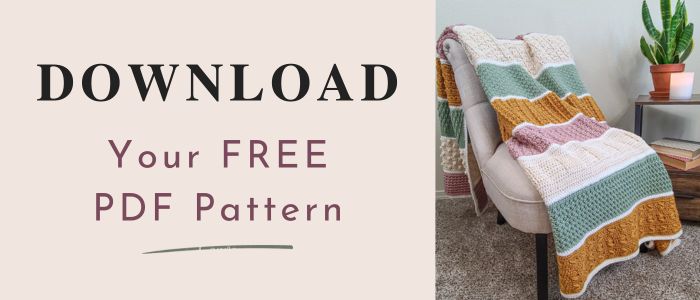
I believe all crocheters love to learn new stitch combinations especially when you can create a gorgeous texture. This blog post is all about that, but there is also a fun “bonus” to it. It is part of the Serenity Blanket Crochet Along which is a collaboration of 12 designers. We have joined efforts to crochet up this gorgeous blanket.
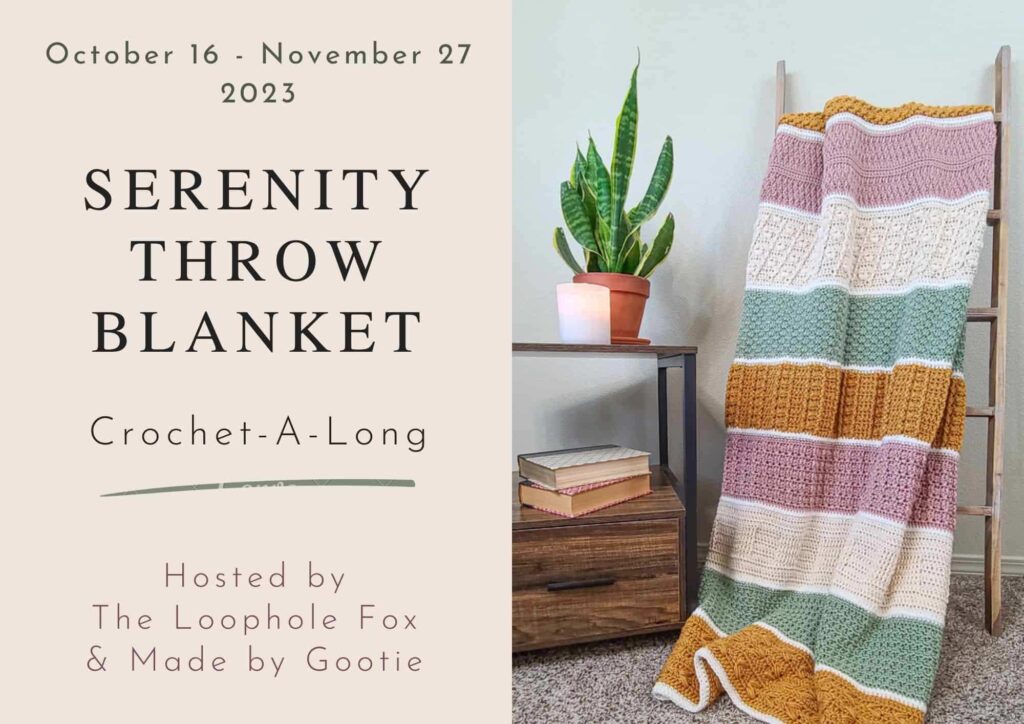
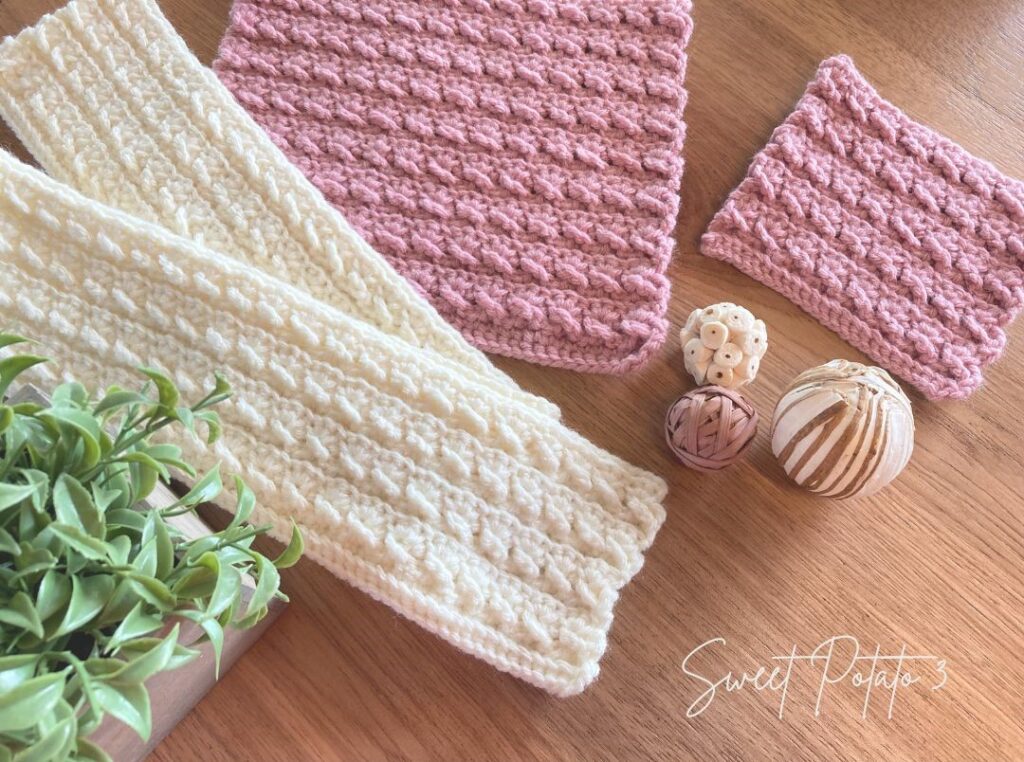
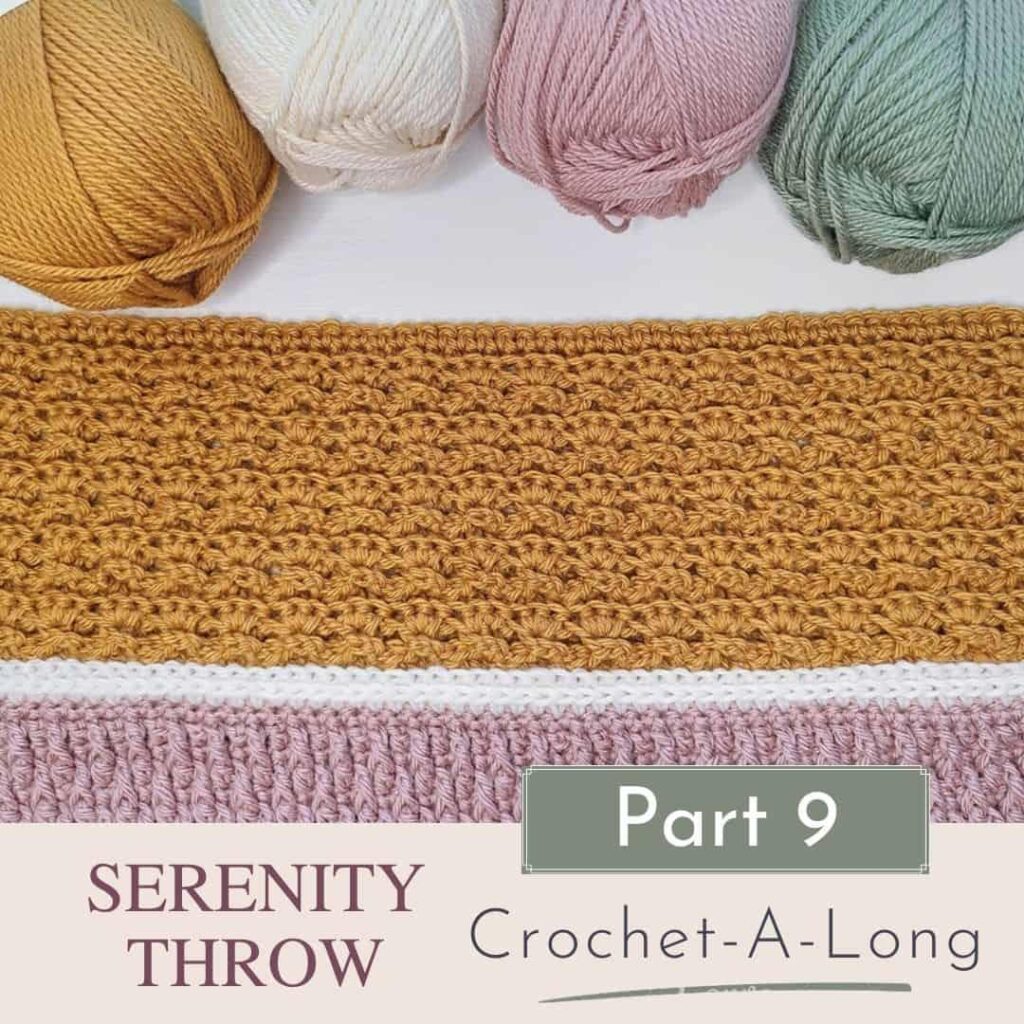
For the blanket I have designed part 9 of 12 with an intricate and richly textured stitch combination. I think you’ll love working this up. I am a visual person and sometimes showing how to do something can really help you out. A full photo tutorial is included further in this blog post. However, a video tutorial is available as well. can also be utilized to help you along the way.
Skill Level:
This stitch combination is considered an intermediate level. It is basic crochet stitches, but there is a unique twist that is involved making it a little more advanced than a beginner level. But, don’t let this scare you off, you can do it! I have a full photo and a video tutorial to help you each step of the way.
Materials
- Crochet hook: 5.0 mm / H
- Yarn: Worsted (#4) weight yarn (Sample made using Mary Maxim Starlette)
Gauge Information
If you are just testing this stitch out, don’t worry about your gauge. Just enjoy learning the steps and take the time to enjoy the process.
However, if you are here to make the Serenity Blanket, you will want to make sure your gauge has been met for the Crochet Along. I have notations specifically for the CAL to make sure you are on the right track. For example, this is a repeat of 4 rows crocheted, each 4 row repeat will result in 1 inch height. For this section you will want 5 inches of height to your blanket so work 5 total repeats or a total of 20 rows.
Abbreviations (US)
- Ch – chain
- Slst – slip stitch
- Sc – single crochet
- Dc – double crochet
- Sp(s) – space(es)
- St – stitch
- BL – back loop
Pattern Instructions
This stitch combination will be made in multiples of 3 stitches. For the Serenity Blanket CAL you will be ending your last row with 192 stitches, this is perfect to begin (192 divided by 3 = 64)
Row 1 (RS): Ch 1, BLsc in each st across, turn (192)
Please note that the image below shows row 1 being worked onto a foundation row of stitches so that you can see the line formed from working into the back loop only. This tutorial is a 4 row repeat which is why I am only giving instructions for row 1-4 and not the foundation.
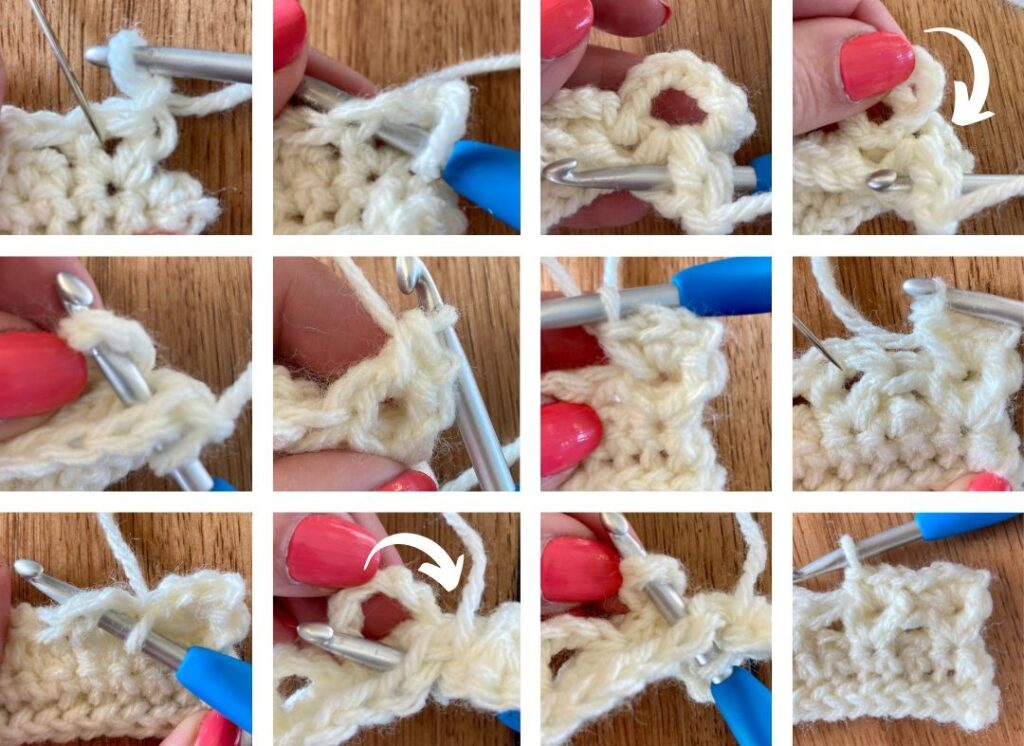
Row 2 (WS): Do not ch, slst in 1st st, [ch 6, skip next st, slst in next 2 sts], repeat [ ] to until 2 st remain, ch 6, skip next st, slst in last st, turn (64 ch sps/128 slsts)
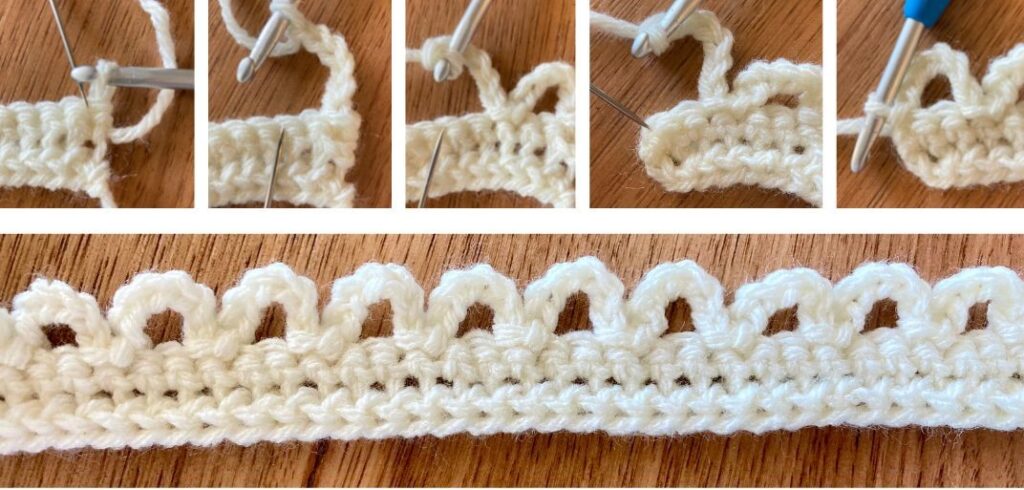
Row 3 (RS): Ch 1, skip 1st st, [push ch loop to front of work, in skipped st between the ch loop of prior row work (hdc, ch 1, hdc)], repeat [ ] to end of row, turn (64 ch sps/128 hdc)
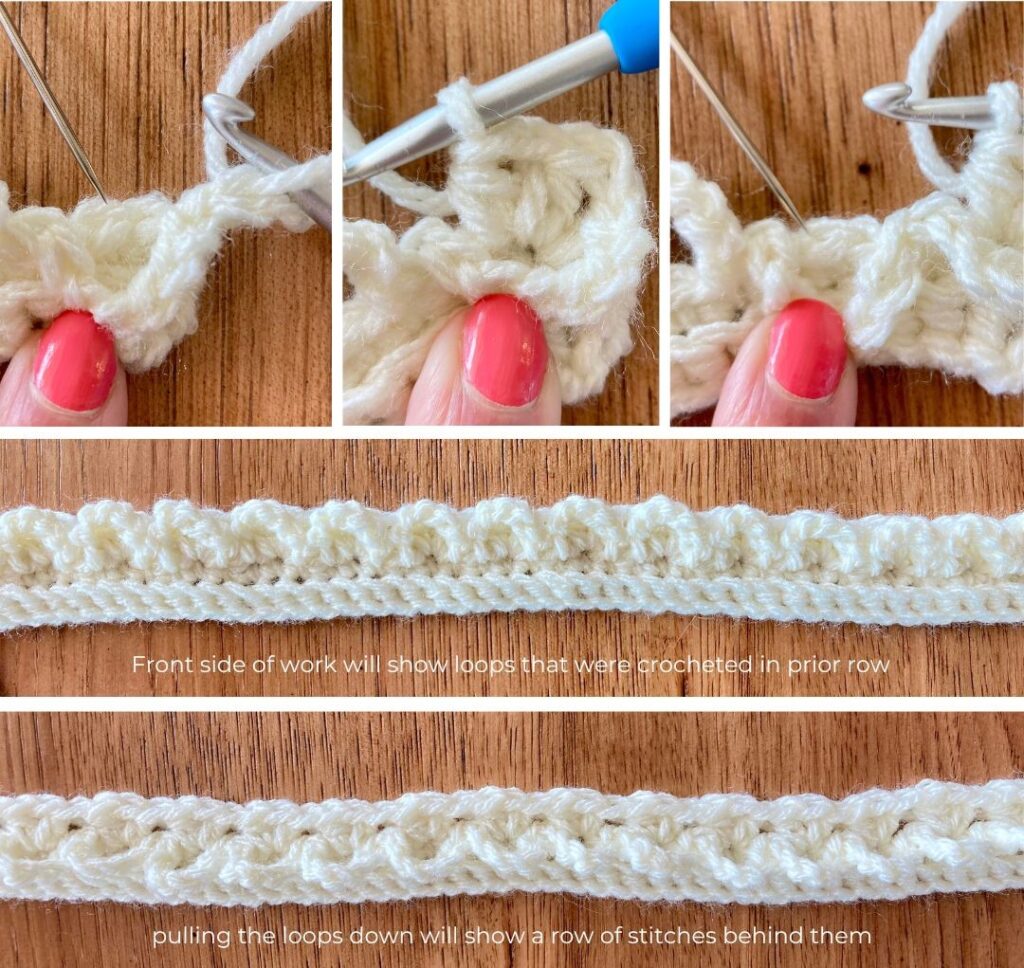
Row 4 (WS): Ch 1, [insert hook in the ch sp between hdc of prior row, twist ch loop made in R2 clockwise and place twisted loop onto hook, work 3sc], repeat [ ] to end, turn (192)
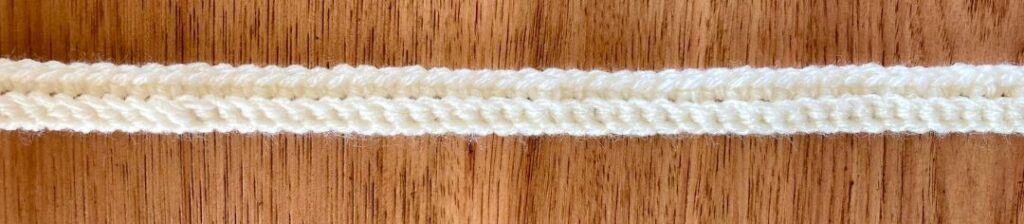
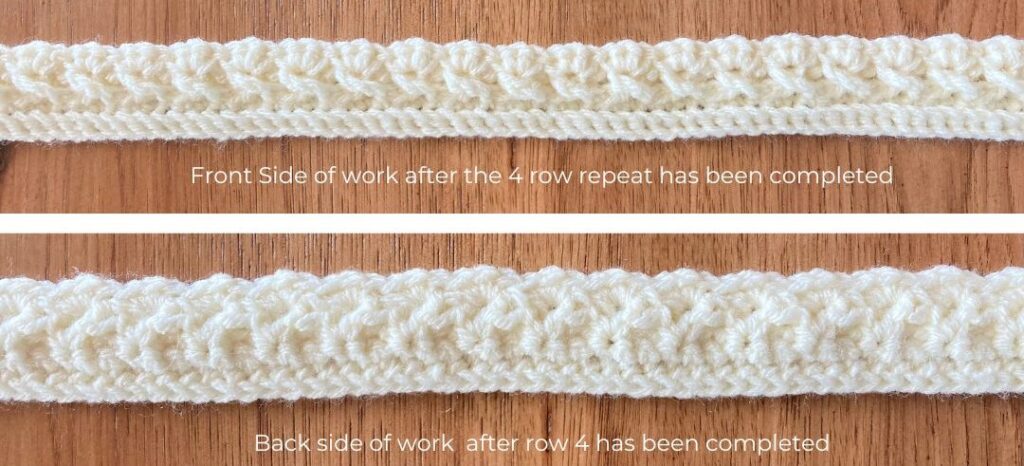
After you have completed row 4 you have completed the 4 steps to creating this stitch pattern. It is a lovely stitch pattern that you can see very well on the front side. Even the back side looks cozy, but not as detailed and elegant as the front.
Repeat R1-R4 until desired height has been reached. Each repeat is equal to 1” high. For example, 5 total repeats will equal 5” high.
To finish the section, you will want to work one more row of Back Loop Single Crochets plus one more row of single crochets. These two additional rows will help make that final repeated texture really stand out.
Watch the full YouTube Video
I know photos can be helpful, but sometimes seeing it worked can be even more beneficial. Especially with that fun twist in the chain loop. Watch this as many times as you want to help you out.
Crochet along Informtion
If you have been following or would like to join the crochet along I strongly encourage you to check out all the amazing textured sections for this project. It was very fun to see all the different designers submit their ideas and then see it crocheted into a masterpiece.
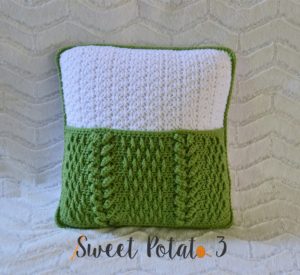
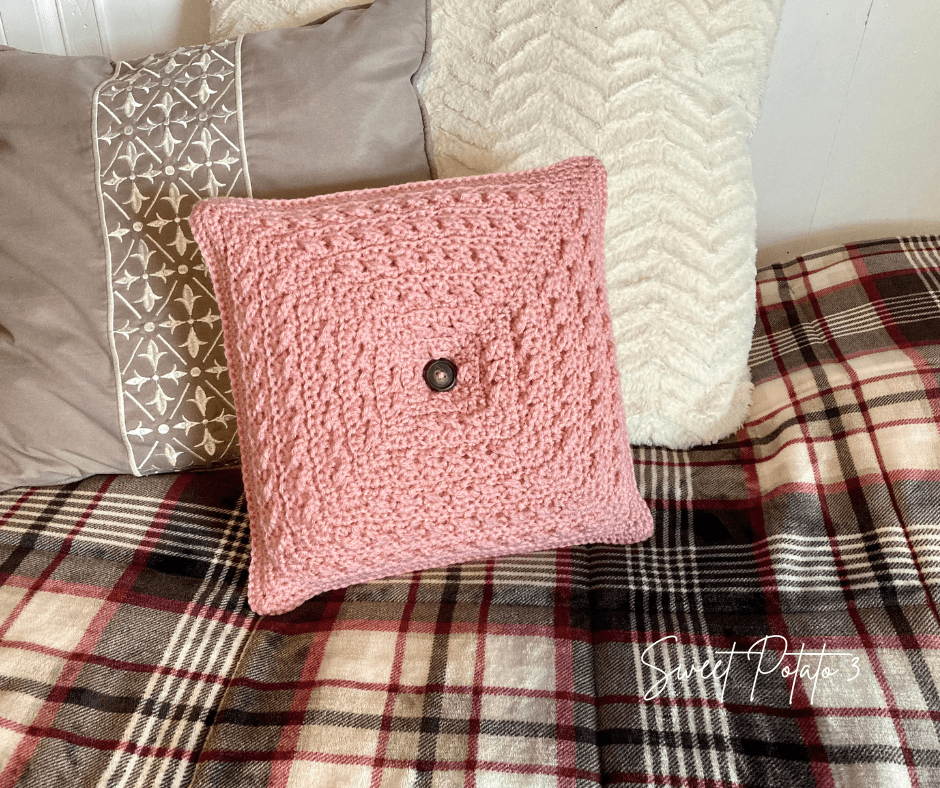
Want a Coordinating Pillow to go along with your blanket?
If you love this stitch combination and would like a pillow to coordinate with your blanket. This design will be released in a couple days so be sure to stay tuned…
More Crochet Fun
Follow Sweet Potato 3 on Facebook to see more pattern releases, sales and crochet fun, just click HERE.
However, if you would enjoy a more interactive group experience, you need to join my Crochet & Conversations facebook group, click HERE. It is a ton of fun and I encourage everyone to share their projects, WIPS (works in progress) and inspirations. Plus you get exclusive deals, are the first to see new releases, give input on designs and have opportunities to win patterns. Join now and get to know others who also enjoy the art of crochet.