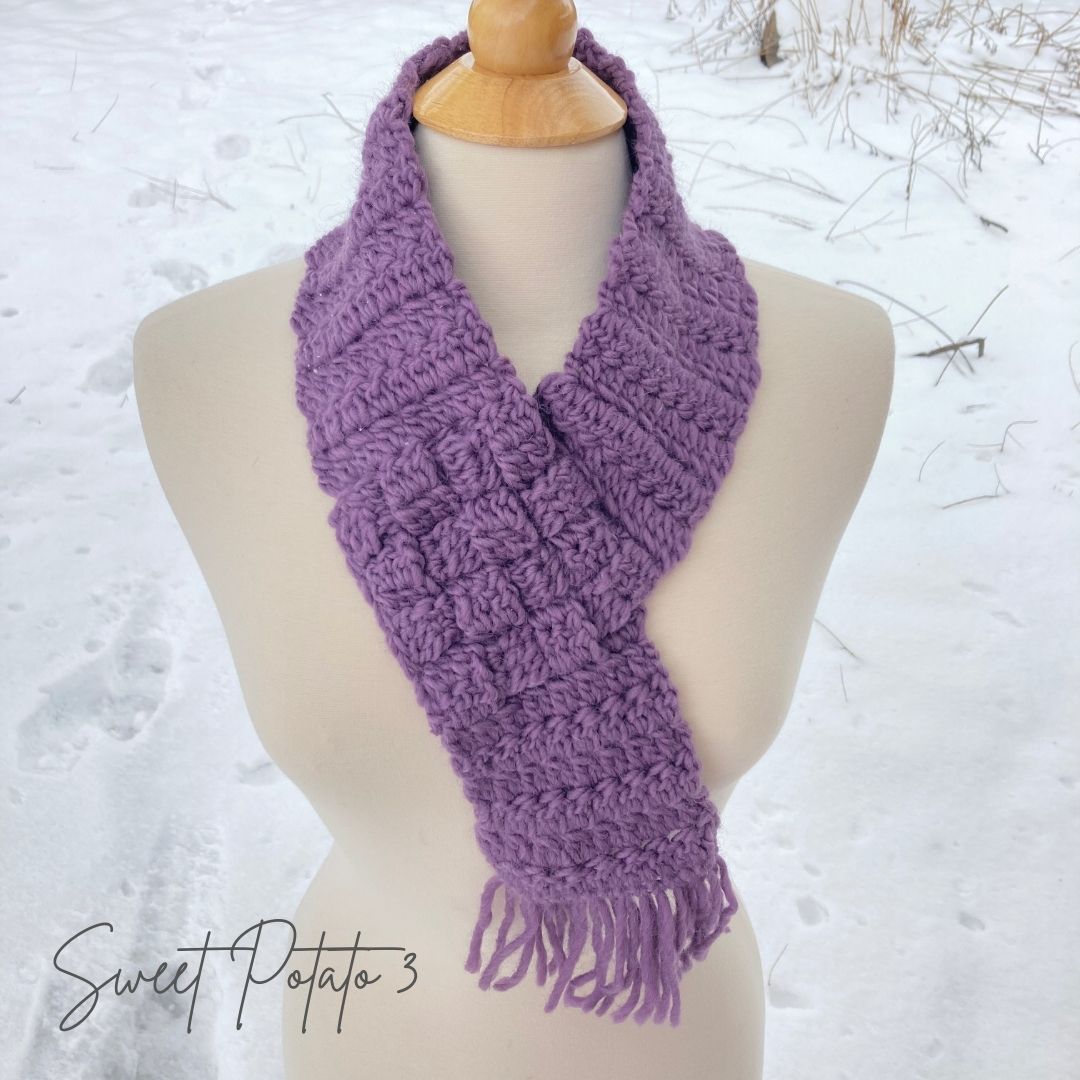
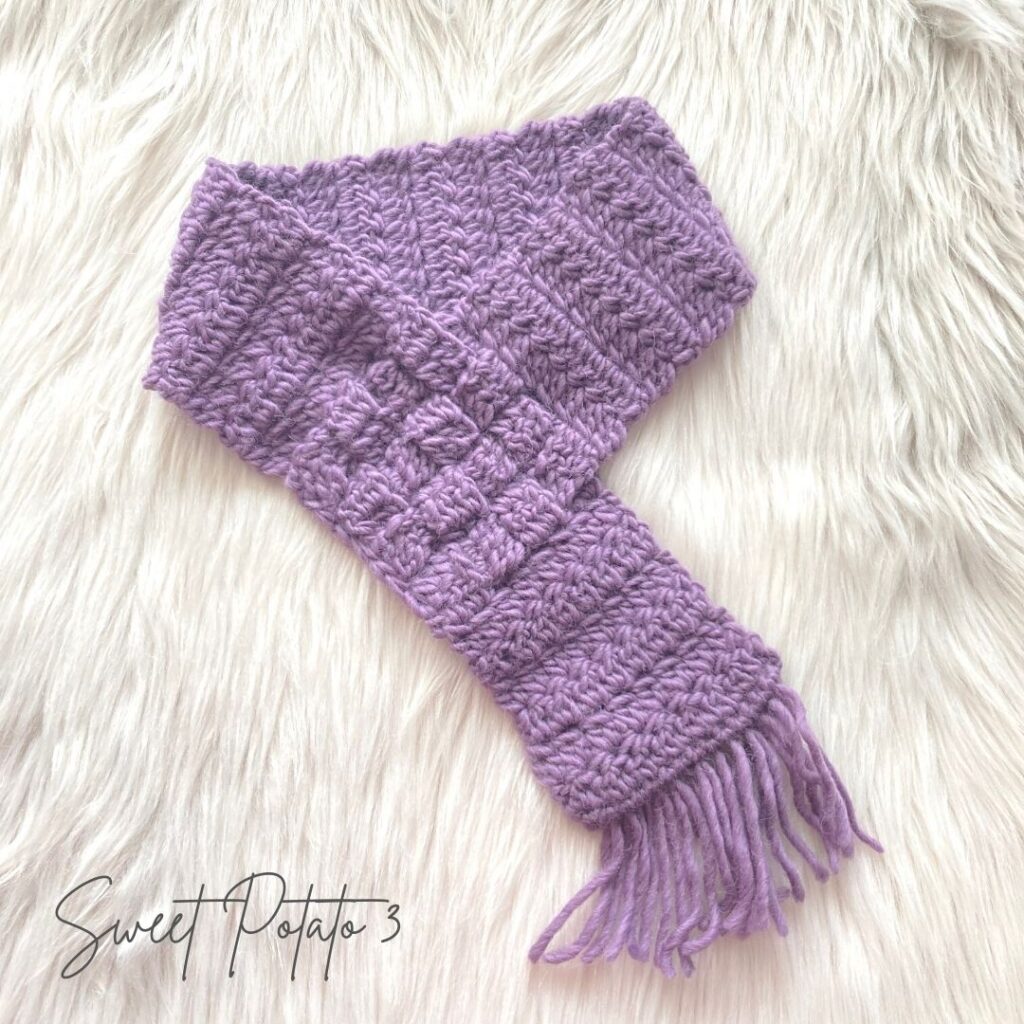
As I am typing this blog post it is April and looking out my window there is a snowstorm. Seriously, we already have 5-6″ just today. So, I am still thinking about warm scarves and wanted to use some yarn that I recently received to remake the Woven Trellis Scarf.


It is always nice to have a pattern on hand that works up quick and here is a secret; using bulky yarn is a huge help in making a quick project, plus, it is nice and warm so is ideal for scarves.
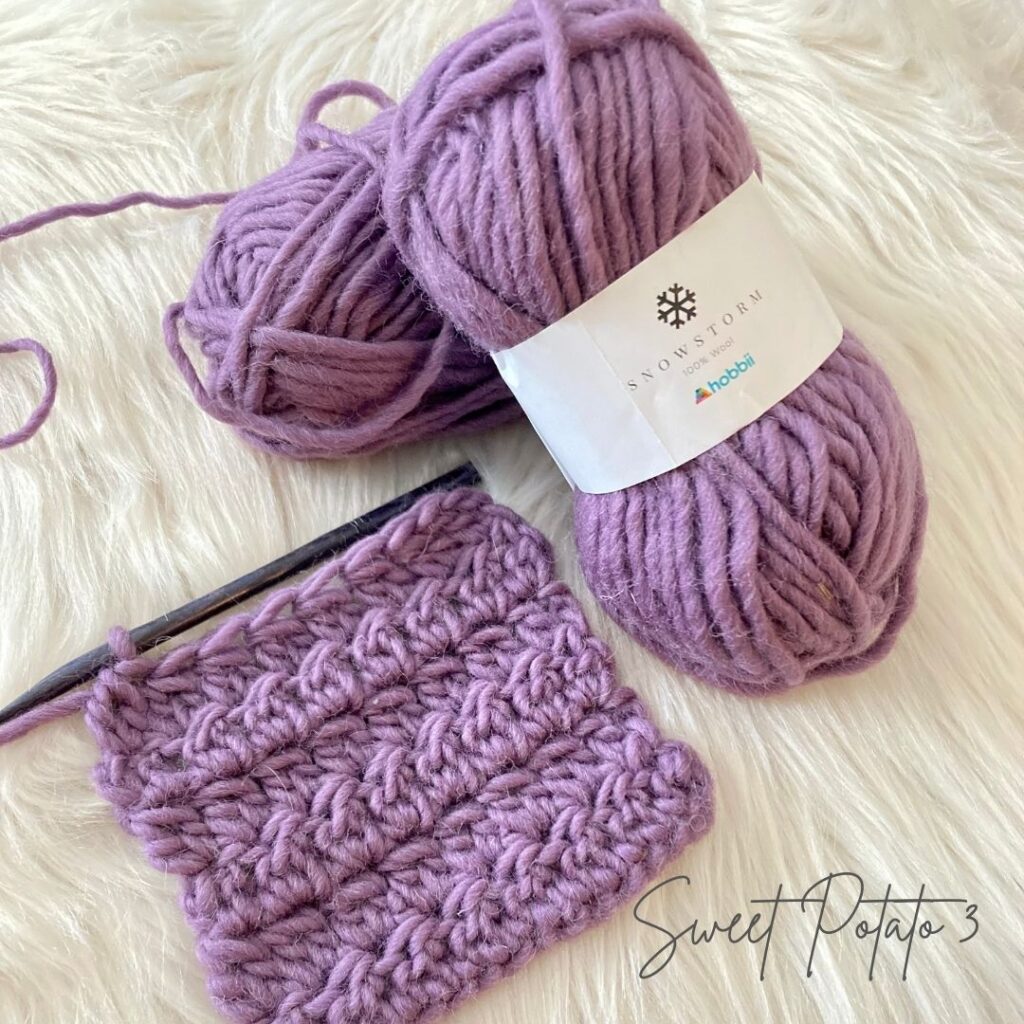
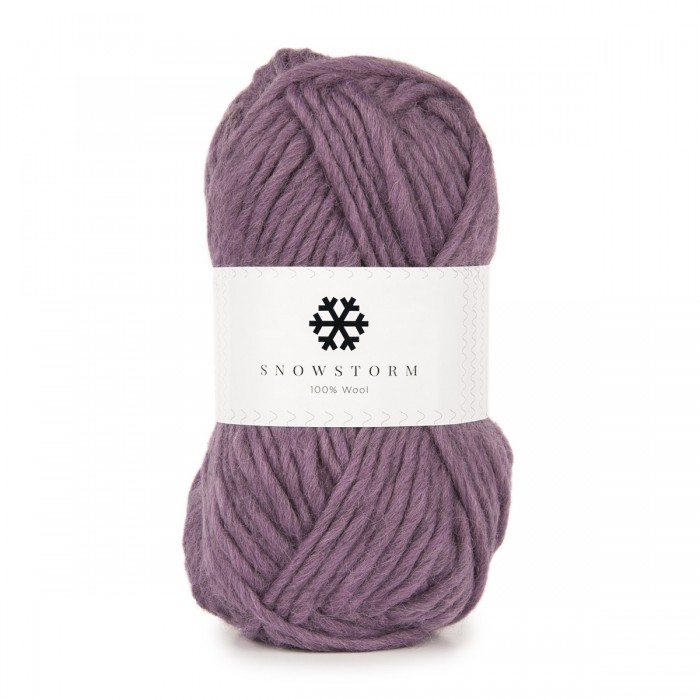
Ironically, the yarn I am working with today is called “snowstorm“. I am seeing a theme in this post, the snow outside is inspiring a remake of a scarf and I happen to be making it with a yarn called snowstorm. In addition, this yarn is 100% wool, therefore, this is going to be a very warm scarf.
More about the yarn
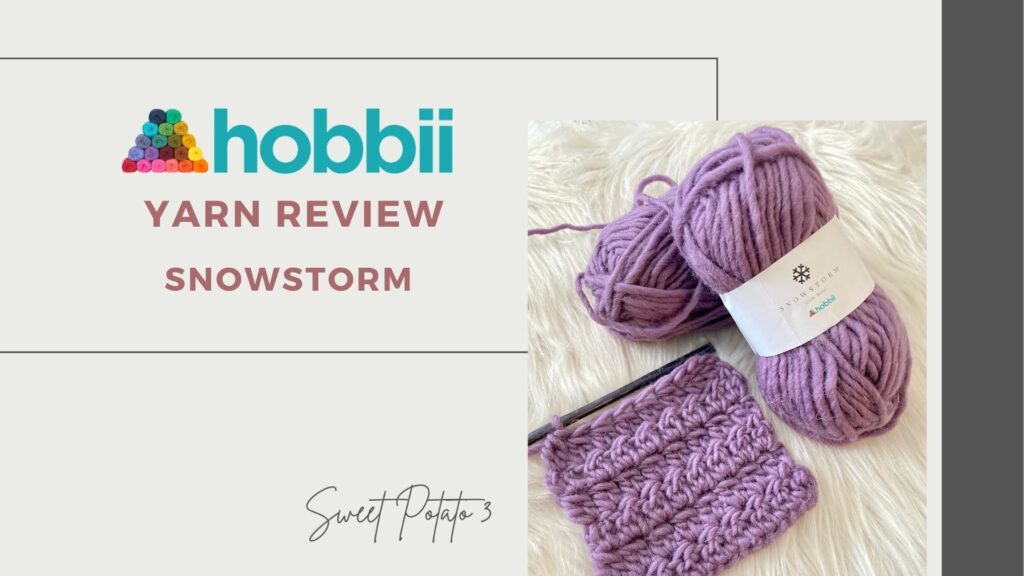
Seeing gorgeous images of yarn always catches my eye and I am sure it does to you too. As I scroll through social media feeds I always find my self going back to look at yarn pictures, many of which are from Hobbii yarns. They have so many beautiful color options, weights and fibers to pick from.
I reached out to Hobbii and they generously sent me 4 different types of yarns to try out, check out the other yarn I received in the links at the end of this blog post. The company is based out of the UK, therefore, I was concerned about how long it would take to receive the package. However, the yarn arrived within 2 weeks of the order being placed.
Woven Trellis Scarf Pattern Information
Materials:
- Crochet Hook size K (6.5 mm)
- Bulky Weight Yarn (#5) – approximately 130 yards
- I used Hobbii Yarns “Snowstorm” in the color: #13 Mauve (took 3 skeins)
- Yarn Needle
- Scissors
- Measuring Tape
Stitches Used:
- Ch = Chain
- Dc = Double Crochet
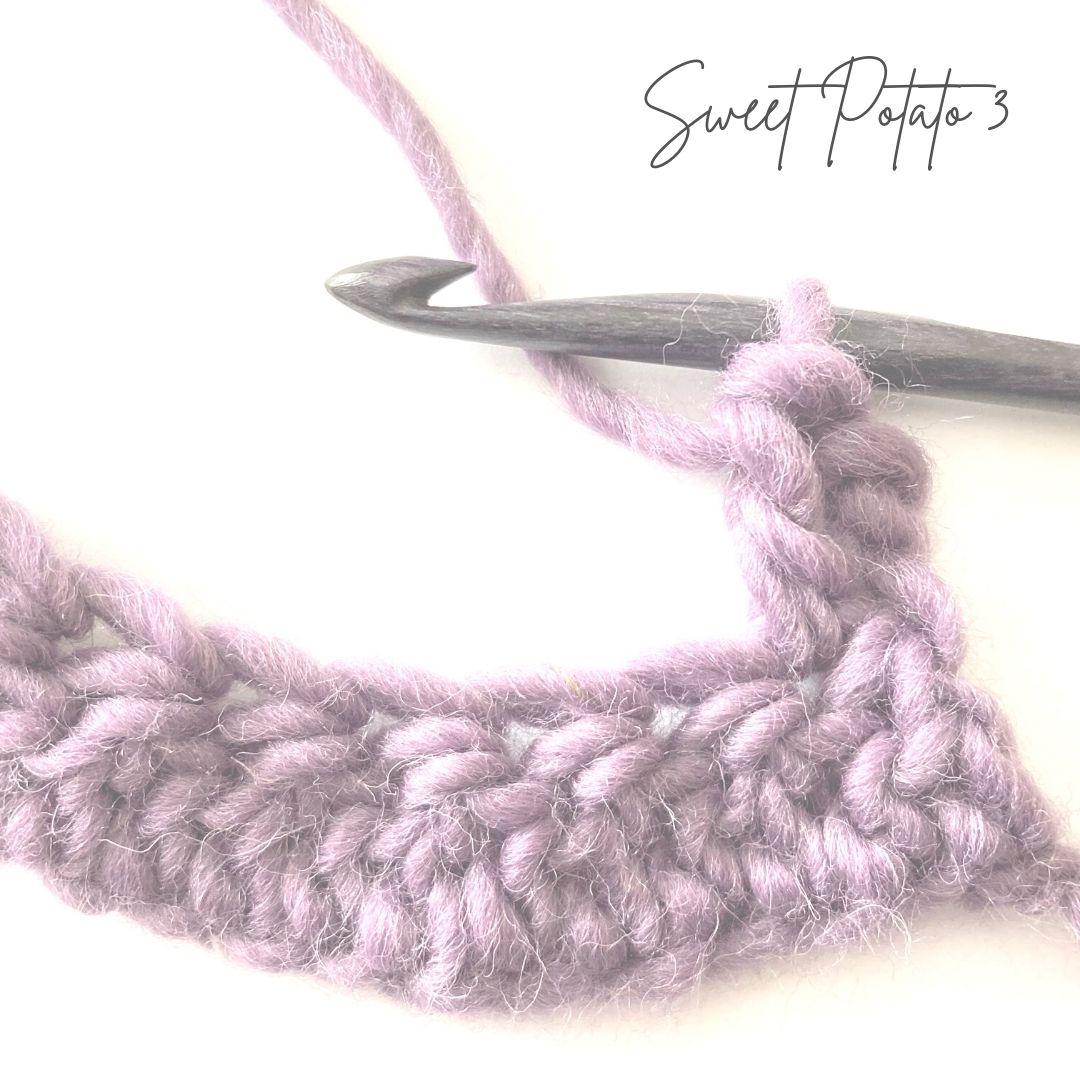
- Dc2tog = Double Crochet 2 Stitches Together: [yarn over, insert hook, yarn over, pull up a loop, yarn over, pull through 2 loops on hook], repeat [ ] 1 more time, yarn over, pull through all 3 loops to complete the stitch
Finished Scarf Size:
- One Size Fits Most
- 4″ wide
- 30″ long
Gauge:
Gauge will be checked as the pattern is crocheted.
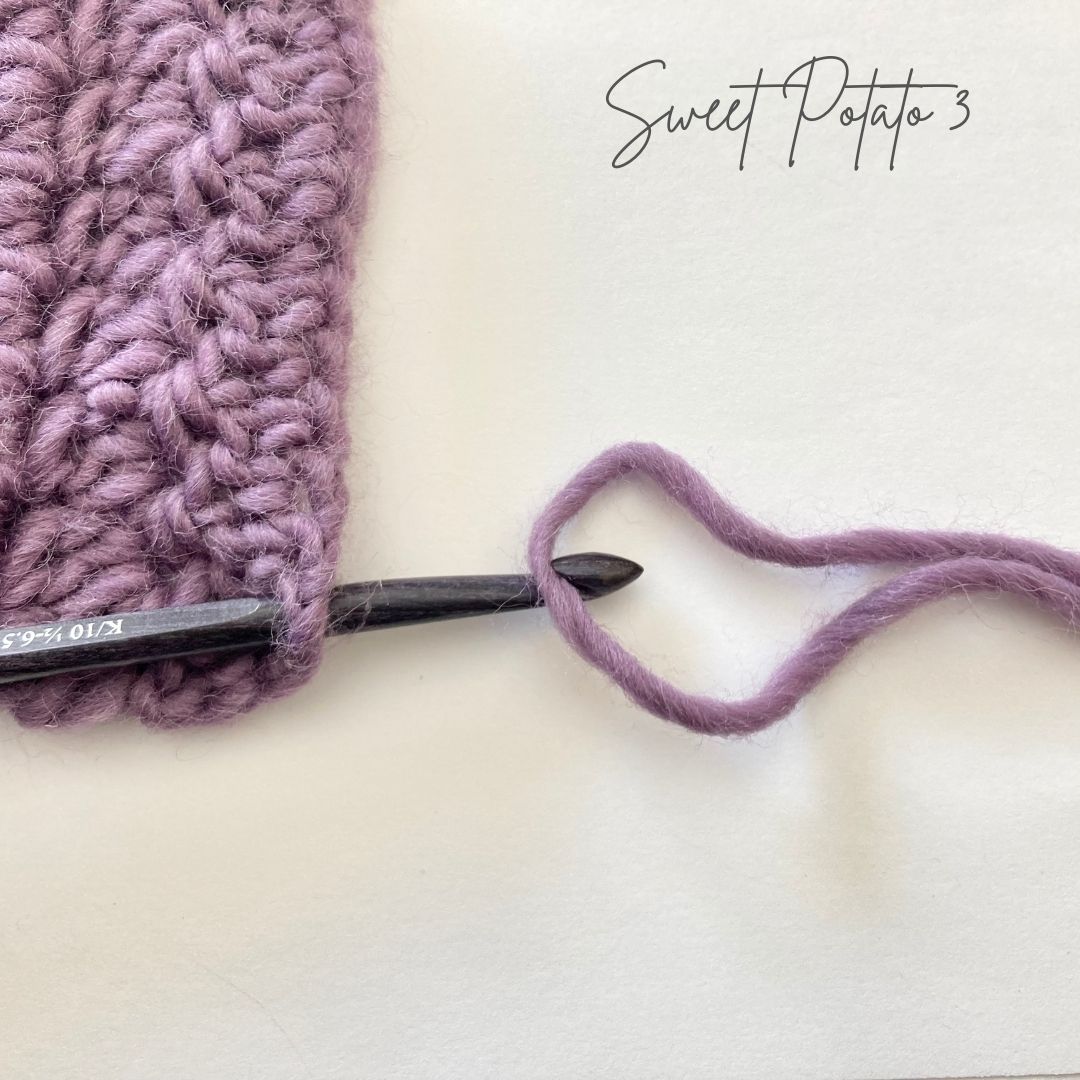
Beginning the Woven Trellis Scarf
- R1: Ch 17, dc in 3rd ch from hook (beg ch and 1st dc will count as 1 st), dc2tog across beg ch, turn (8 dc2tog). The row may curve inwards, do not worry about this, it will straighten out after a few more rows.
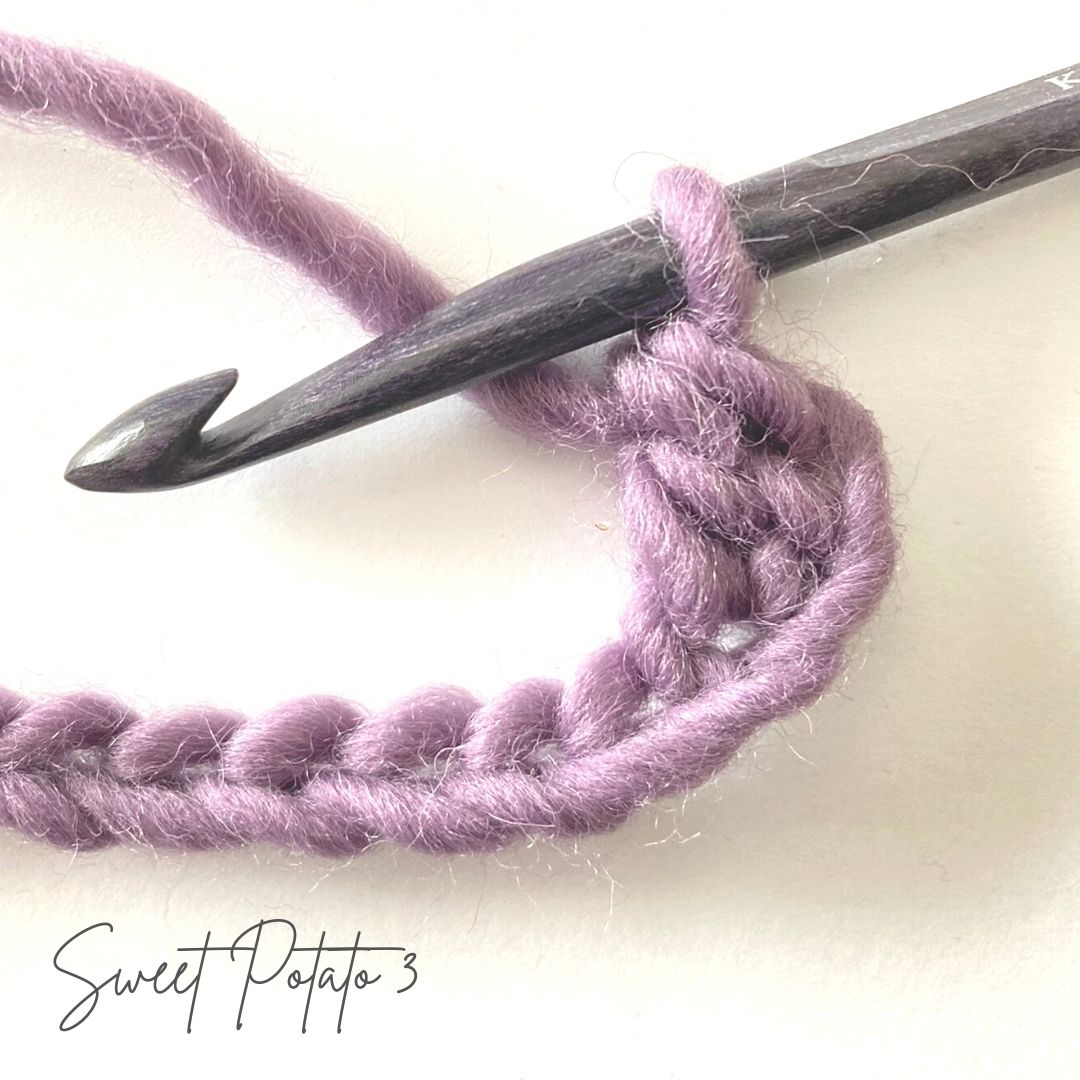

- From this point forward all dc2tog will be worked in a single stitch. You can view the stitch video earlier in this blog post for a visual.
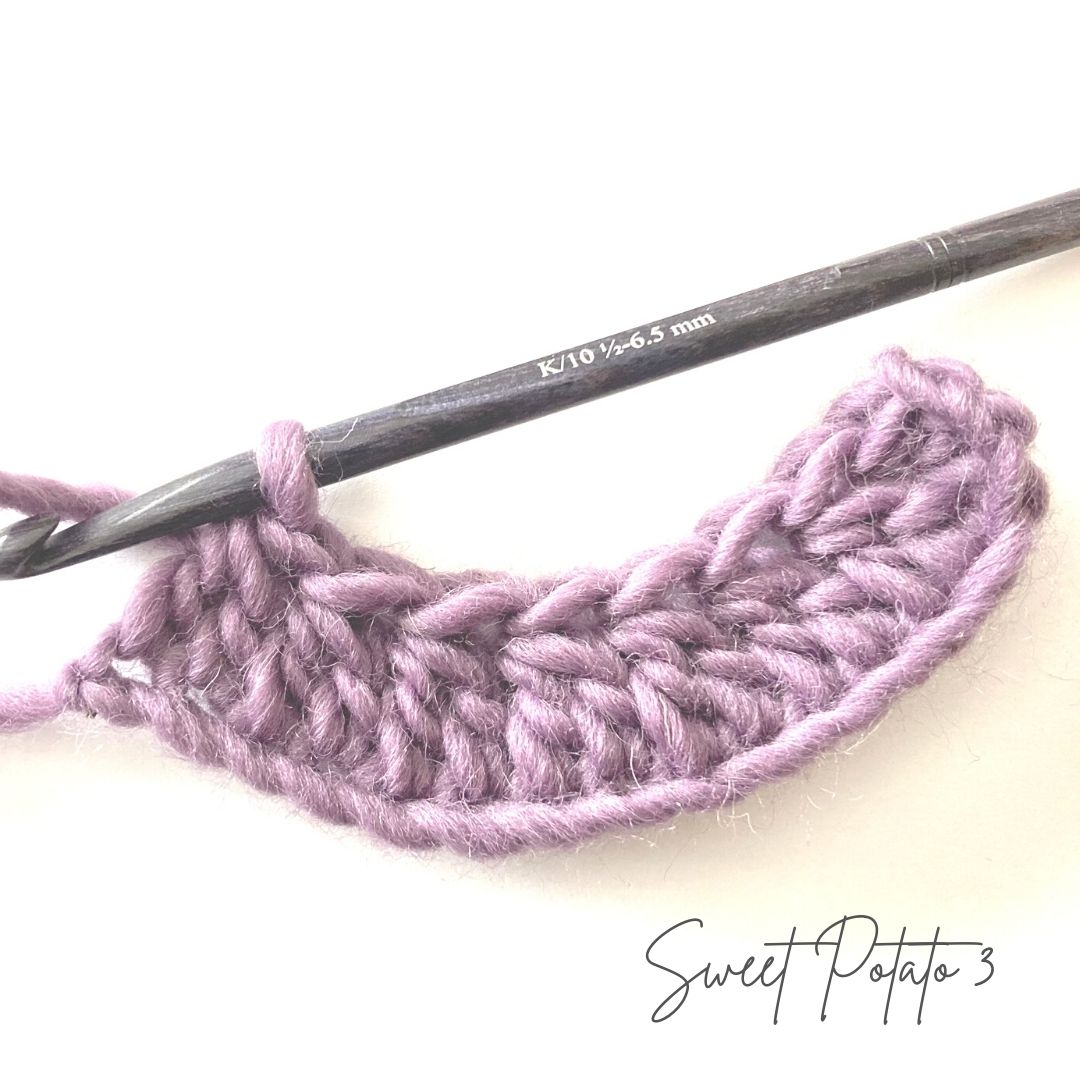
- R2: Ch 2, dc in 1st st, work dc2tog in each st across row, turn (8 dc2tog)

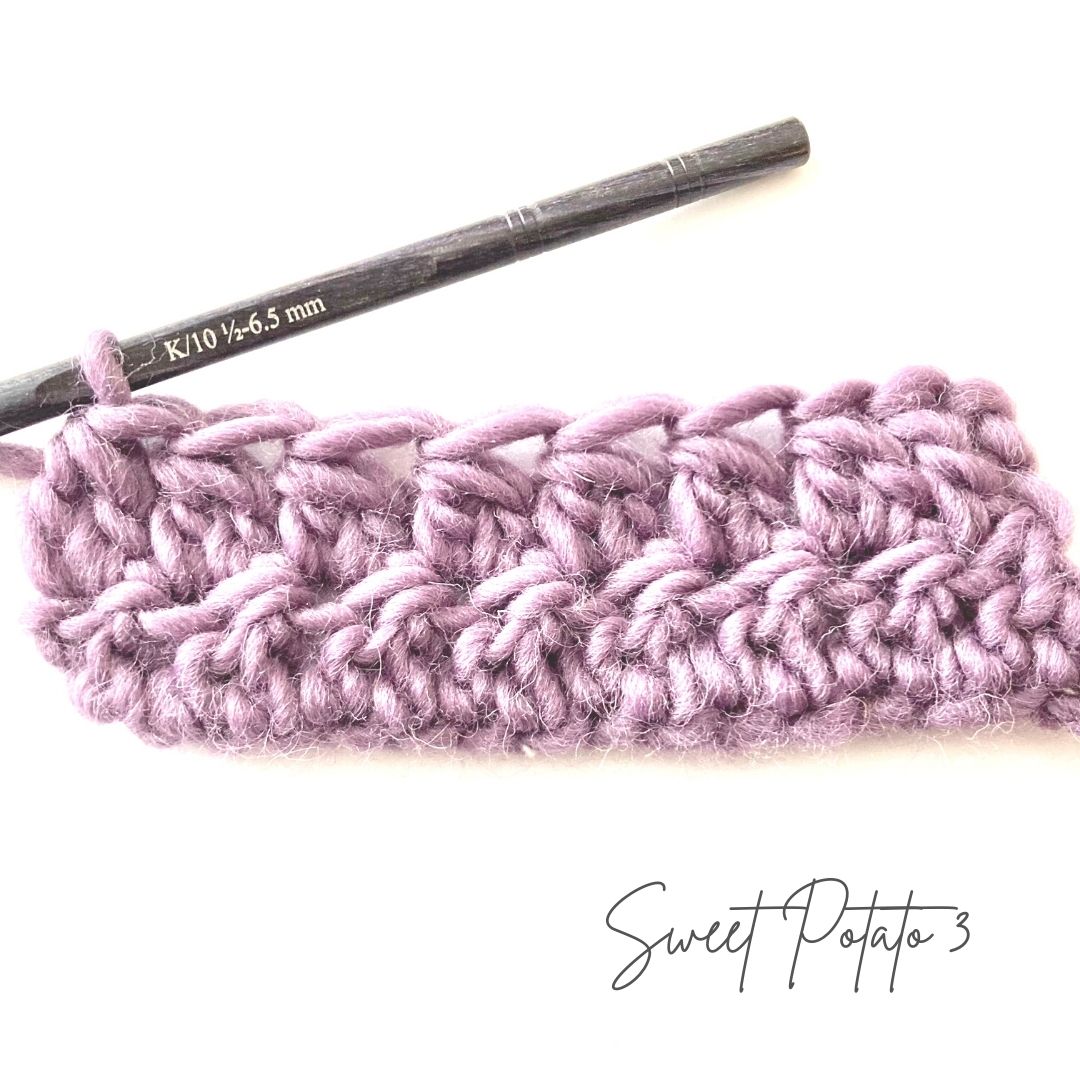
- R3-6: repeat R2 (8 dc2tog)
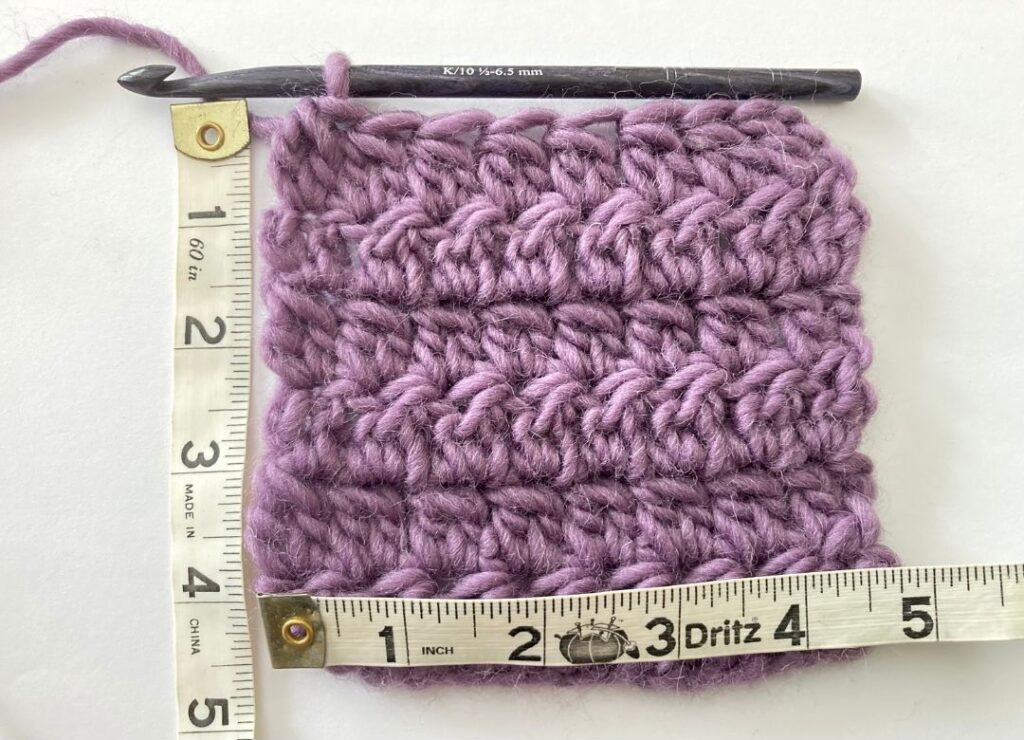
- Check gauge: crochet scarf end should measure 4 ½” wide by 5” high
Creating the first part of the weave
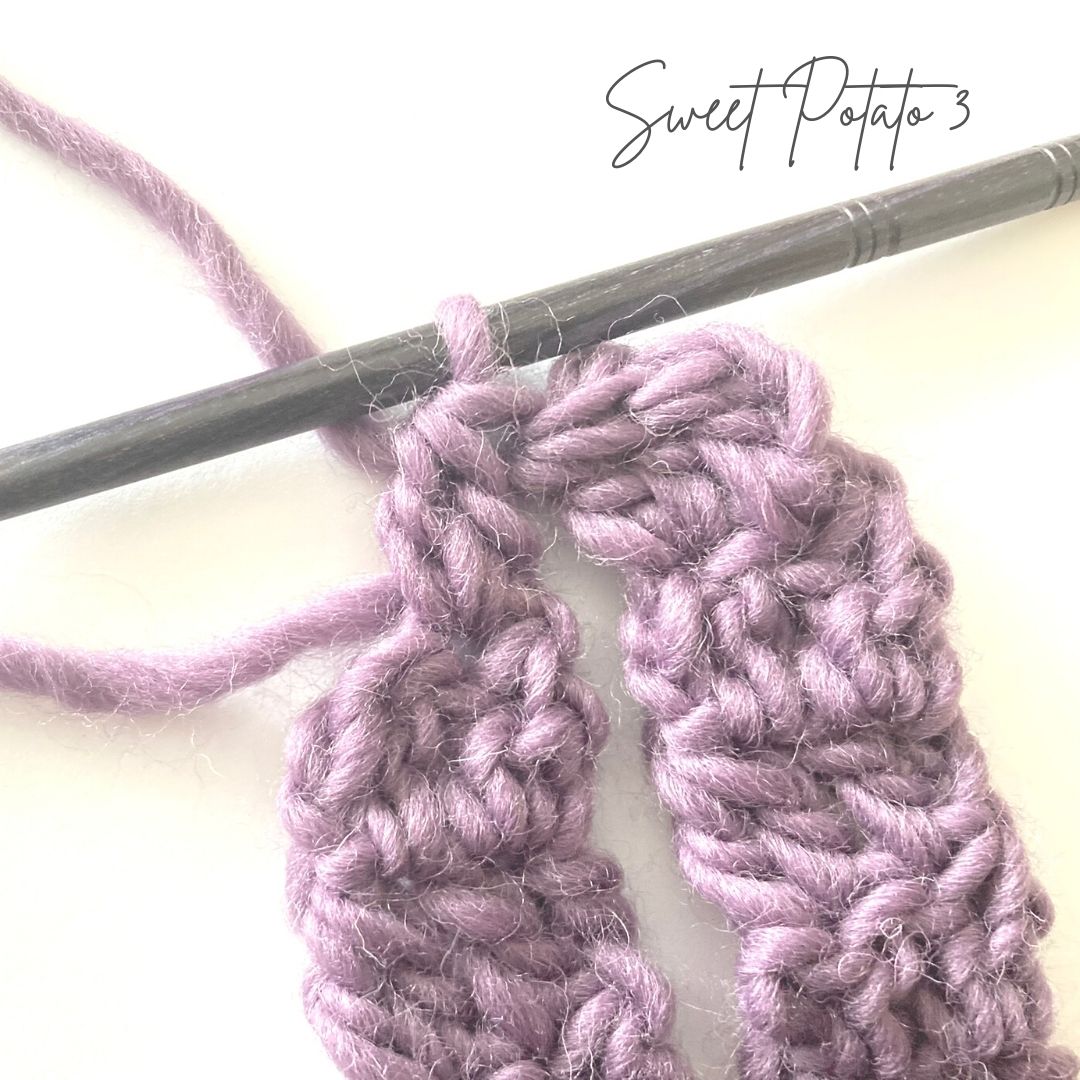
- R7: Ch 2, dc in 1st st, dc2tog in next st, turn (2 dc2tog)

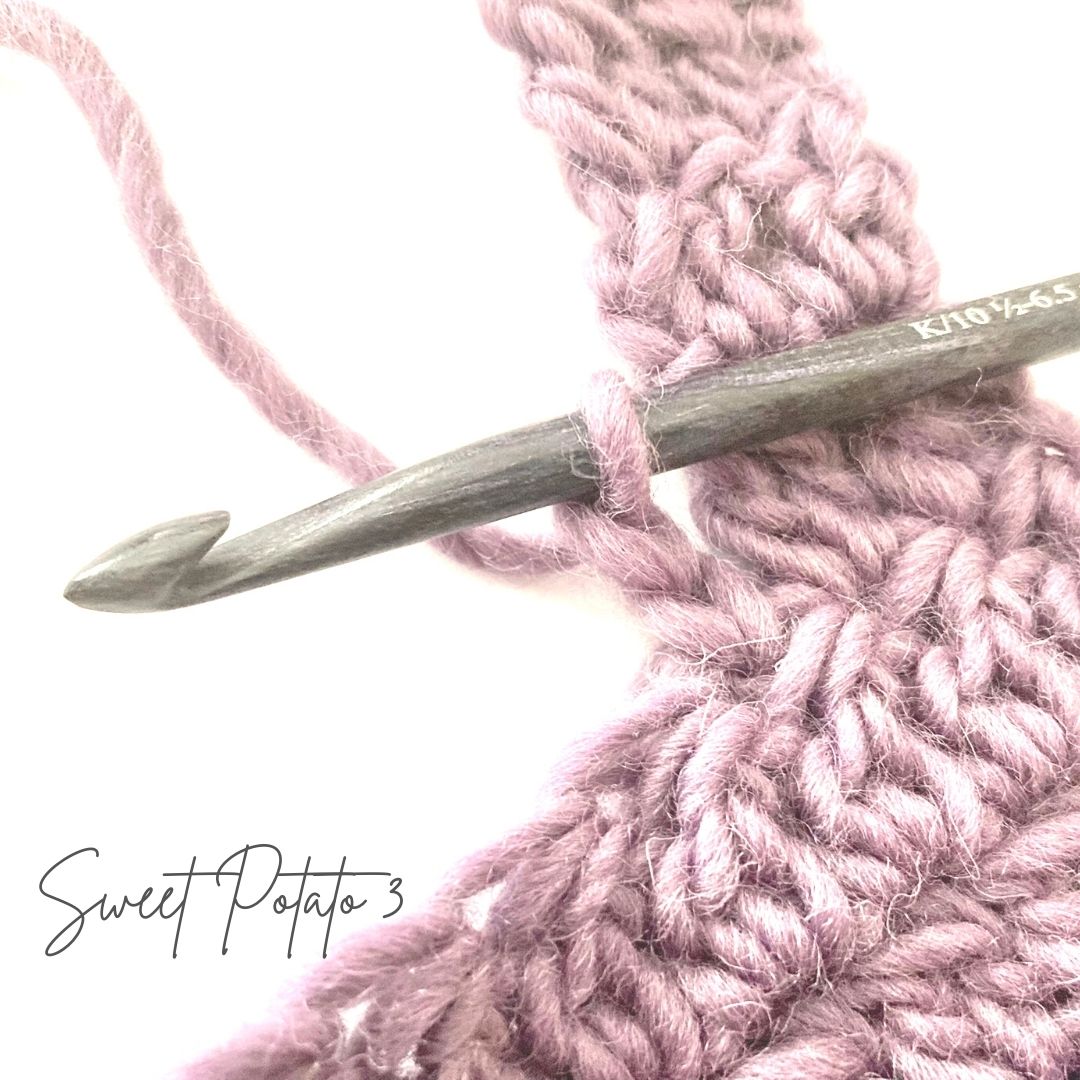
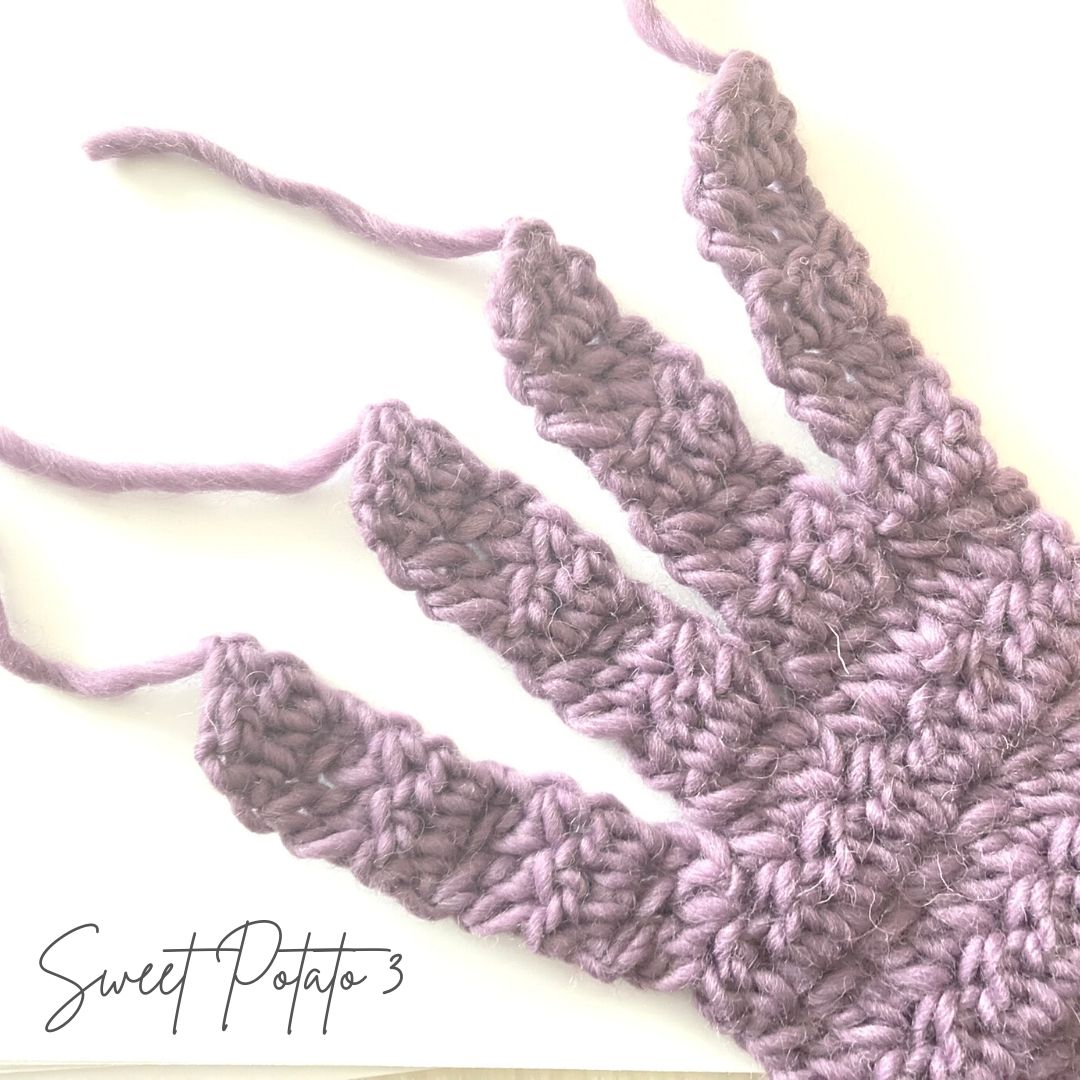
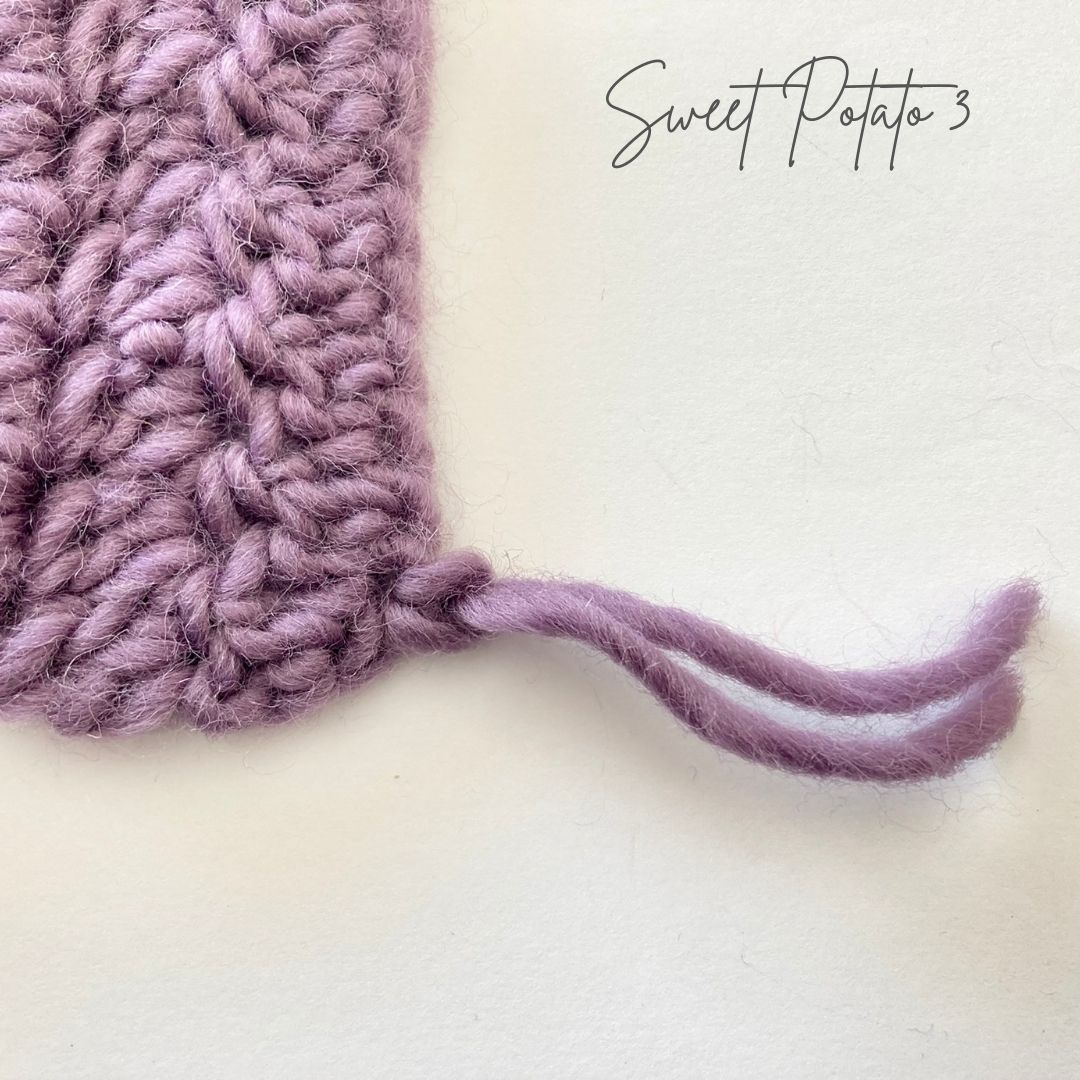
- R8-12: repeat row 7, fasten off and weave in ends
- Join in next unworked st of row 6, ch 2, dc in same st you joined in, dc2tog in next st, turn (2 dc2tog)
- Repeat row 8-12
- Repeat until you have completed 4 strips
- Join in the last stitch of the first strip made. For next row you will work the top of the stitches of each strip to complete 1 solid row again.
- R13: Ch 2, dc in same st you joined in, dc2tog in each st across all strips, turn (8 dc2tog)

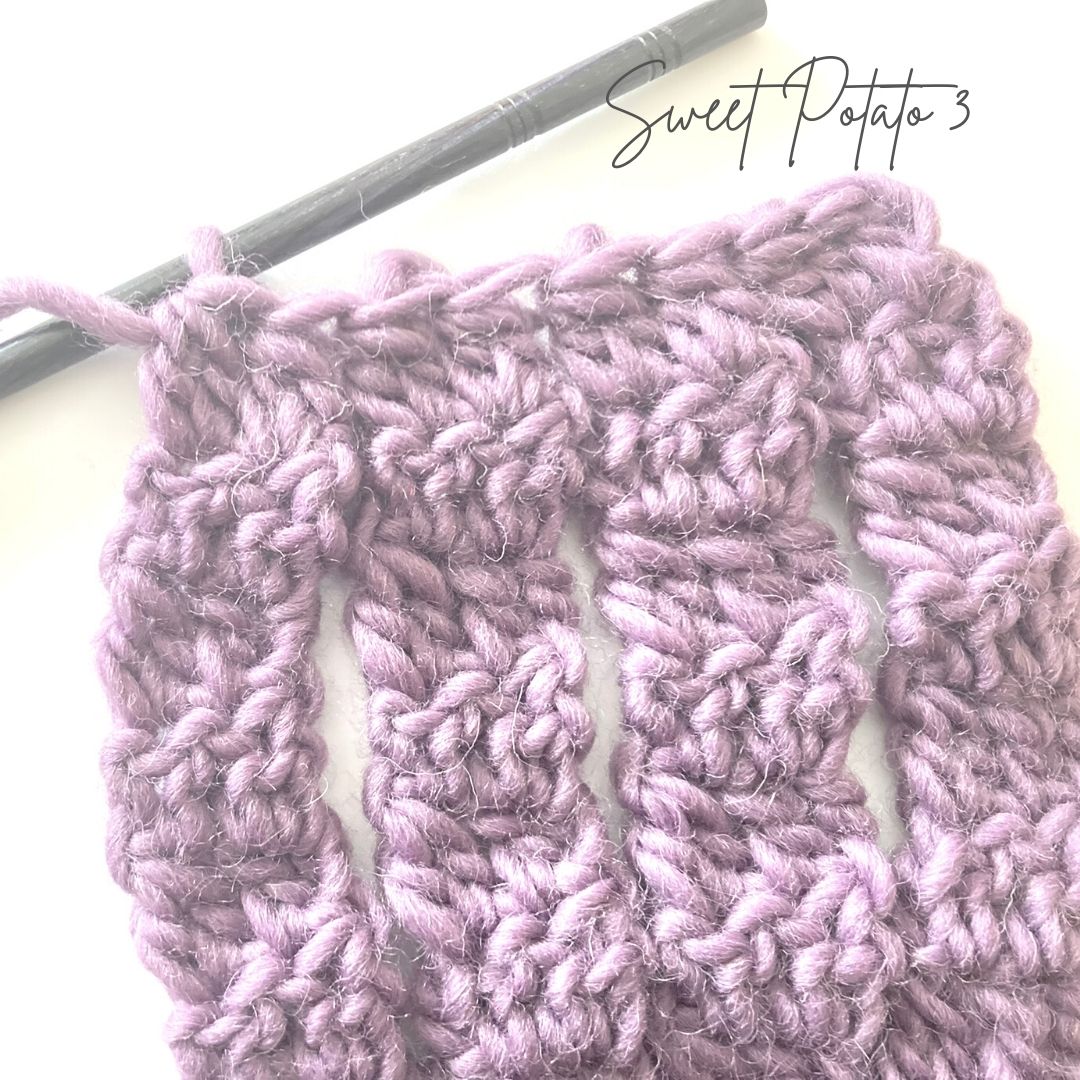
- R14: Ch 2, dc in 1st st, work dc2tog in each st aross row, turn (8 dc2tog)
- R15-40: Repeat row 14
- The scarf should measure 32″. If it is shorter continue to work rows until the correct length has been reached.
- R41-46: Repeat rows 7-12 creating 4 more strips
- Fold scarf as if it was going around your neck, align strips with strips from the beginning of the scarf. At this point you will weave the strips together.
It is now time to create the weave, as a visual learner myself, I thought watching how to do this next step would be more helpful.
- Join with a slst in the far-right corner making sure to work through both sides (top & bottom crochet strip).
- Loosely slst across the top of the loose strips of the weave, when completed fasten off yarn and weave in all ends.
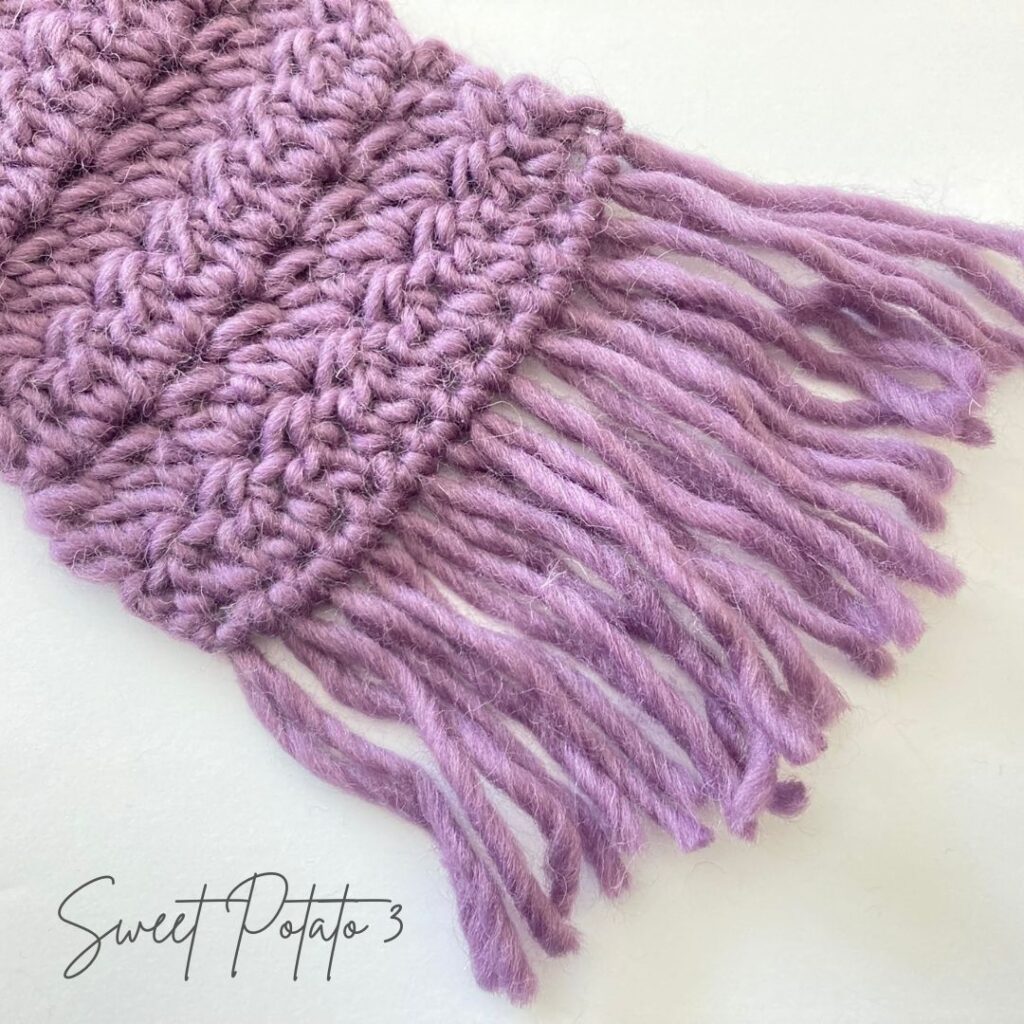
Adding the Fringe
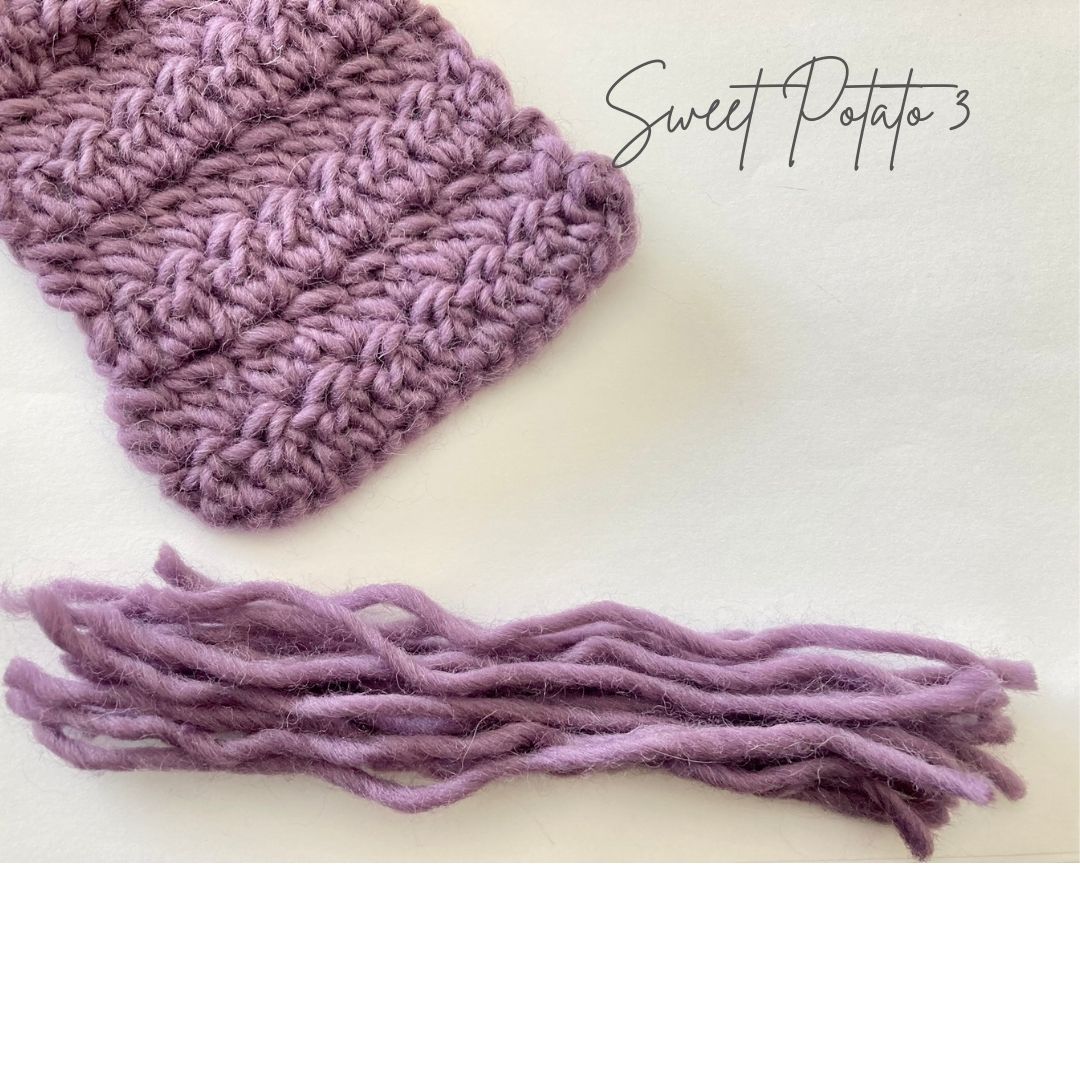

The fringe on this scarf is optional, adding the fringe is fun and quick and you can make it as long or short as you like. When cutting the strips of yarn, make them twice as long as you want your fringe. In the photo tutorial, the yarn is cut at 8″ resulting in 4″ long fringe.
Cut 8 strips of yarn in your desired length. To add the fringe, insert your crochet hook into the top of the stitch and grab the yarn strip that has been folded in half. Pull up a loop and then wrap both yarn ends around the crochet hook to pull through the loop. Repeat this in each stitch across, when you are done trim the fringe all to the same length.
Other Scarf Patterns You May Love
- Vanessa’s Vintage Scarf – click HERE
- Cross My Heart Scarf – click HERE
- Winter Wishes Scarf – click HERE
More Crochet Fun
If you found this article helpful and are interested in seeing more, sign up for my newsletter. All I need is an email address. I promise to not fill your inbox with spam, I will respect your time. Sign up by clicking HERE.
Follow Sweet Potato 3 on Facebook and on Instagram, both are @SweetPotato3Patterns.
However, if you would enjoy a more interactive group experience, you should join my Crochet & Conversations Facebook group, by clicking HERE. It is a ton of fun and I encourage everyone to share their projects, WIPS (works in progress) and inspirations. Plus, you get exclusive deals, are the first to see new releases, give input on designs and have opportunities to win patterns. Join now and get to know others who also enjoy the art of crochet.