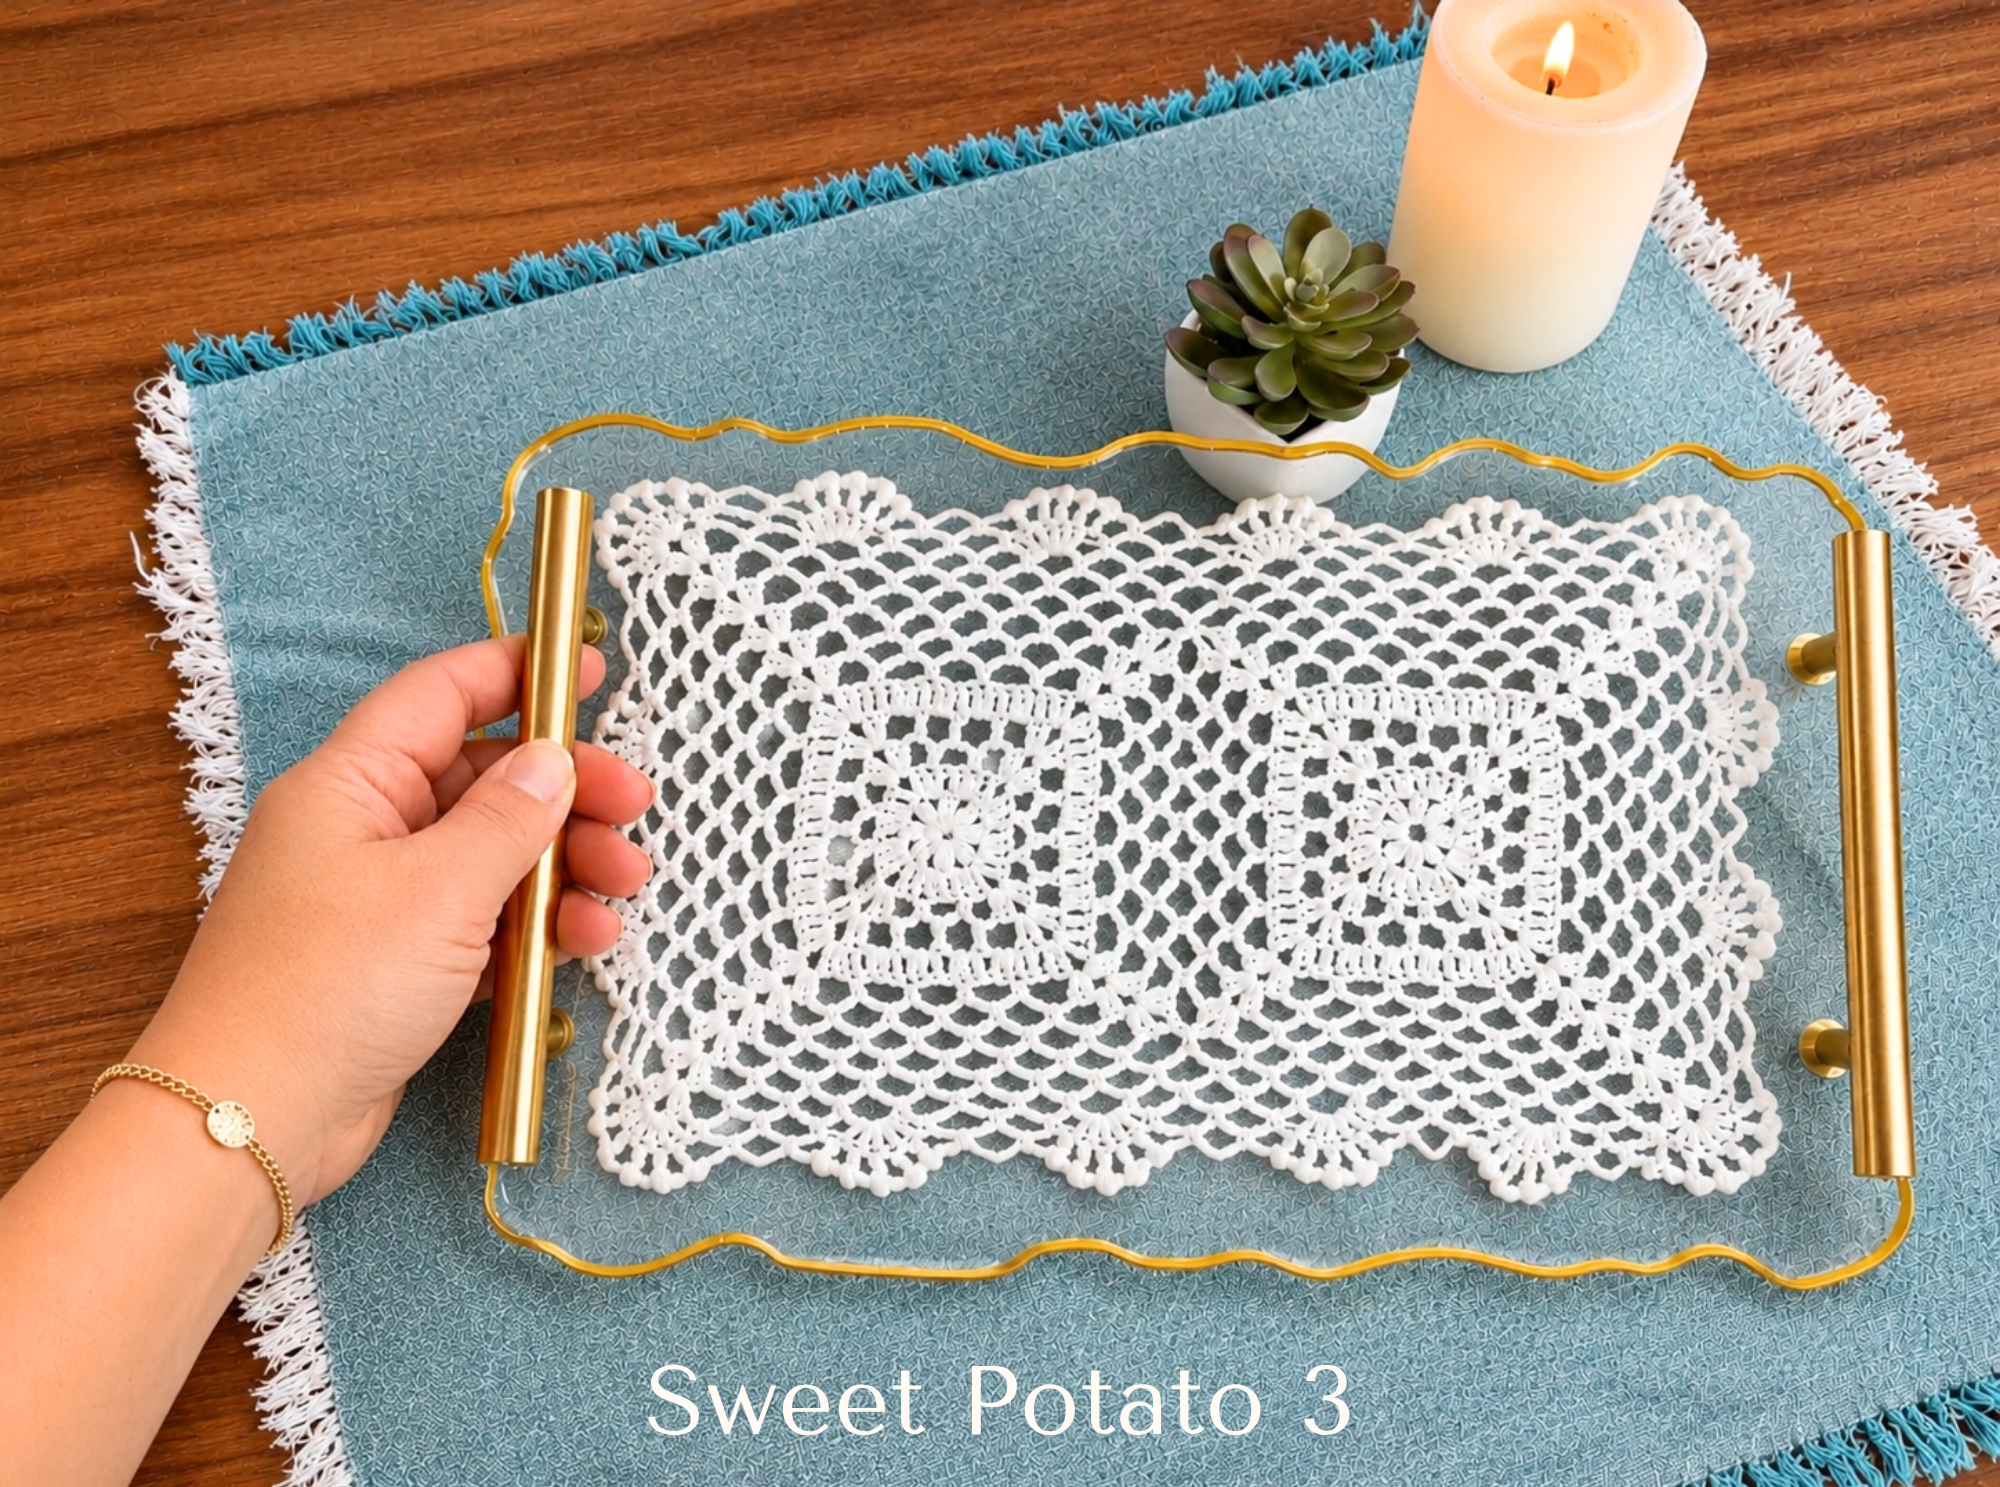
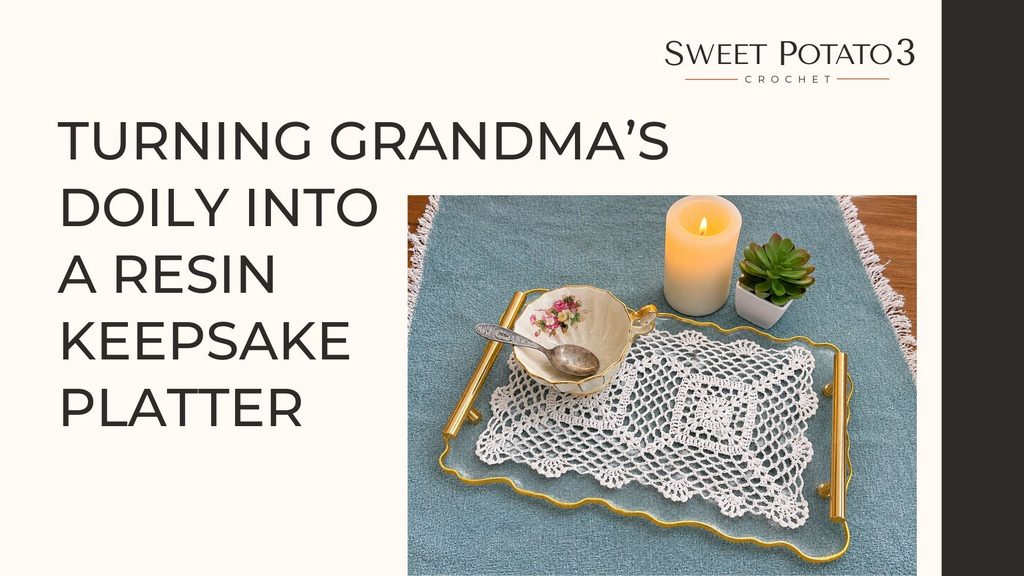
Some handmade treasures are just too special to tuck away in a drawer. Maybe you have a beautiful crochet doily your grandmother made years ago, a vintage lace piece passed down through your family, or a handmade treasure that deserves to be displayed and enjoyed rather than hidden away. What if you could take that treasured piece of crochet and turn it into something beautiful, functional, and completely unique?
That’s exactly what I set out to do with this Grandma’s Doily Epoxy Resin Platter!
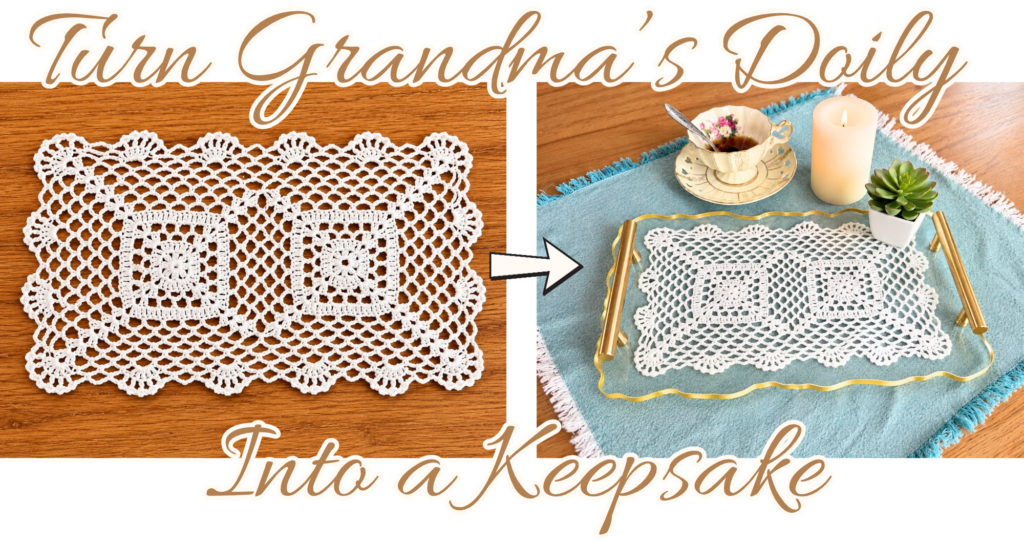

Turn a Family Heirloom Into a Cherished Keepsake
There is something incredibly special about preserving a piece of someone’s handmade work. Every stitch represents time, patience, and love. By encapsulating a doily in crystal-clear epoxy resin, you can transform a family heirloom into a stunning decorative platter that can be displayed, admired, and passed down for years to come.
And the best part? You don’t have to be an experienced resin artist to give this project a try!
I started out making two platters using my grandmother’s crochet doily. Once I finished those, I had just a little epoxy resin left in my mixing cup. Rather than waste it, I grabbed a crocheted snowflake I had lying around and quickly made a coordinating coaster! This led to another order for more epoxy, and a bowl was quickly created too.
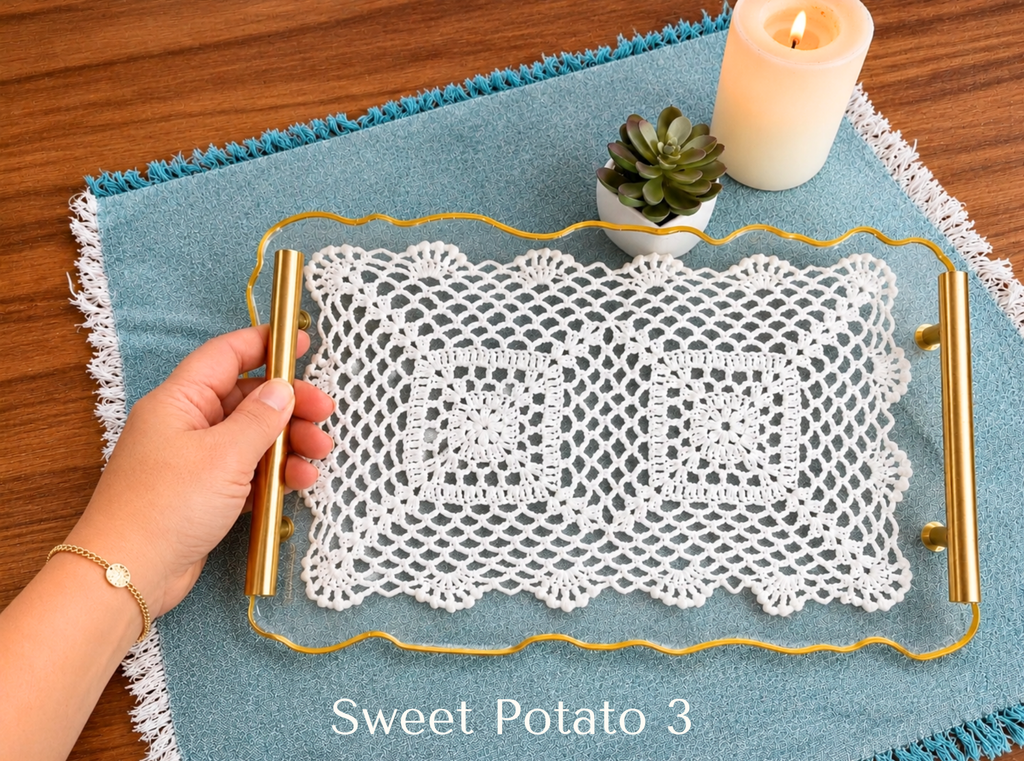
Grandma’s Doily Epoxy Resin Platter Tutorial
Before getting started, remember that this is a project worth taking your time with. Read through the materials list (links to purchase are all included below) and ensure you have everything and understand the steps and time before getting started.
Do you prefer to watch instead?
Watch a full step-by-step video tutorial on YouTube, or keep scrolling for the basic outline and more, and watch the video right in this blog post (at the end).
Materials You’ll Need
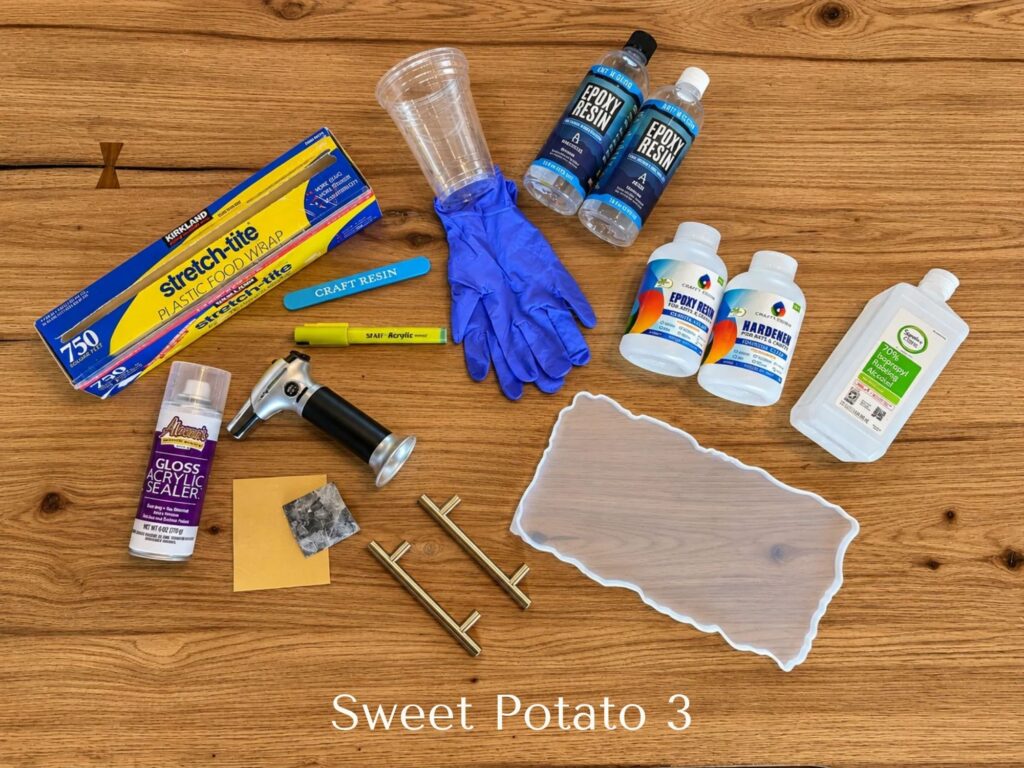
- A crochet doily or other crochet item you want to encapsulate
- Clear epoxy resin suitable for your intended project – I ordered food safe epoxy HERE or here is another food safe option
- Silicone platter or tray molds – I purchased a set that came with handles HERE
- Small silicone coaster mold (optional)
- Clear acrylic spray sealer
- Disposable mixing cups
- Mixing sticks
- Nitrile gloves
- Heat Gun
- Level work surface
- Protective covering for your work surface
- Dust cover or large plastic container
- Fine-grit wet/dry sandpaper (400, 600, 800, 1000, 1500, and 2000 grit)
- Microfiber cloths
- Rubbing Alcohol
- Epoxy or plastic polishing compound (optional)
- Acrylic Paint Pen (optional)
A note about food safety: Choose a resin whose manufacturer explicitly supports your intended food-contact application. A general claim that cured epoxy is food safe does not necessarily mean it is approved for every serving use. Decorative platters are another option if direct food-contact suitability cannot be established. Keep all paints, sealers, and polishing products off food-contact surfaces unless they are specifically approved for that use.
Step 1: Prepare Your Doily
Start by washing your doily if needed. You want to remove any dust, dirt, oils, or residue that might interfere with the resin.
Lay it flat to dry completely. I recommend allowing at least 24–48 hours after it feels dry, especially if it is a thicker cotton crochet piece.
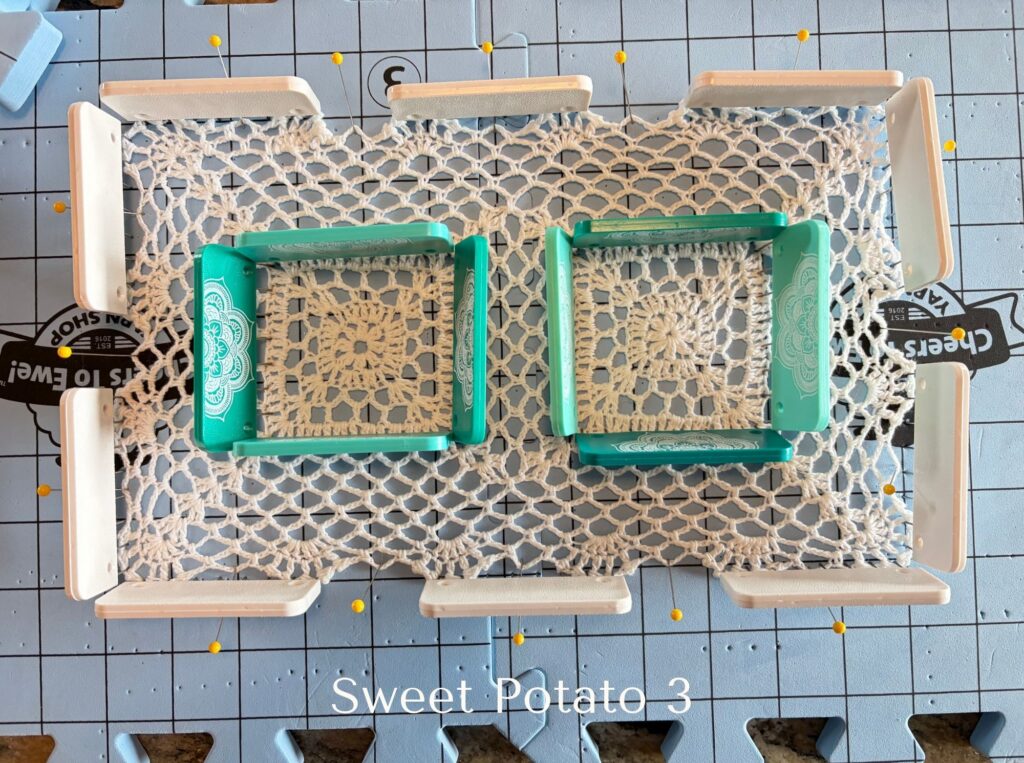
If necessary, gently block the doily so it lays flat and retains its original shape. You don’t want curled edges or folded sections once it is placed in the resin.
Step 2: Seal the Doily
Crochet yarn is porous and can absorb resin. Without sealing, the fibers may darken, become translucent, or release tiny air bubbles into the resin.
I used Aleene’s Gloss Acrylic Spray Sealer.
Once your doily is blocked, remove it from the blocking board. At this point, I covered it with a blocking mat to protect it from the sealer spray. Make sure you are in a well-ventilated area (or outside) and apply a very light coat over the doily. Avoid spraying so heavily that the yarn becomes saturated.
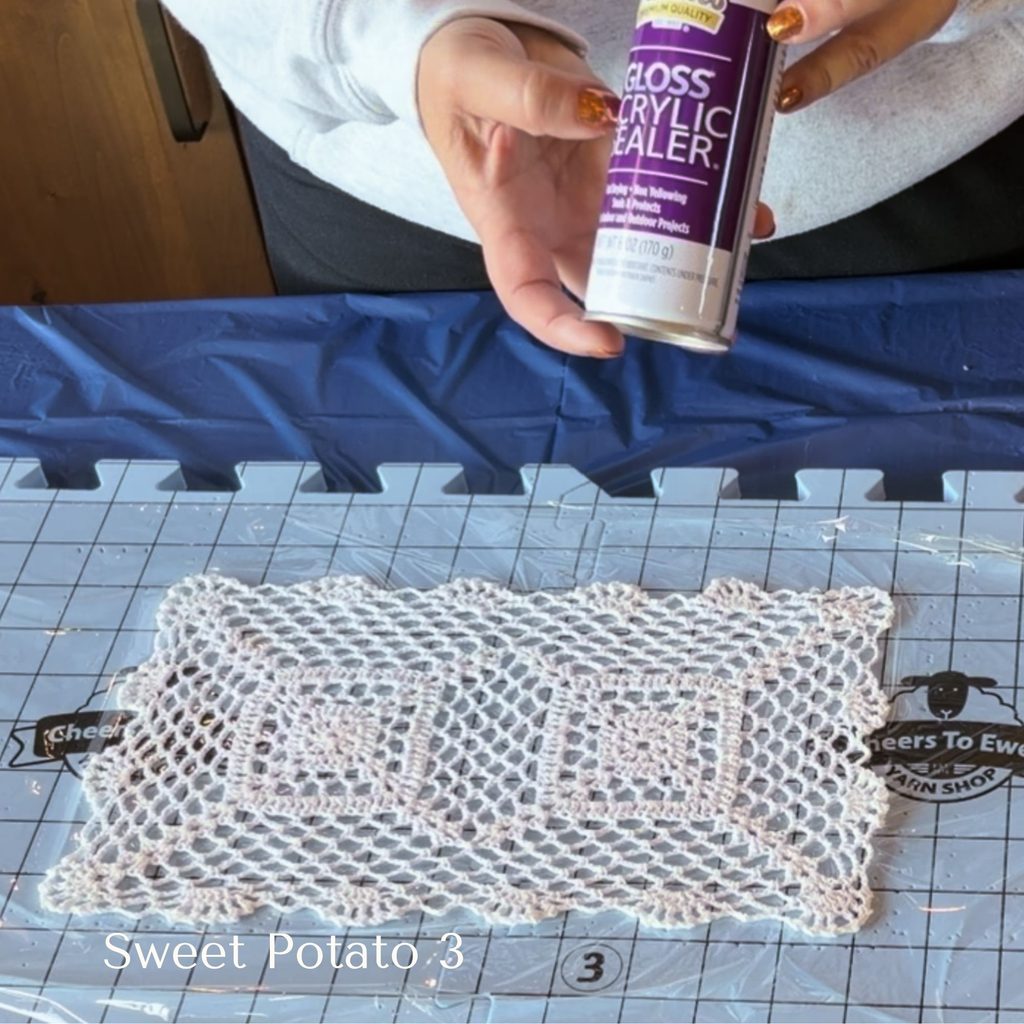
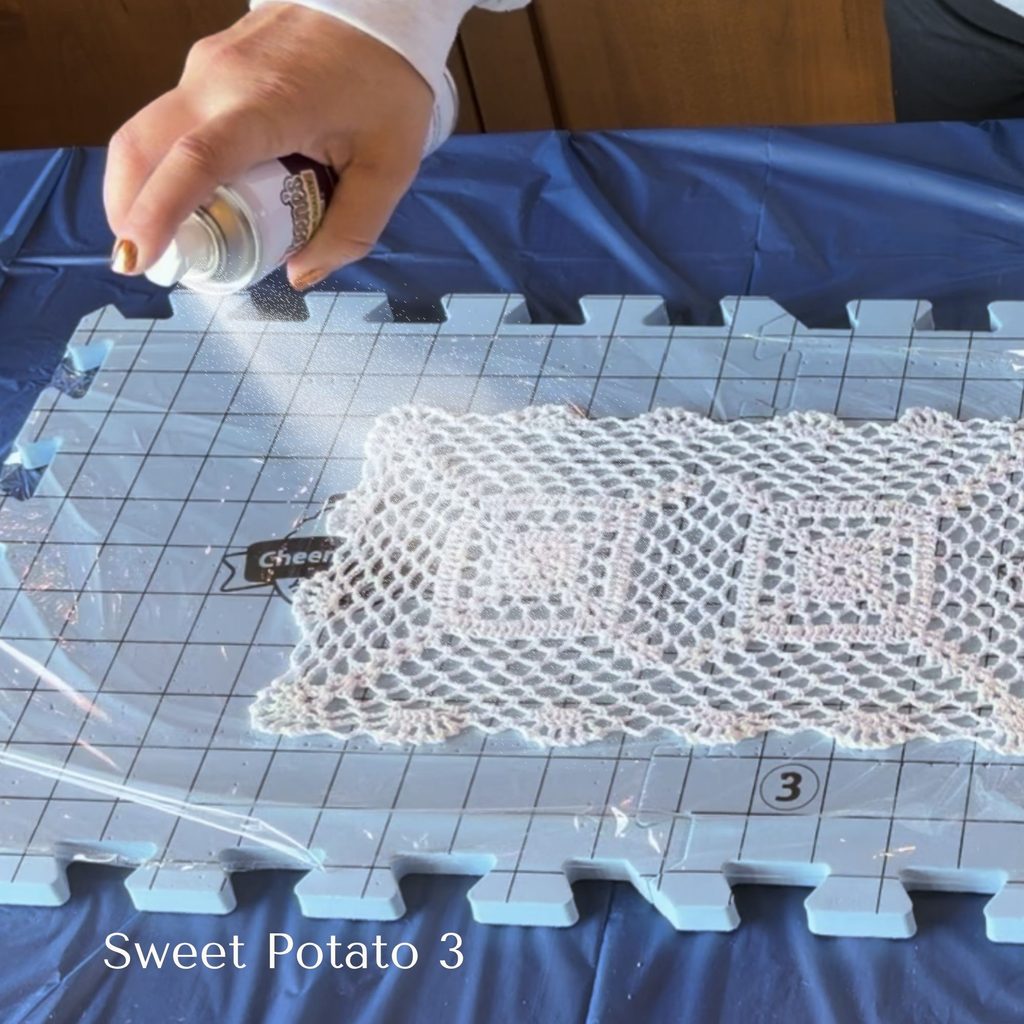
Allow the sealer to dry according to the manufacturer’s directions before applying additional coats. I applied light coats to both sides, allowing each coat to dry before continuing. Aleene’s indicates that its spray acrylic sealer may take 3–7 days for the solvent odor to disappear completely. Allow adequate drying and ventilation before embedding the doily in resin.
My tip: Don’t rush this step! You want the fibers sealed and completely dry before they go into the epoxy.
Step 3: Prepare Your Workspace and Mold
Choose a clean, level surface where your platter can sit undisturbed while curing. Make sure your silicone mold is completely clean and dry. Remove any lint, dust, or debris that might become trapped in the resin.
Check that your mold is sitting level. An uneven work surface can cause the resin to settle unevenly.
Step 4: Mix Your Epoxy Resin
Follow the manufacturer’s instructions for the exact mixing ratio and maximum pour depth.
My tip: Make sure your room is warm at around 75 degrees. I made my platters in my house in the fall, and it was cool (about 64 degrees inside); this resulted in a thicker solution, and it was more difficult for the air bubbles to escape. But don’t overheat it either, or the solution will harden too quickly.
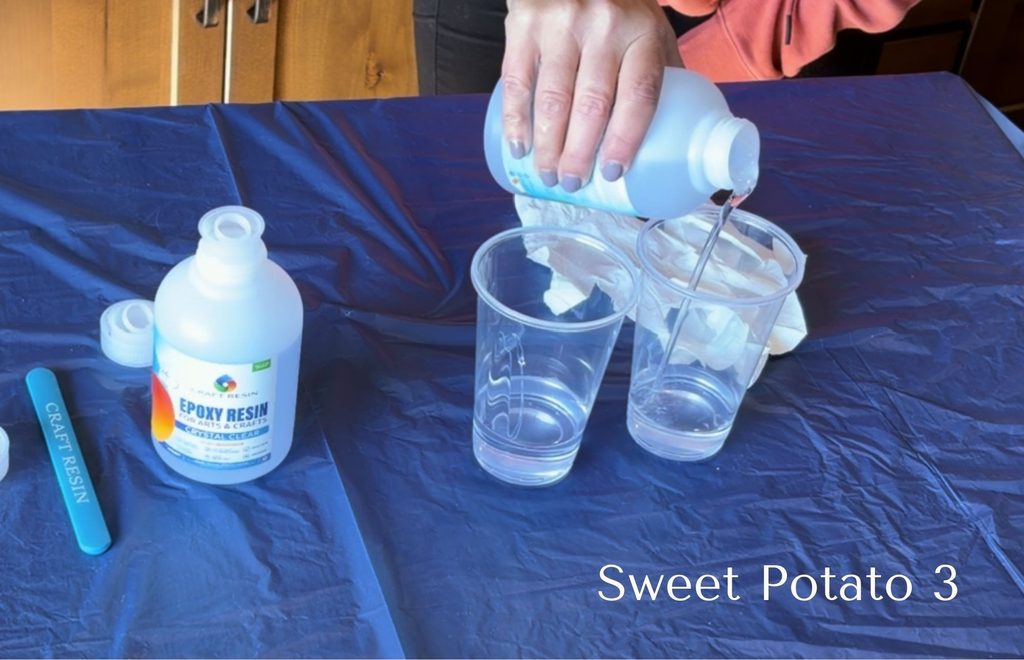
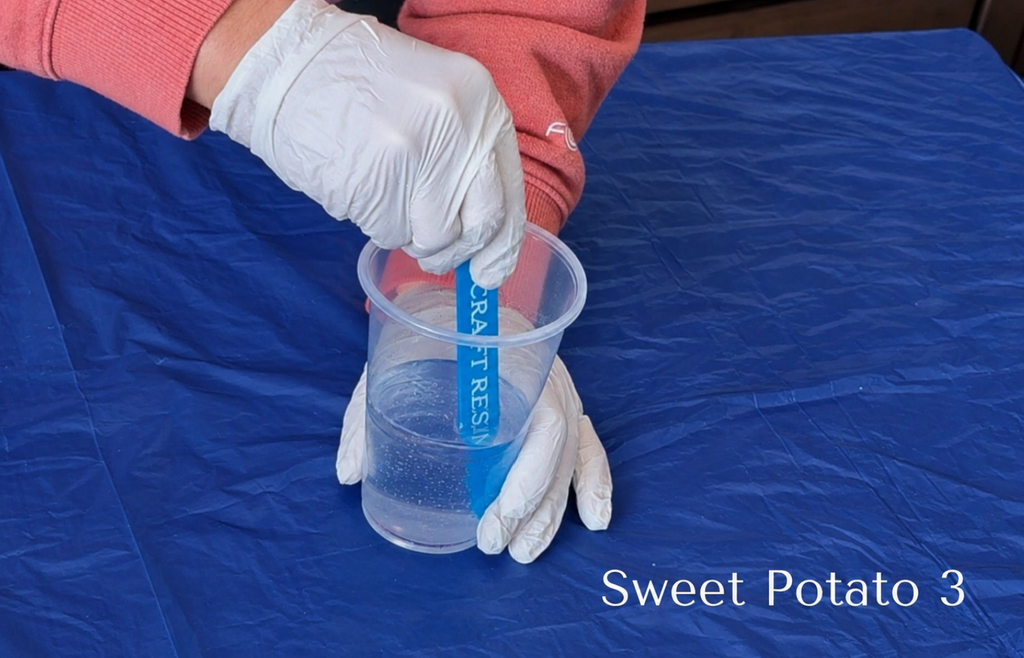
Measure your resin and hardener carefully. Slowly stir the mixture, scraping the sides and bottom of your mixing cup frequently. Mix thoroughly, but avoid stirring too aggressively, as this can introduce additional air bubbles.
If your resin instructions call for a second mixing cup, follow that process as well.
My tip: Pay attention to the amount of resin your molds require. I started with two platter molds and had a little resin left over, which was just enough to make a small crocheted snowflake coaster!
Step 5: Pour Your First Layer of Resin
Follow the resin manufacturer’s instructions for when to add the doily or other encapsulated items. Depending on the product, this may be while the resin is still liquid or at a specified stage of curing. I waited about 20 minutes and could have maybe gone another 10 for a total of 30 minutes.
Pour a thin layer of clear resin into your mold. You want enough resin to create a clear foundation beneath the doily.
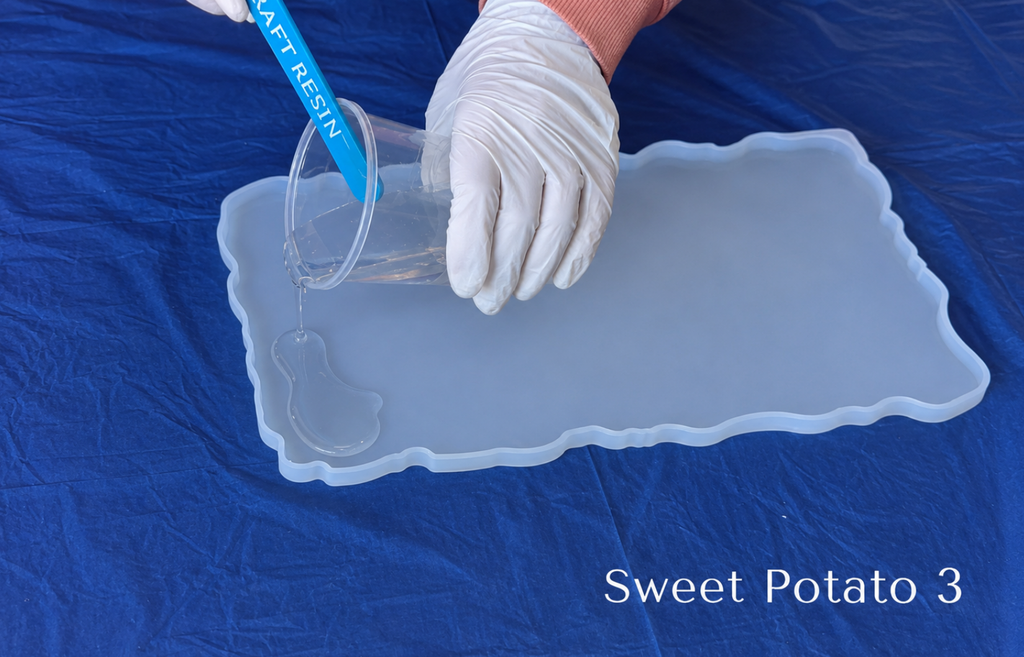
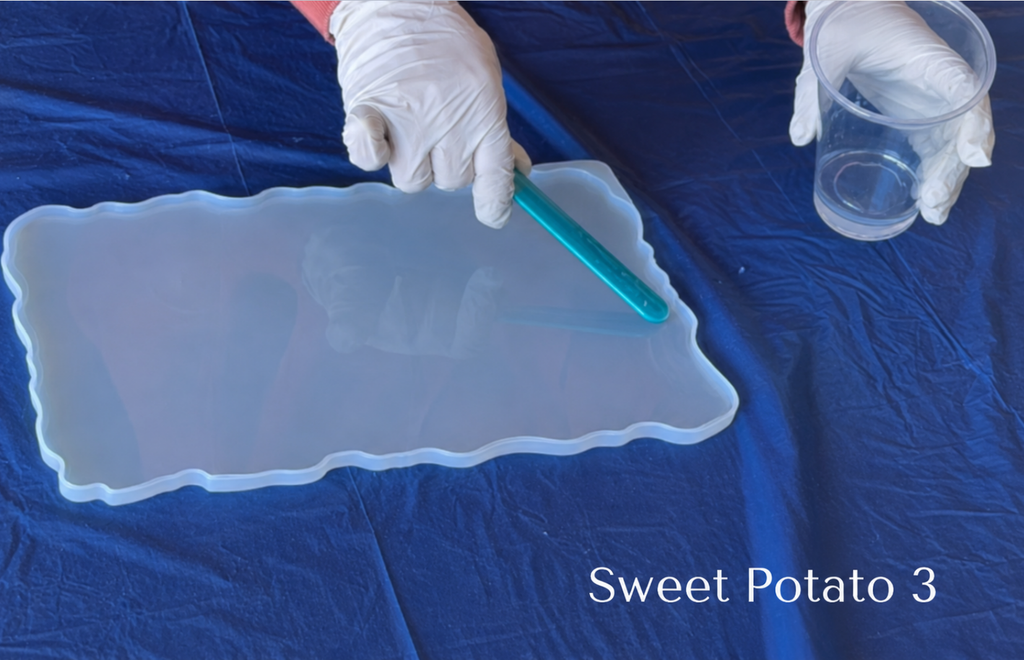
Don’t rush ahead if your resin requires a particular waiting period.
As your resin sets, you will see most of the air bubbles rise to the top and pop. This is when you can use your heat source (lighter, heat gun) to encourage the bubbles to rise to the top. I notices as I moved the heat over the top many of the small bubbles immediately popped. Keep an eye on it. I checked my tray every 5 minutes, used the heat gun, and then rechecked.
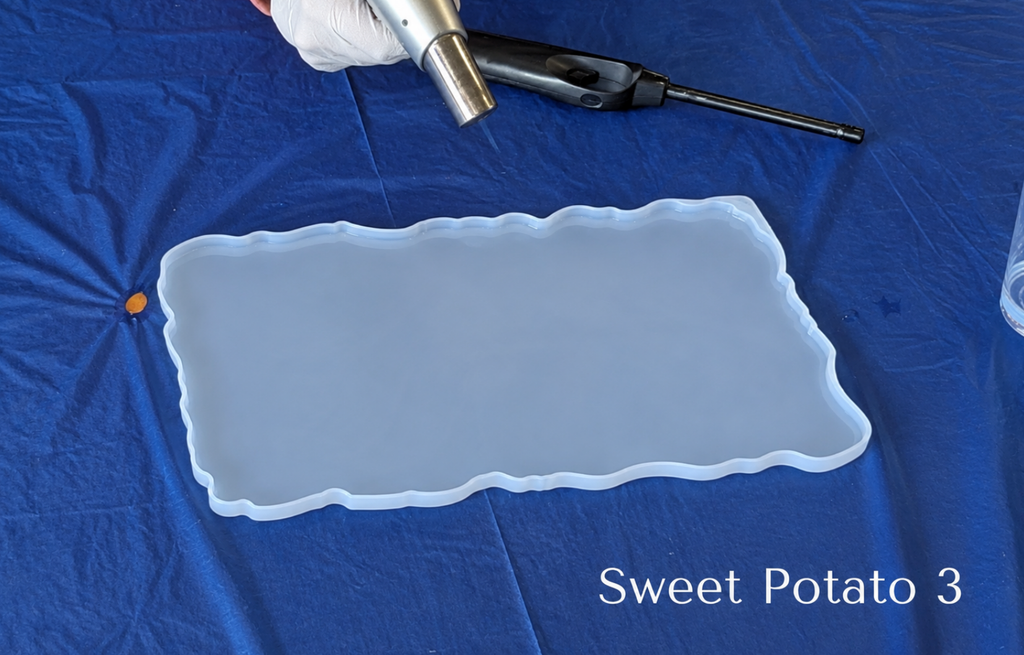
Step 6: Position Your Crochet Doily
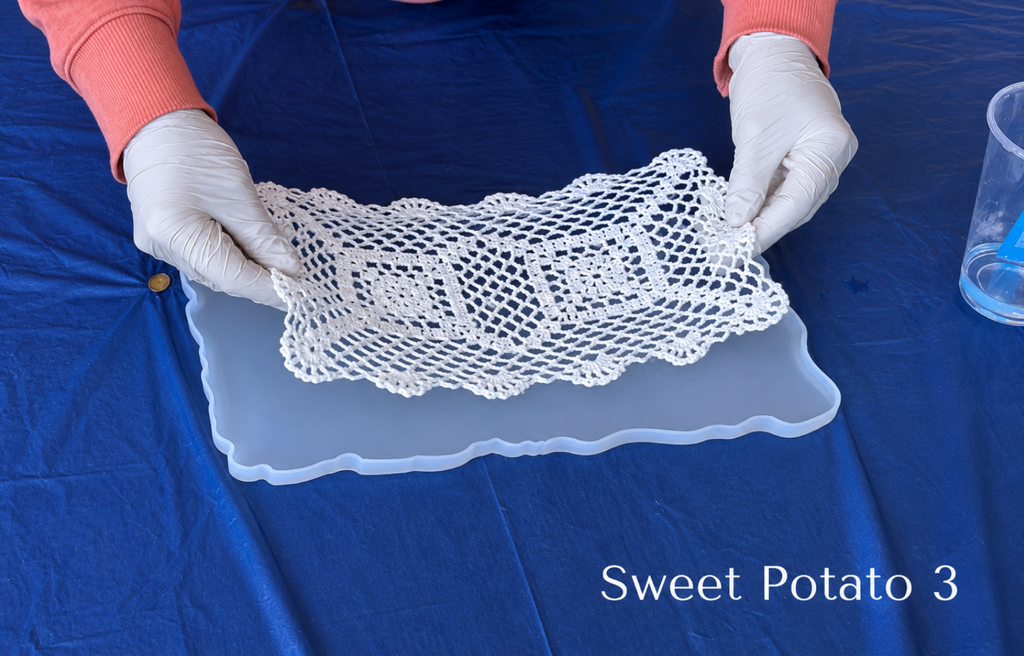
Now comes the fun (and kind of scary) part! Carefully lower your sealed doily into the resin. Take your time positioning it exactly where you want it.
My tip: Be mindful of which side of the doily is facing up. If your tray is facing up, be sure that the right side of the doily is also facing up. In my next project of a bowl, the bowl is created with the bottom up, so the doily had to be placed with the wrong side up.
Use the silicone tool, or I also used clean wooden toothpicks to gently adjust the placement. Make sure the doily is lying flat and isn’t folded or bunched up. Pay particular attention to the edges.
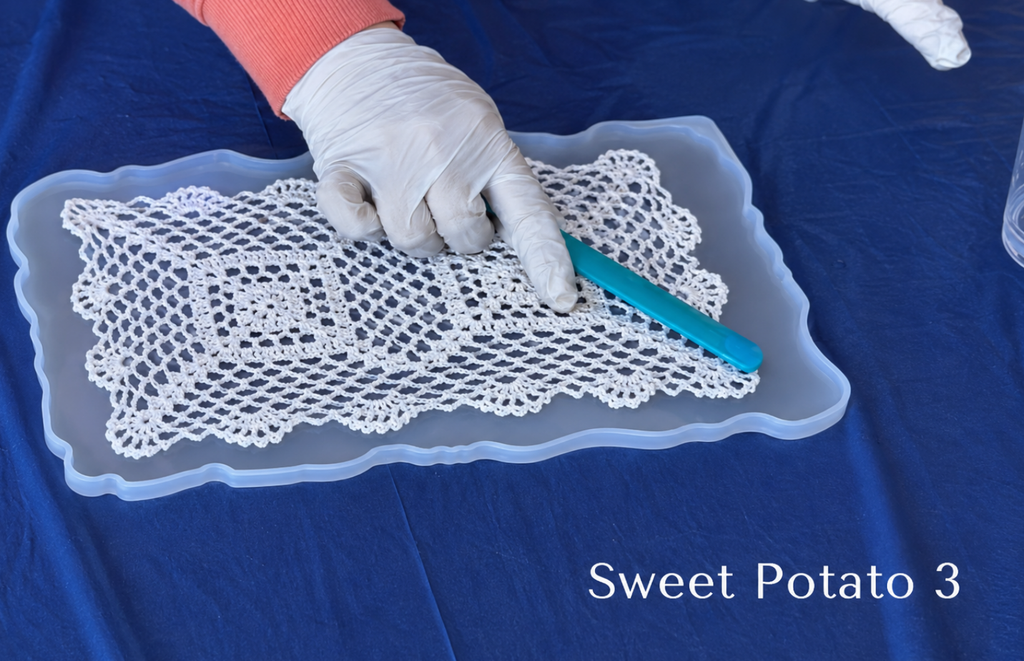
My tip: Look closely for trapped air underneath the crochet. Tiny bubbles can hide in the openings between stitches. Gently work them out using a suitable tool without stretching or distorting the doily. Do not use a heat gun at this point; doing so may result in burning the fibers of the doily.
Step 7: Add the Remaining Resin
Once the doily is positioned, add the remaining clear resin according to the manufacturer’s recommended layering and pour instructions. Pour slowly and evenly, making sure the doily is completely encapsulated. You want the finished piece to have a smooth, clear surface with the crochet visible underneath.
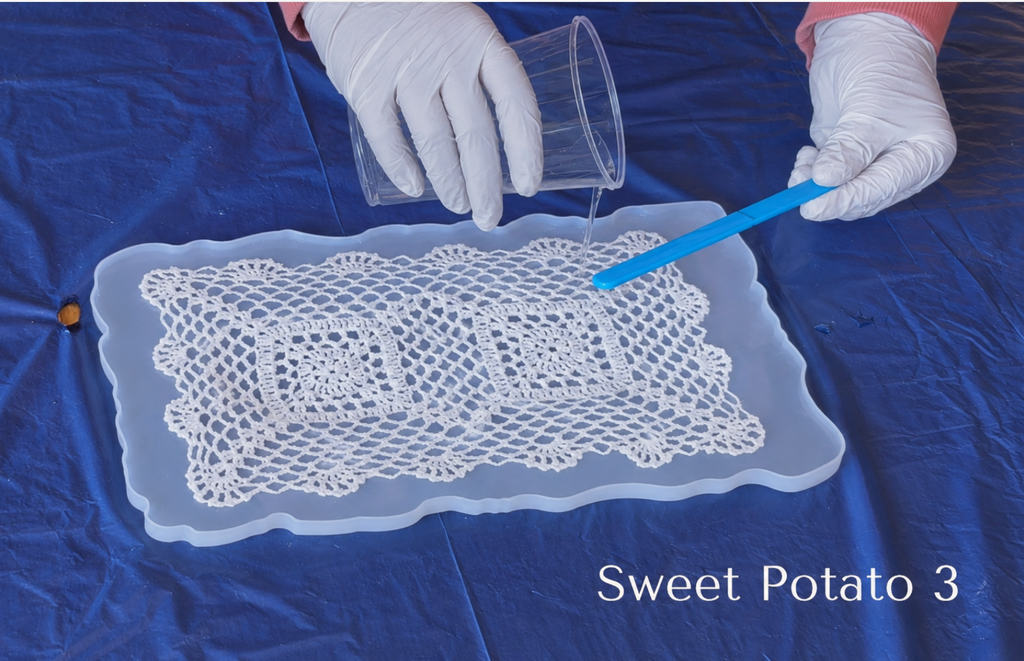
Keep an eye on the surface as the resin settles. Additional bubbles may rise from the crochet fibers.
Use only the bubble-removal method recommended by your resin manufacturer. If using a heat gun is permitted, use very brief, gentle passes. I used heat to help the heat bubbles rise and pop; the heat also helps smooth out any uneven surfaces. Excessive heat can distort the crochet or damage the resin. Once the bubbles are removed, leave the platter undisturbed.
Step 8: Add Handles (optional)
If you plan on adding handles to your project this is a great time to do it. I had two handles and eyeballed where to place them. Just place them in he resin and they will stay in place as it cures.
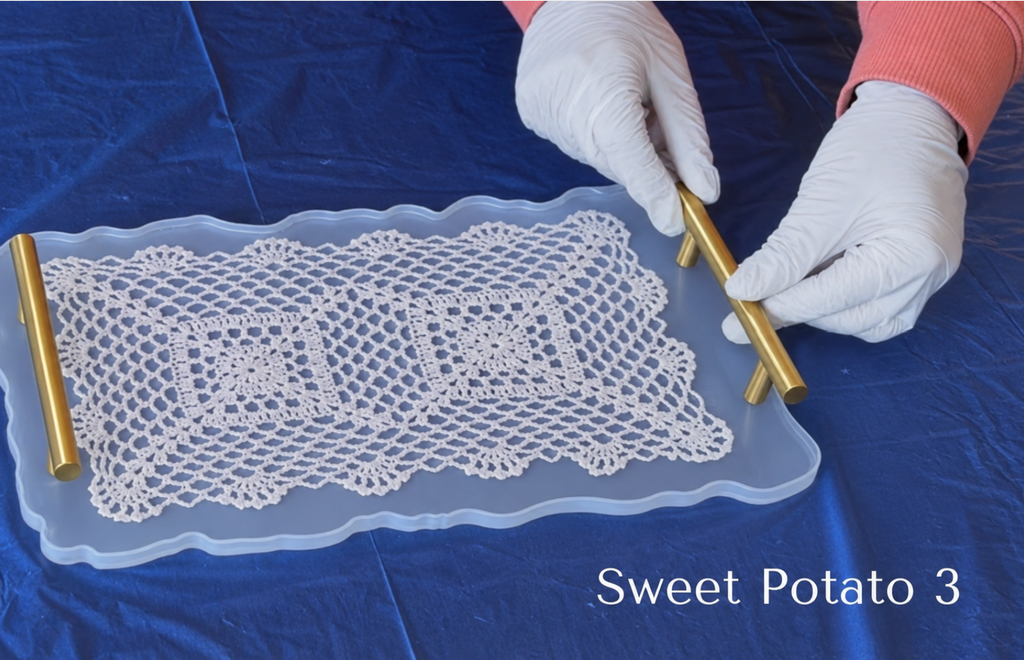
If you prefer, you can let your resin tray completely cure and then add the handles. I believe the process is to drill holes and then attach the handles. But I was nervous that drilling might crack the resin and wanted an easier option, so I just placed them in before curing.
Step 9: Let the Resin Cure
Follow the manufacturer’s full curing instructions. Although some resins can be demolded after approximately 48 hours, that doesn’t necessarily mean they have reached their full cure. Temperature, humidity, and the thickness of the pour can affect curing time.
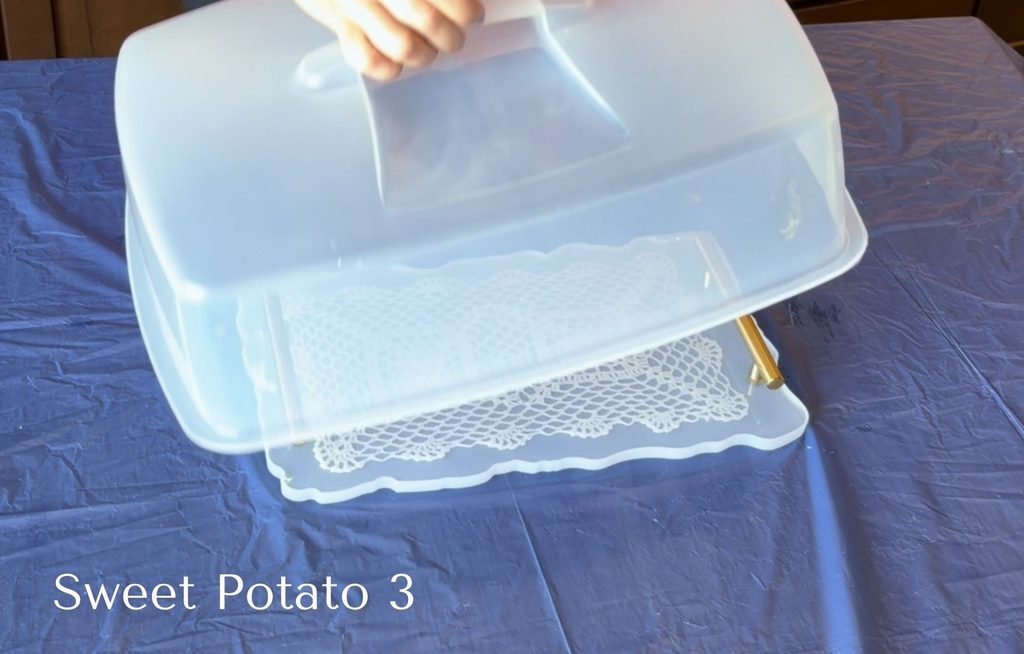
I do recommend that you cover your project to protect it from dust and debris. I happened to have a gnat fly into my resin and was able to remove it before it set. I used a cupcake carrier, which covered my entire tray. Prop the lid up so there is airflow to help with proper curing.
My tip: Do not cover with plastic wrap, a towel, or any other object that may fall into the resin. I used a cupcake cover (hard plastic) and propped it over the tray for the duration of the curing time.
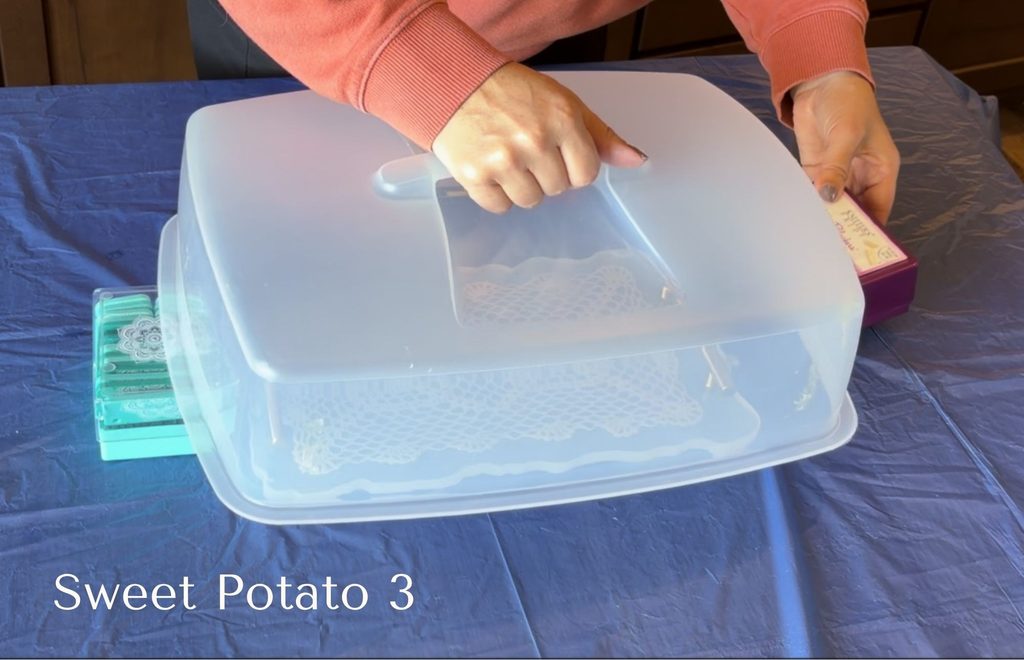
My tip: Resist the temptation to remove your platter too early. A little extra patience is much better than damaging your finished project.
Step 10: Remove the Platter From the Mold
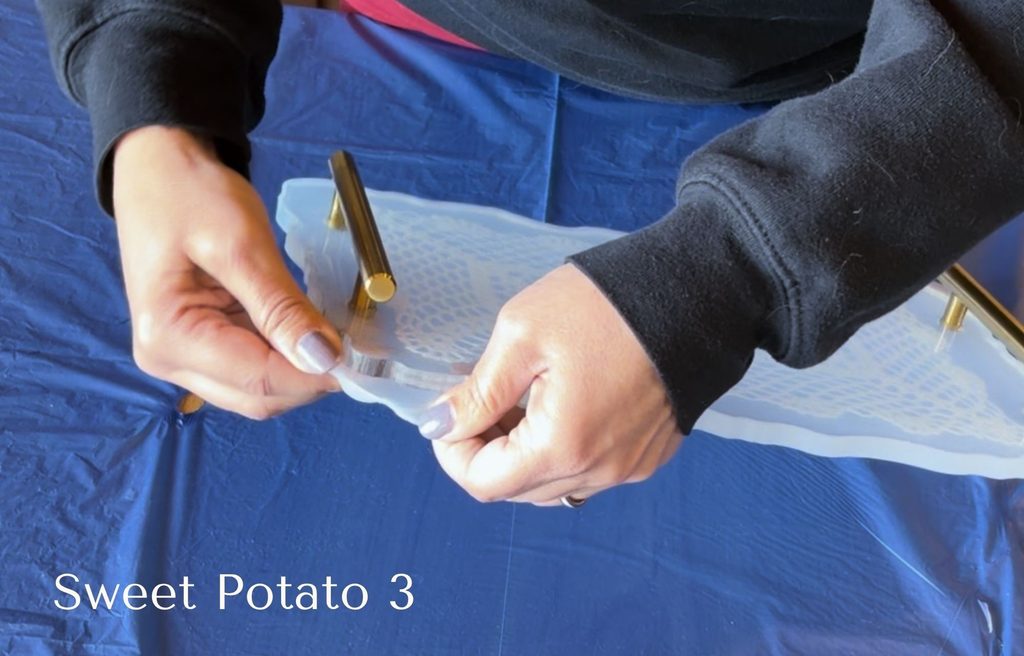
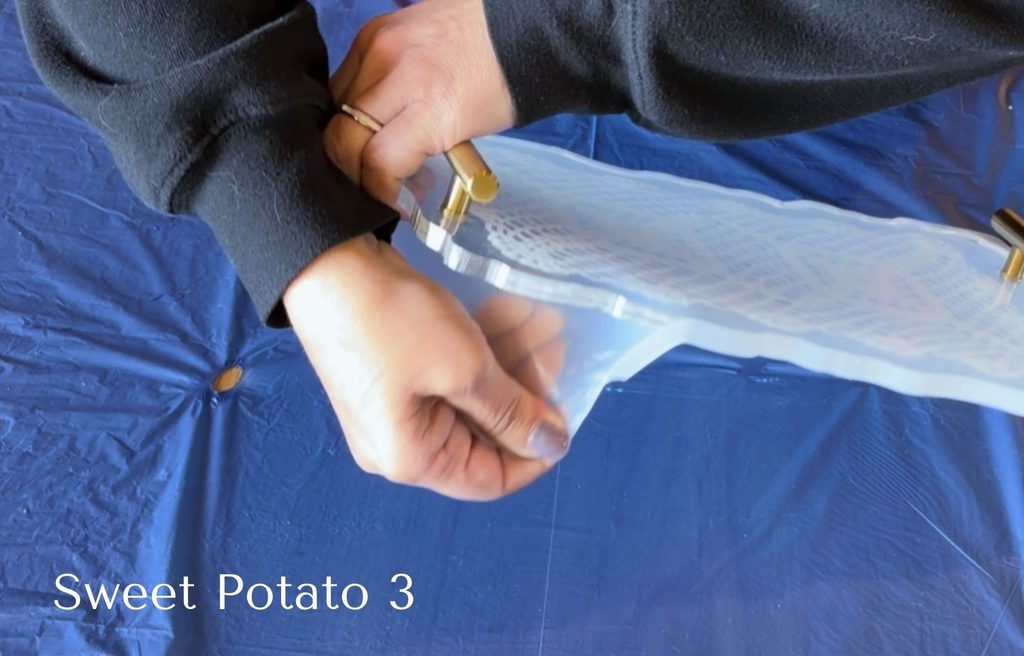
Once the resin has reached the manufacturer’s recommended demolding stage, gently flex the silicone mold to release the platter. Work slowly around the perimeter rather than pulling the platter straight up. I started at the corners and worked my way around the mold.
I discovered that my molds held onto the edges more than I expected, and small pieces of silicone actually tore away and remained attached to the platter. If this happens, gently peel away the silicone using your fingers.
Step 11: Sand and Smooth the Edges
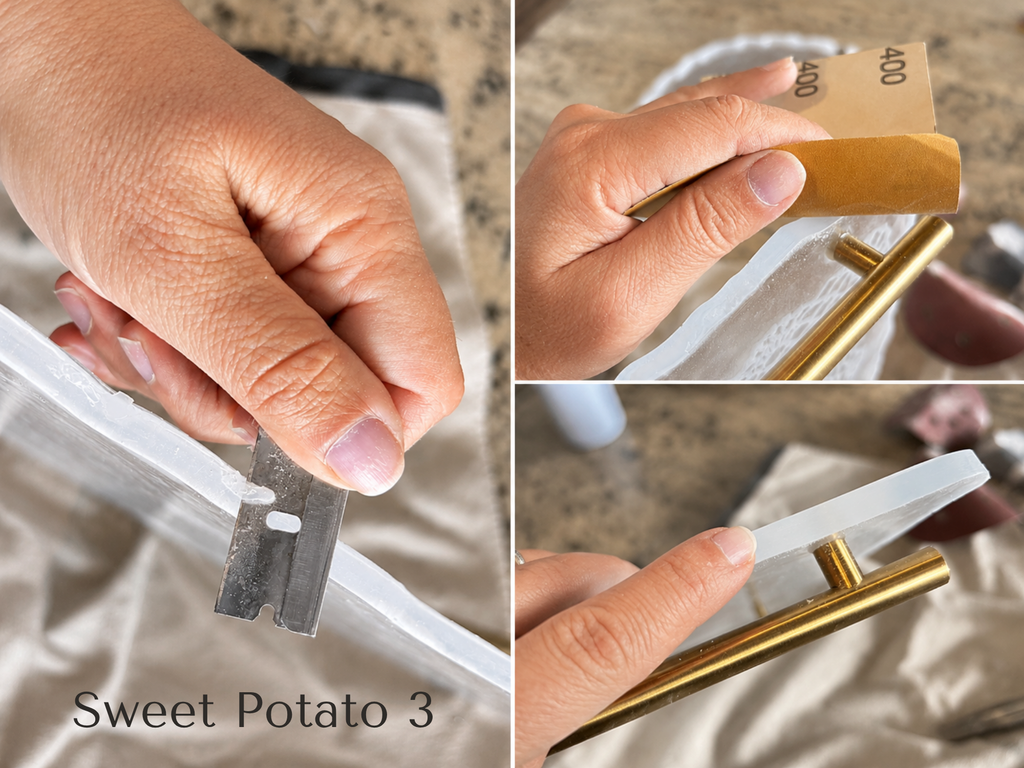
After removing the platter, inspect the edges carefully. Since my tray did not remove perfect from the mold, there were bits of silicon that stuck to the edges of the tray. After trying many ways from picking at it with my fingers, to using a plastic food scraper, my best luck was with a razor blade. I very carefully cut the silicone away from the edges of the tray.
I then needed to smooth out the edges. This is where sanding came in. I started with 400–600 grit wet/dry sandpaper and gradually worked through finer grits:
- 400–600 grit to smooth raised areas
- 800 grit to refine the edge
- 1000 grit to reduce sanding marks
- 1500 grit for additional smoothing
- 2000 grit for an even finer finish
Use light pressure and follow the scalloped shape of your mold. You want to smooth the raised areas without flattening the decorative edge. Wet sanding by hand helps minimize dust. Wear appropriate protective equipment and follow safe epoxy-sanding practices.
Step 12: Restore the Crystal-Clear Finish
After sanding, you may notice that the edges look cloudy or foggy. Don’t panic! This is normal because sanding creates tiny scratches in the epoxy.
To bring back the shine, continue with finer polishing stages as needed, then use a polishing compound specifically suitable for epoxy or clear plastics.
A product such as Novus No. 2 Fine Scratch Remover is what I used to bring back a shiny top coat finish.
Step 13: Add a Decorative Edge (Optional)
I decided that I might like to give my platters a little extra definition by adding a gold finish to the outside edge.
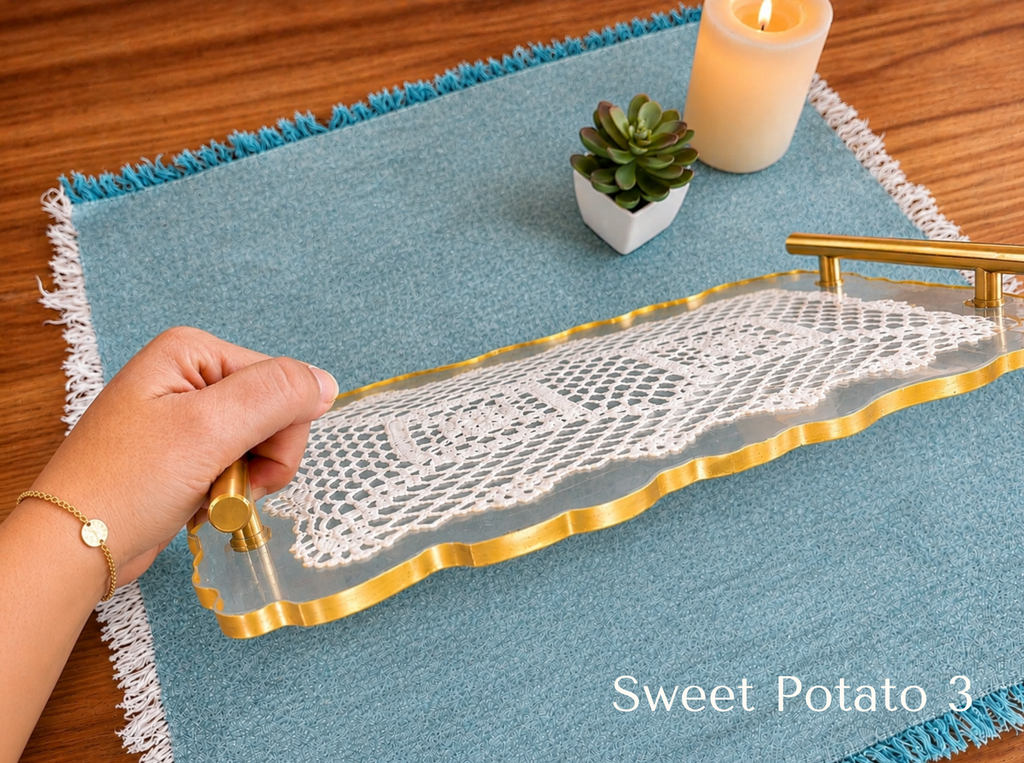
A gold accent would create a beautiful contrast against the clear resin and the delicate crochet underneath. It also coordinates with the gold handles in the tray and makes it look like a professional finish.
You could also leave the edges completely clear for a simple, timeless look.
Watch the Full YouTube Step-by-Step Tutorial
Don’t Waste That Leftover Resin!
I happened to have about a cup of resin left after I did my final pour, so I looked around to see what I could come up with. Since it is getting close to the holidays, I remembered that I had a bunch of crocheted snowflakes from years ago. I thought, hmmm, that could be a cute project. Next I dug through my Tupperware drawer and found a silicone lid…
A Handmade Treasure Worth Showing Off
I absolutely love the idea of taking something handmade by someone you love and turning it into something you can display and enjoy every day.
My grandmother’s doily has been given a new life, and instead of sitting tucked away somewhere, it can now be admired for all the beautiful little stitches that went into making it.
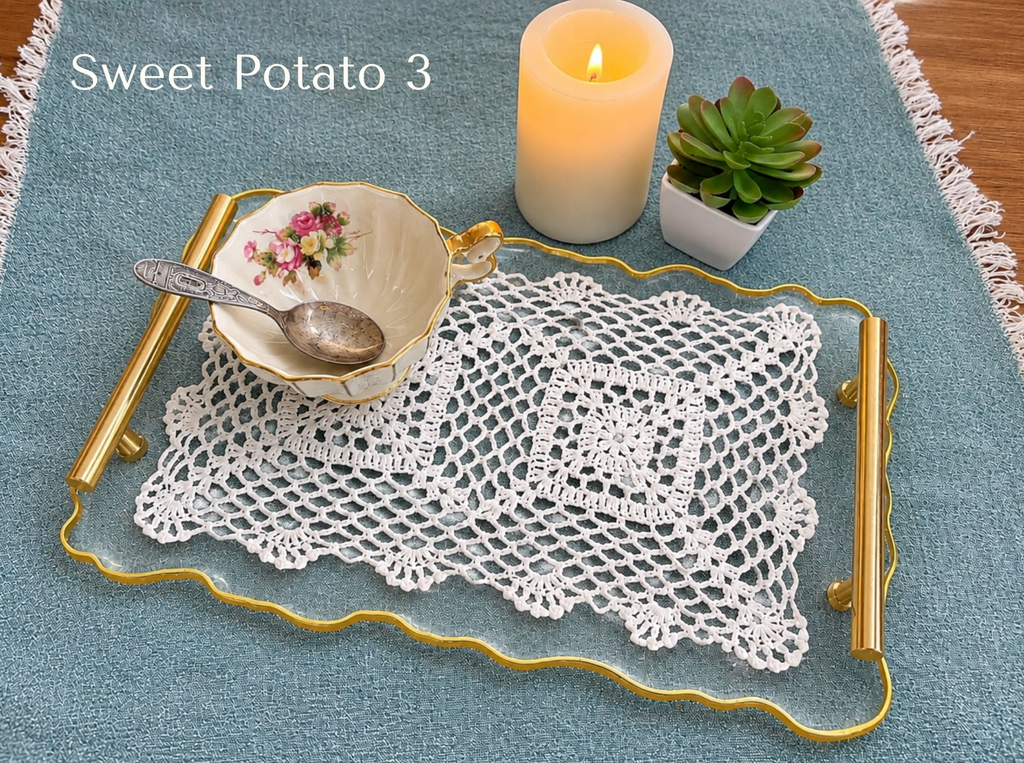
These platters would make incredibly thoughtful holiday gifts for moms, grandmothers, daughters, sisters, or anyone who appreciates handmade treasures. You could use a vintage doily, a special crochet motif, a piece of lace from a wedding dress, or even a small handmade item that has been passed down through your family.
The possibilities are endless, and every finished piece tells its own story.
Sometimes the most meaningful gifts aren’t something brand new. They’re something old, handmade with love, and given a beautiful new purpose.