One of my favorite stitches to crochet is the mini bean stitch. I love how it works up quick, has a rich texture to it and leaves your crocheted fabric plush and soft. Seriously, what could be better than this?
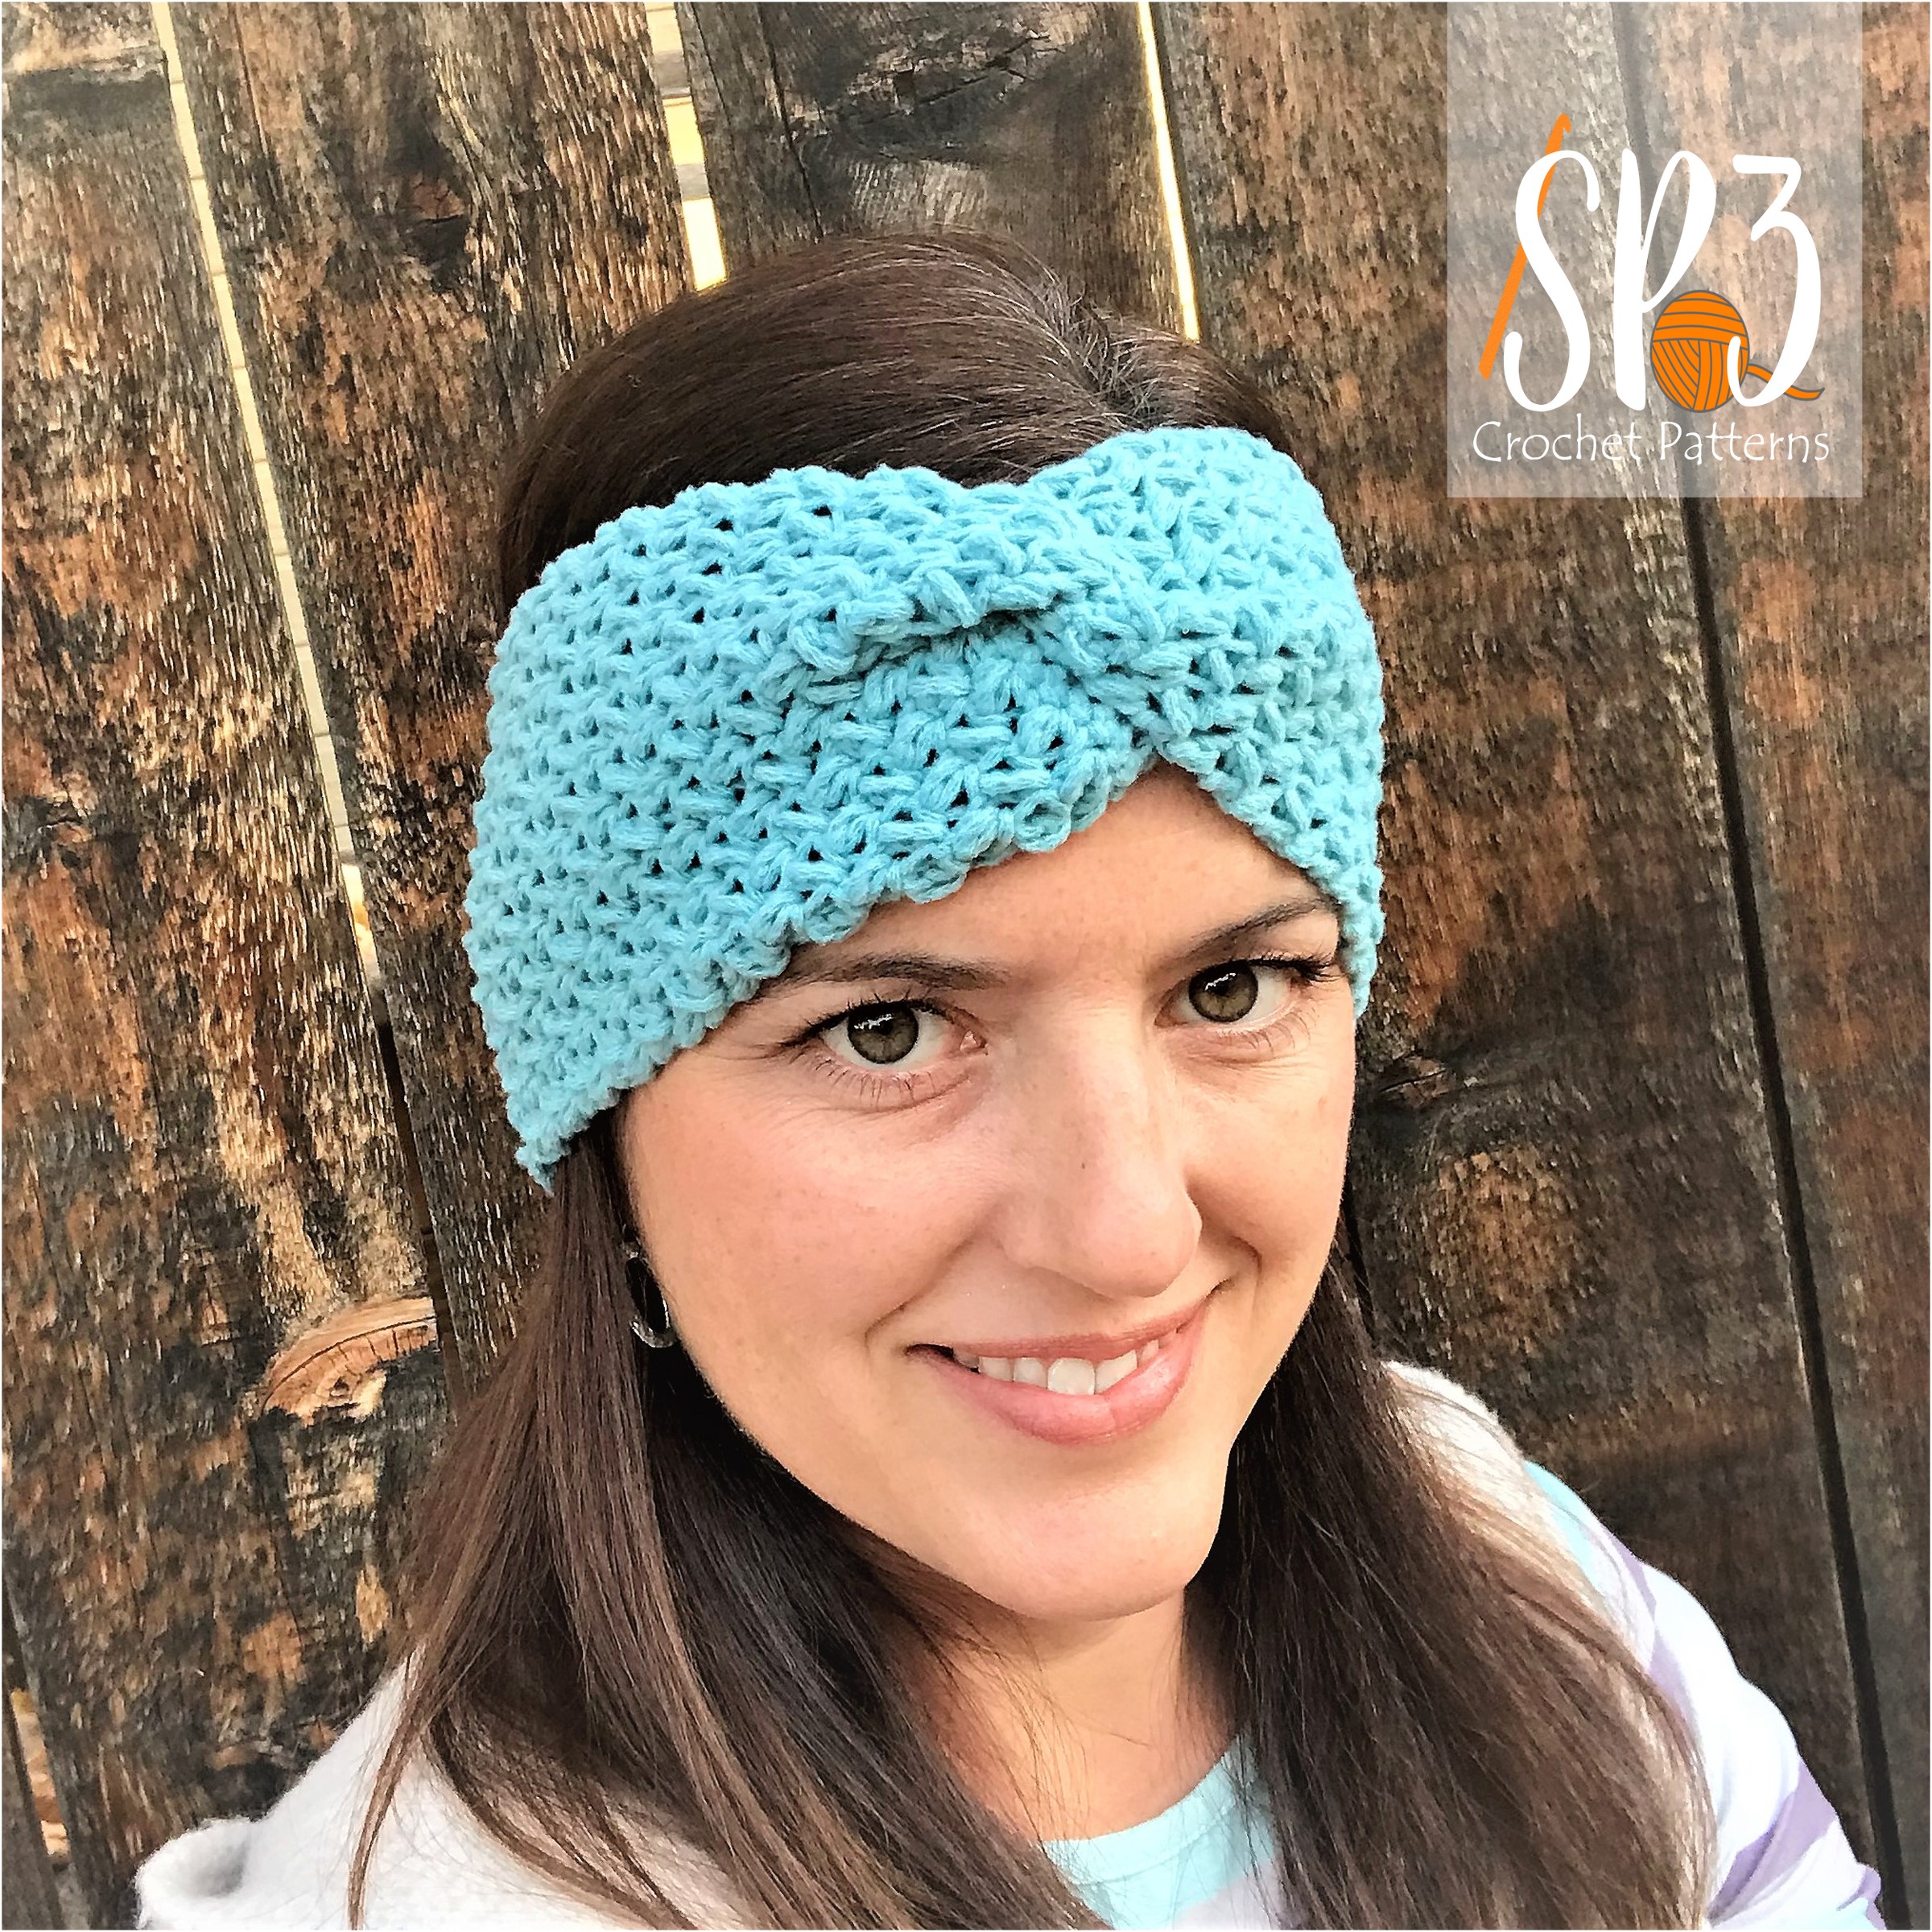
The mini bean stitch is pretty simple to learn. Today I am going to show you exactly how to crochet it step by step. Then, I will give you a way to practice your new stitch by working up a fun Ear Warmer.


How to Begin your Ear Warmer
I will start off by walking you through the stitch step by step. Then, at the end of the tutorial you can watch my YouTube video to make sure you understand each step correctly.
Use a Crochet Hook I (5.50 mm) and about 100 yards of worsted weight yarn. I used Red Heart Amore in the color, restful, and love how soft the headband came out. In fact, I was able to make 2 headbands with 1 skein of yarn.

Gauge is not essential in this pattern but make sure your stitches are not so tight that the fabric is stiff. If you want to match my gauge it is as follows: using crochet hook I, 9 mini bean stitches and 14 rows resulted in a 4 inch square.
Begin the Ear Warmer Pattern
- You will want to begin working with an odd number of stitches.
- Begin with a beginning chain of 20.
- Single Crochet in the 2nd chain from your hook and each chain to the end of the row and turn.
- For Row 2, single crochet in each stitch across the row and turn.

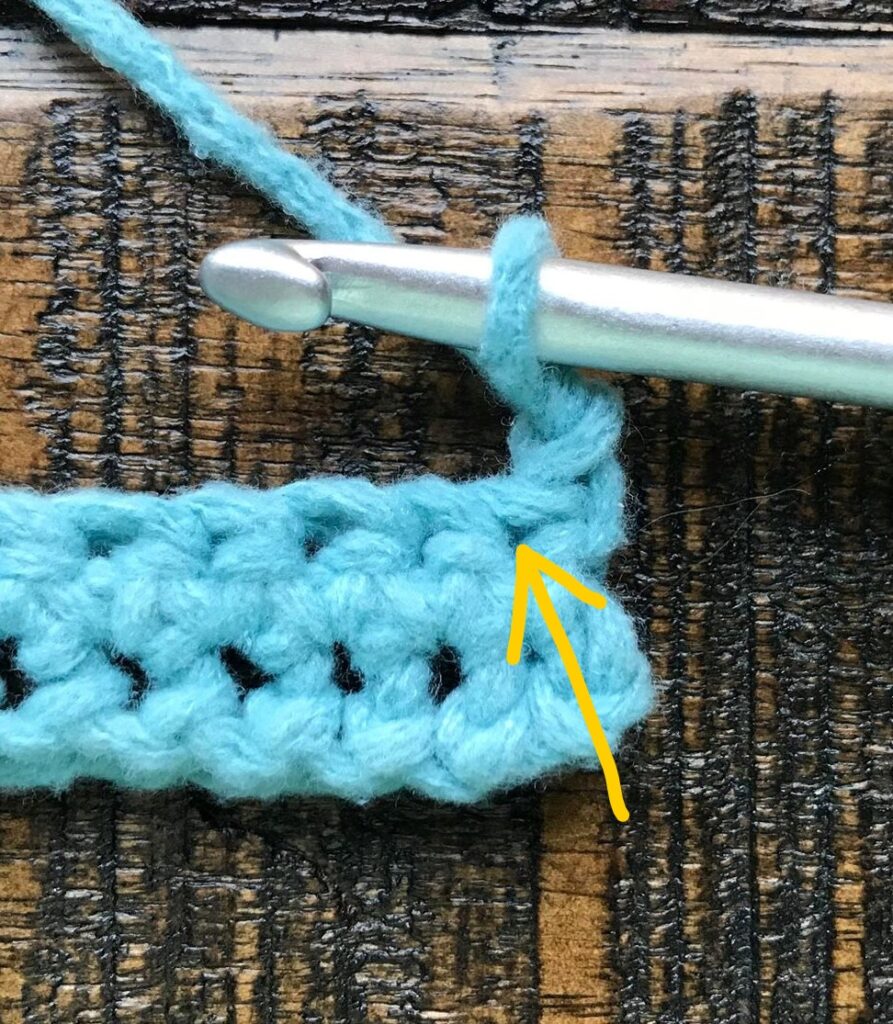
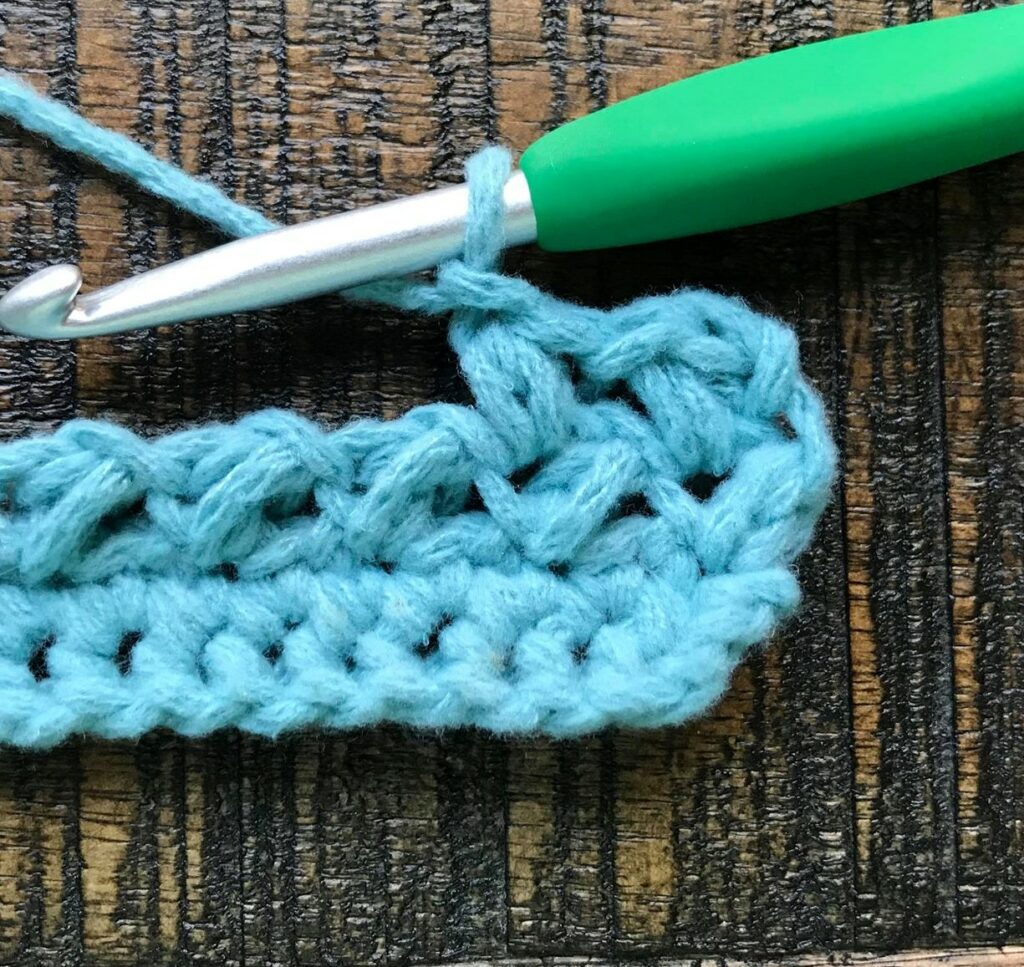
How to Crochet the Mini Bean Stitch
- Always begin your row with a chain 1, insert your hook into the first stitch and pull up a loop.
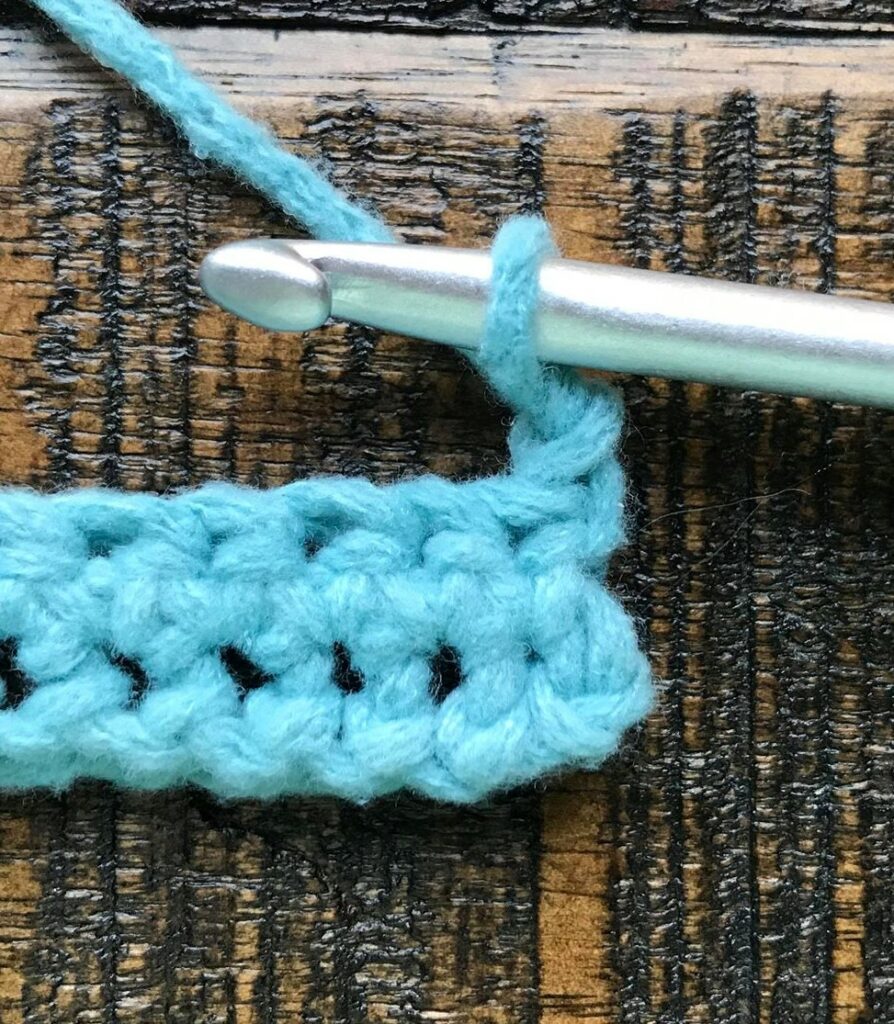
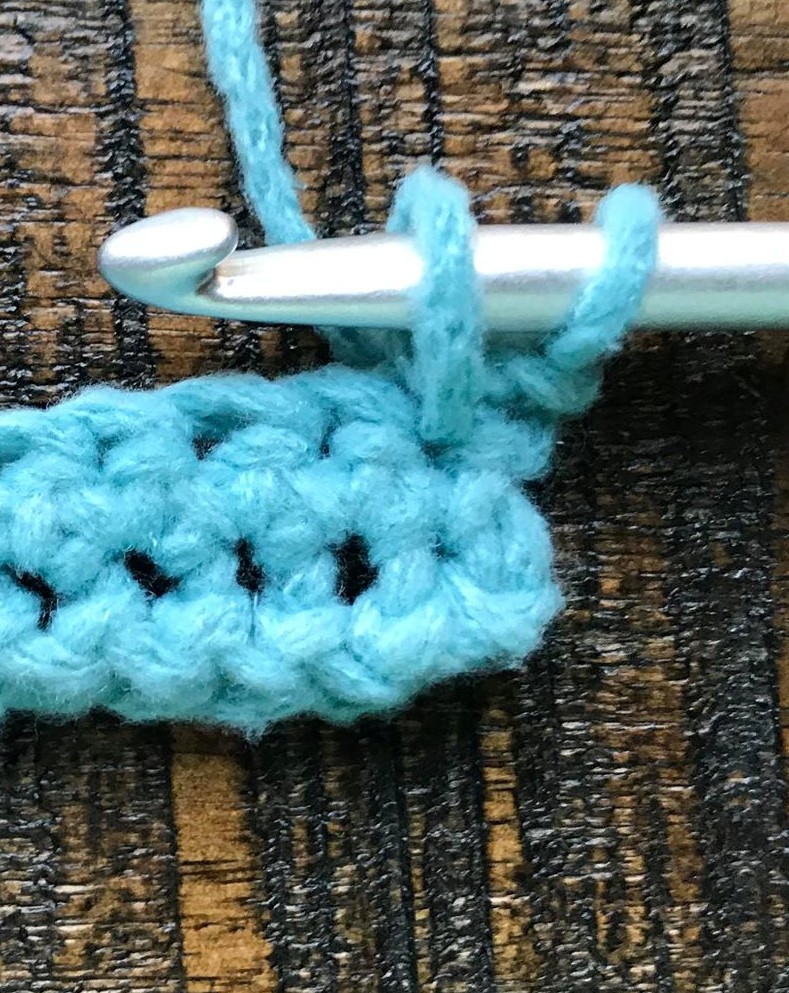
- Yarn over and insert your hook back into the same stitch, yarn over and pull up a loop.
- You will now have 4 loops on our hook, yarn over and pull through all 4 loops on your hook.
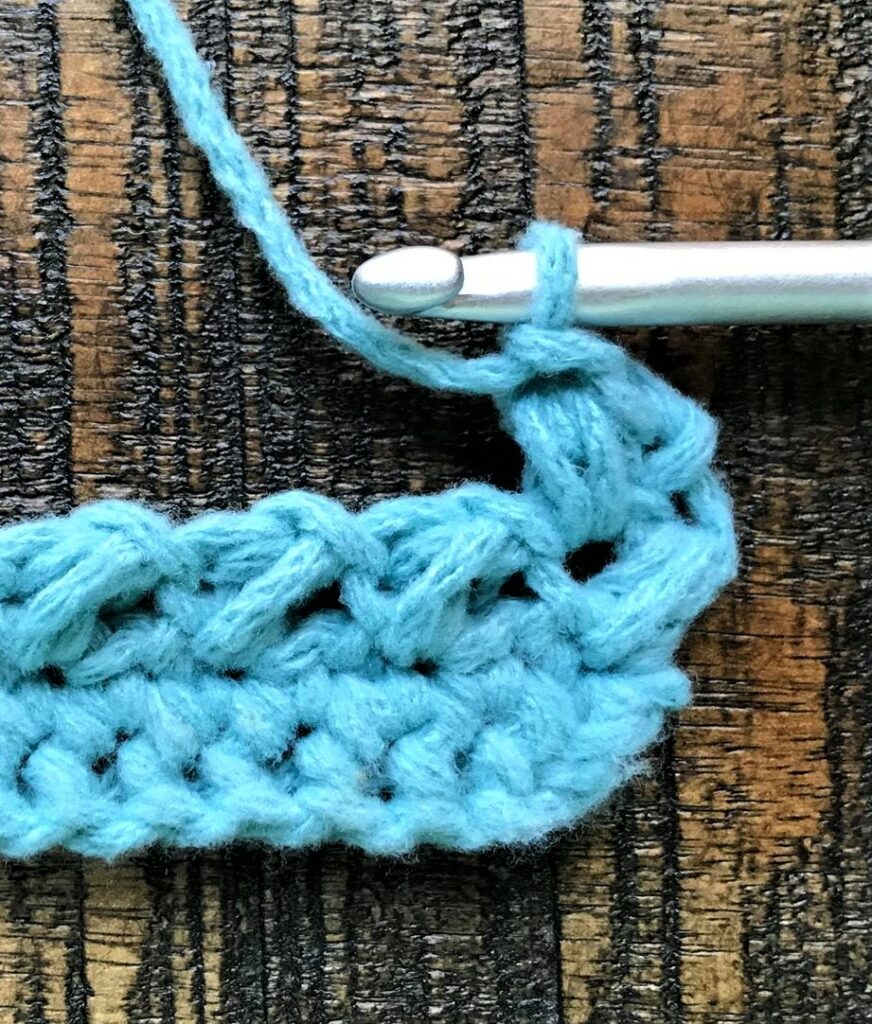
- Chain 1, skip next stitch, repeat bean stitch in next stitch


- Repeat across entire row.
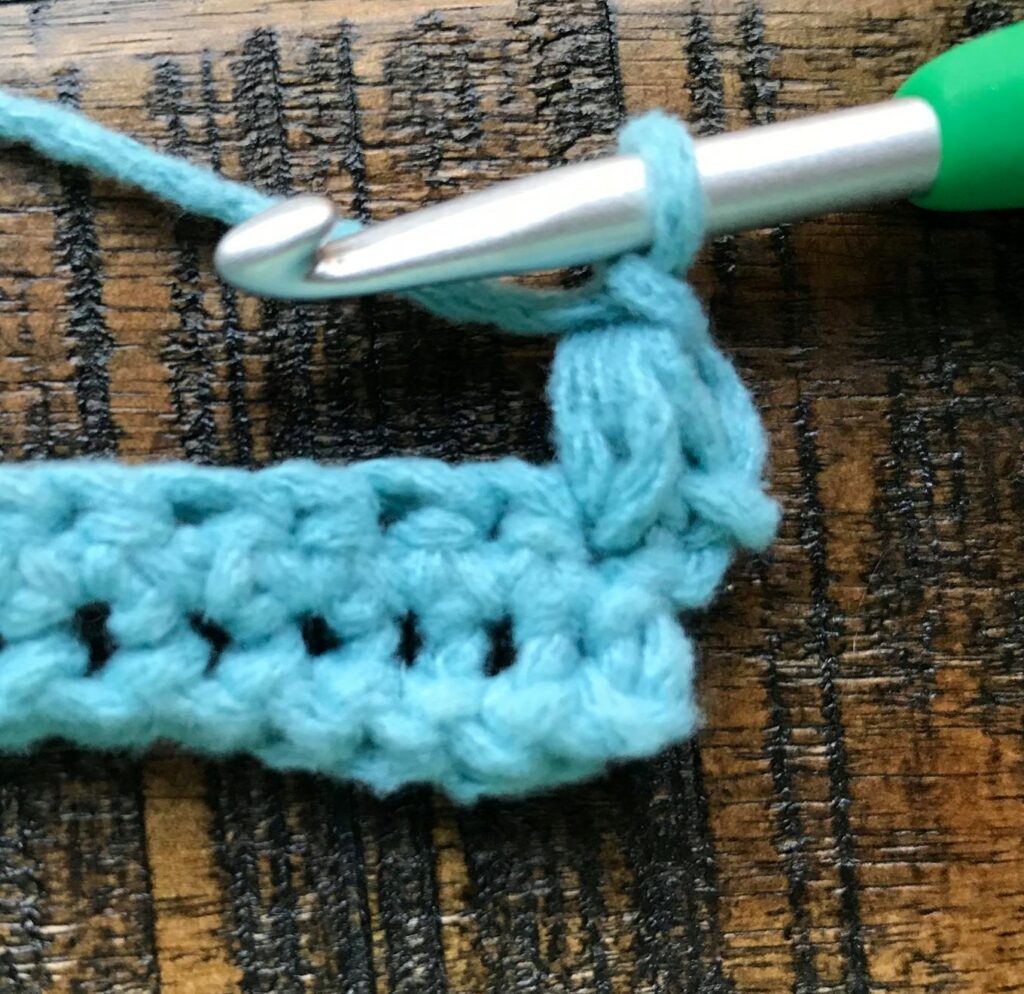
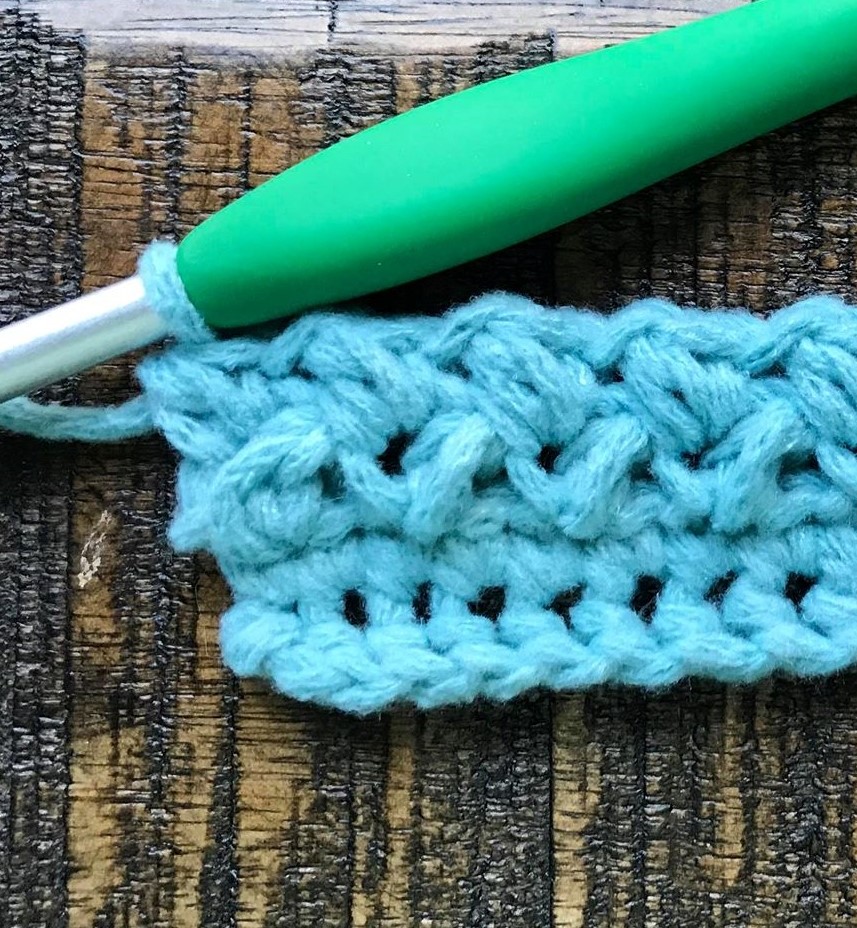
- For the 2nd row of mini bean stitches, you will chain 1 and turn.
- Complete a mini bean in top of the mini bean from the last row, skip the chain and work the next mini bean in top of the mini bean of the prior row.
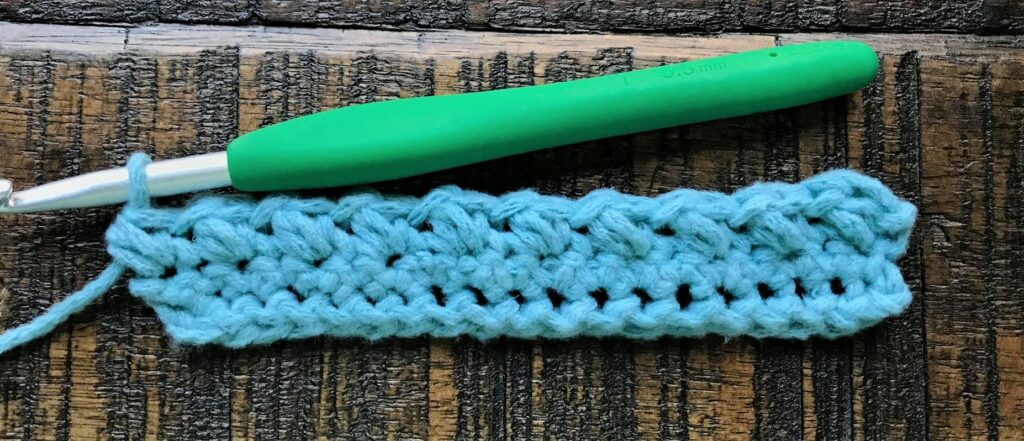
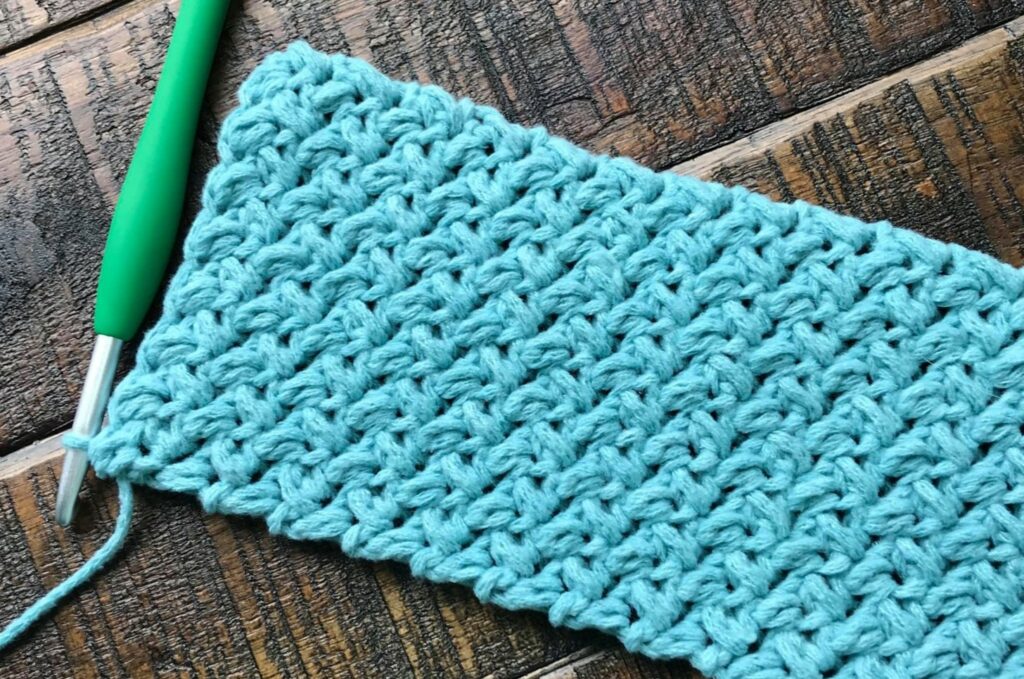
- Continue working mini bean stitch rows until your ear warmer reaches 19 1/2 inches long
See How to Crochet the Mini Bean Stitch
If you are like me, watching a tutorial is very helpful, so I created this YouTube video just for you. Click HERE to watch it on YouTube and subscribe, or just watch below:
How to Finish Ear Warmers & Sew Twisted Seam
- Crochet 2 more rows of single crochets and then fasten off leaving a long tail of yarn you will use to sew the ends together.
- To get the “twist” in the headband, follow this easy tutorial you can see by CLICKING HERE.

This is another fun part in making the mini bean ear warmers. I put together a tutorial on how to sew the ends together to give it that perfect twist. Click HERE to watch a quick tutorial and finish your project.