

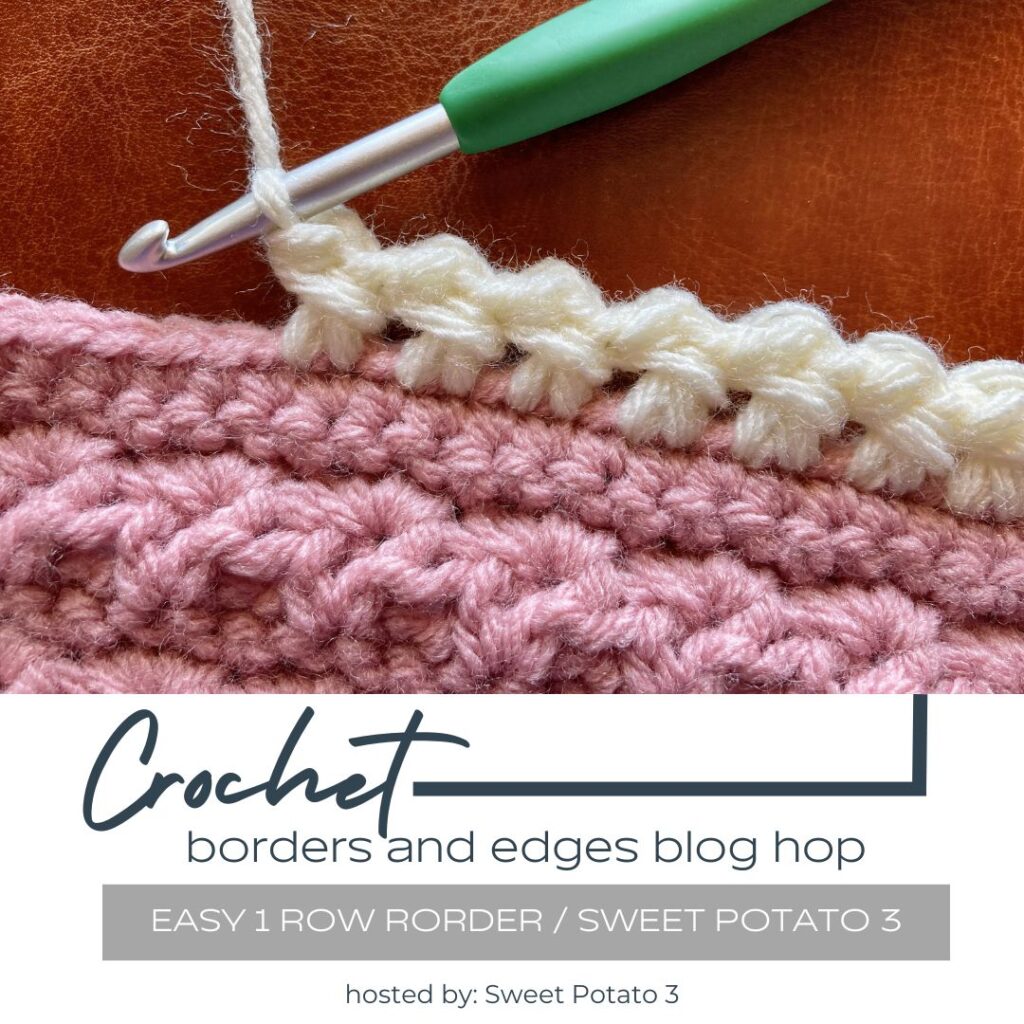
Have you ever worked on a crochet project and was done and thought to yourself, “it needs a little something more, maybe a border”? At this crossroad, you decide to search for something fun, quick and nice looking that will complete your projects in a perfect way. Well, I may have just the border tutorial you have been looking for. Learn an easy one row crochet border, I know your going to love!

This border is featured in a Crochet Borders & Edges Blog Hop that I am hosting during the first 4 weeks of May. If you are interested in learning some fun techniques to finish your projects with, you may want to check it out through the link below:
Before you Can work a border…
In many crochet designs, you will need to crochet around the entire project before you can add a border. This is the case in many blanket designs that are worked in horizontal rows. The row ends will need to be crocheted in to create a nice edge to work off of. If you are not familiar with crocheting in the row ends, I would recommend for you to watch this tutorial below:
Some designs may not need to be worked in the row ends and you can ignore this step. Some examples would be if your blanket was worked from the center out, or if you are just adding the border to a neckline or waistline of a sweater. I just wanted to share this step in case you find it helpful.
Save on Ravelry
If you want to save this tutorial to your Ravelry library, just click the button below and save the One Row Border!
Quick & Easy One Row Border after you have a foundation
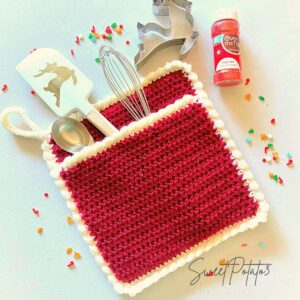
It is recommended that you have a foundation round crocheted prior to beginning this tutorial. If you are working on top of a row of stitches that have already been crocheted you should be good. However, if you will be working into the row ends of a project, I would recommend crocheting one round of any stitch (sc, hdc, dc) around your entire project. Once this is done, it will leave a nice clean edge to work from leaving your border looking professional.
It is important that the row you will be working into is an even number (or divisible by 2).
Edging Photo Tutorial
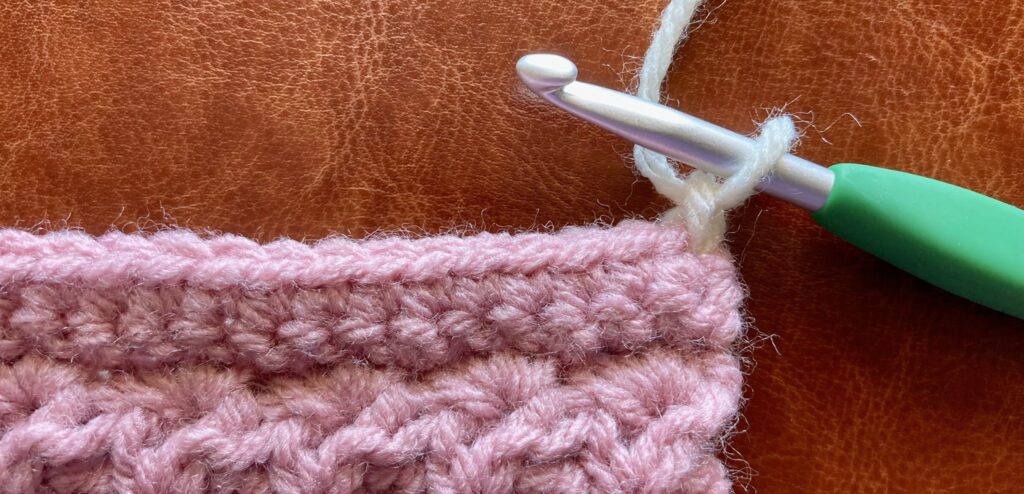
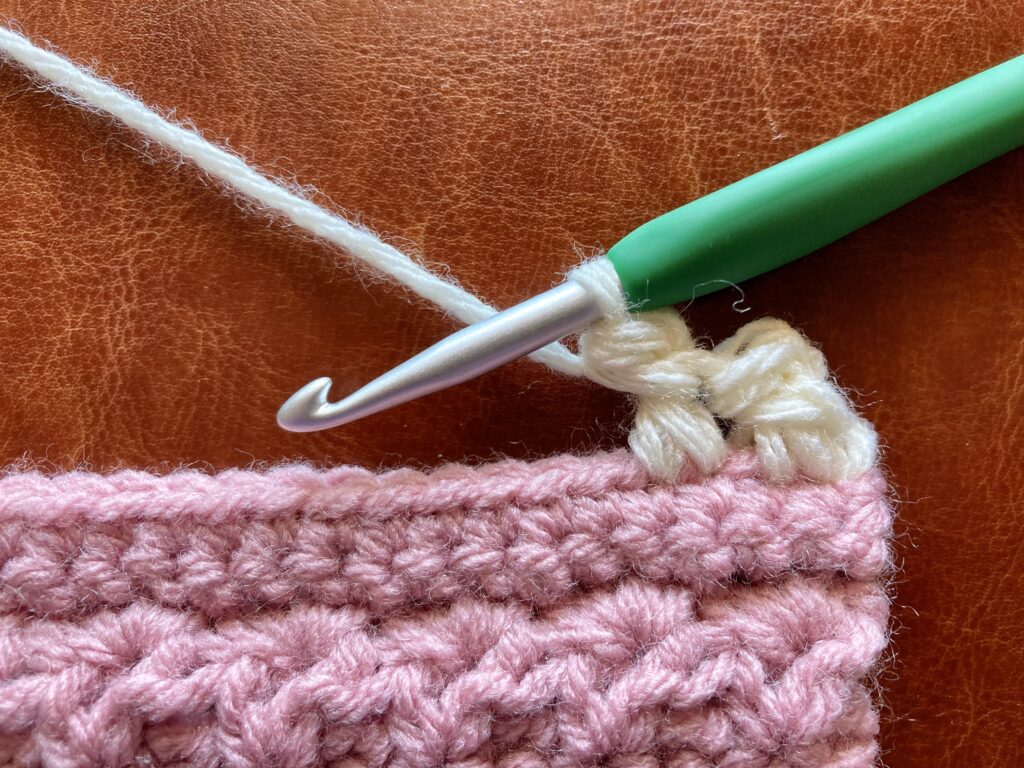
Begin: Join or begin your row (if not changing yarn) with a chain 1
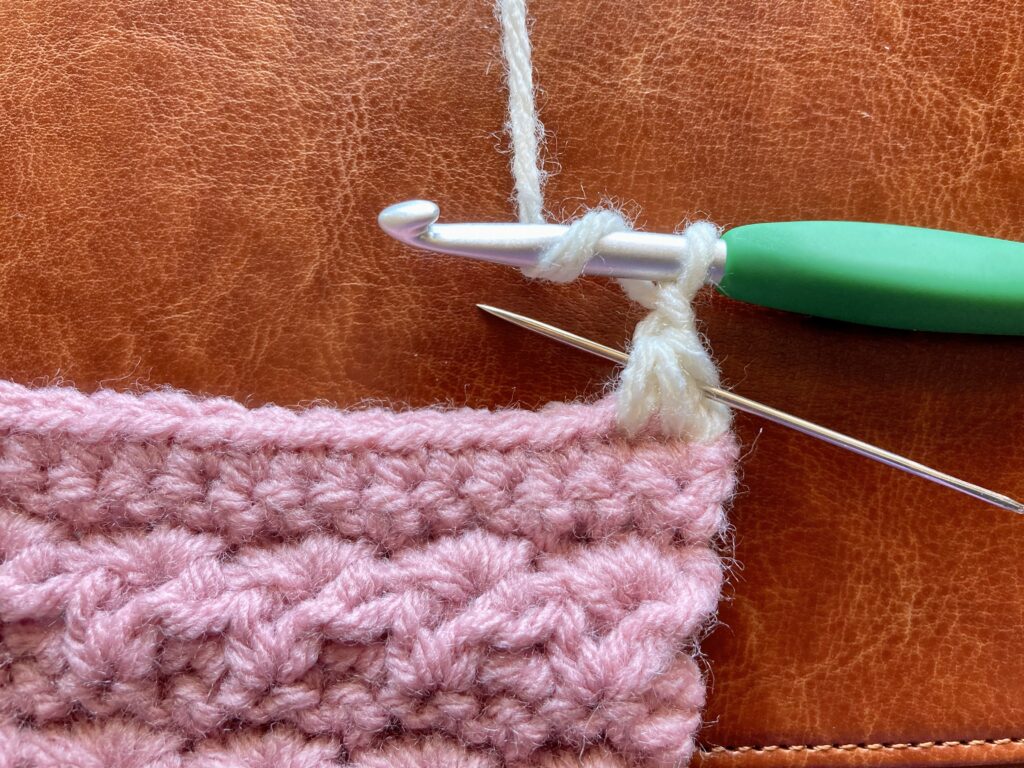
Step 1: Sc2tog (insert hook into next st, pull up a loop, insert hook into next st, pull up a loop, yarn over, pull through remaining 3 loops on hook),
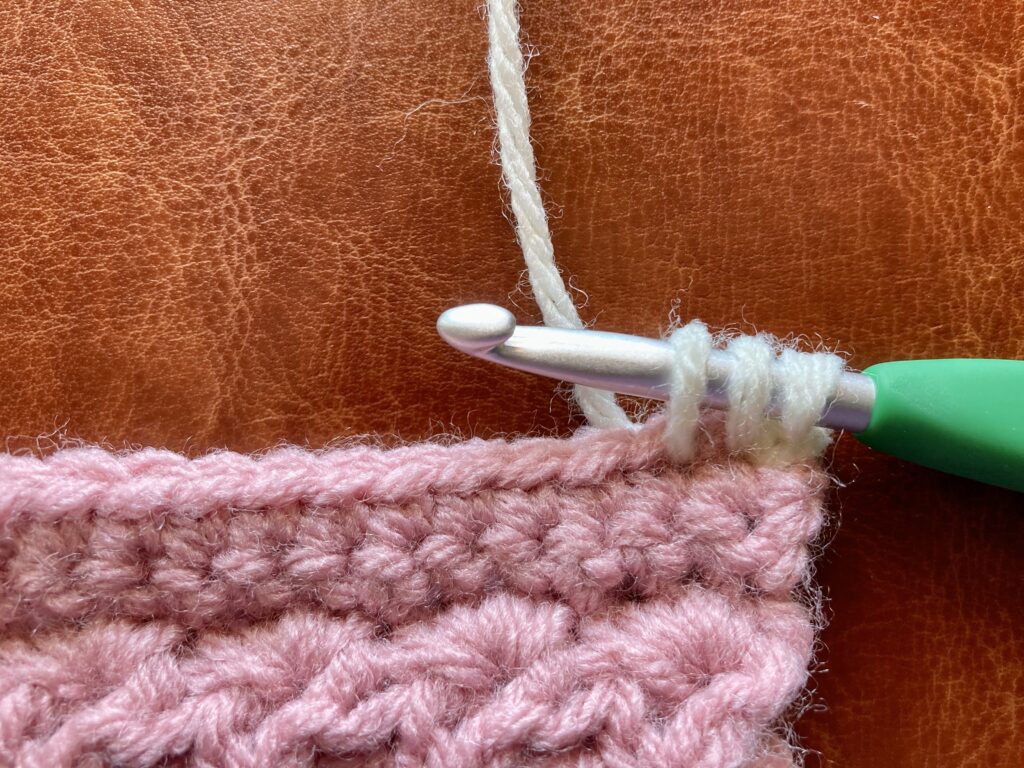
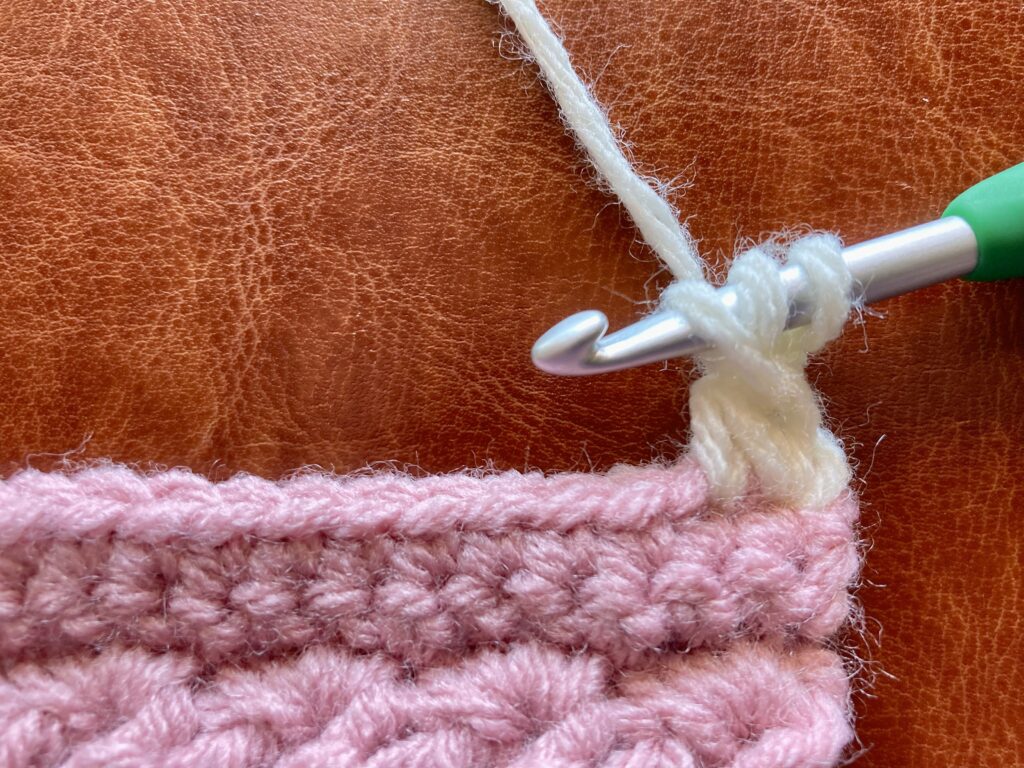
Step 2: Ch 1, yarn over hook, insert hook around sc2tog just made from front to back, pull up a loop, yarn over, pull through all 3 loops on hook,
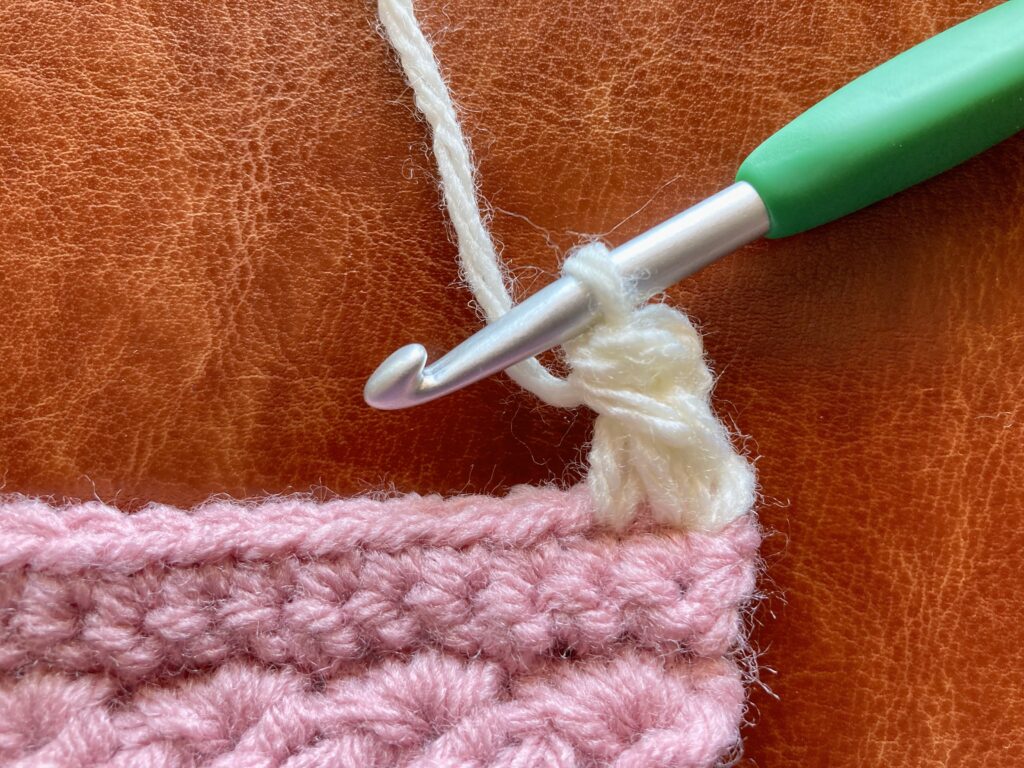
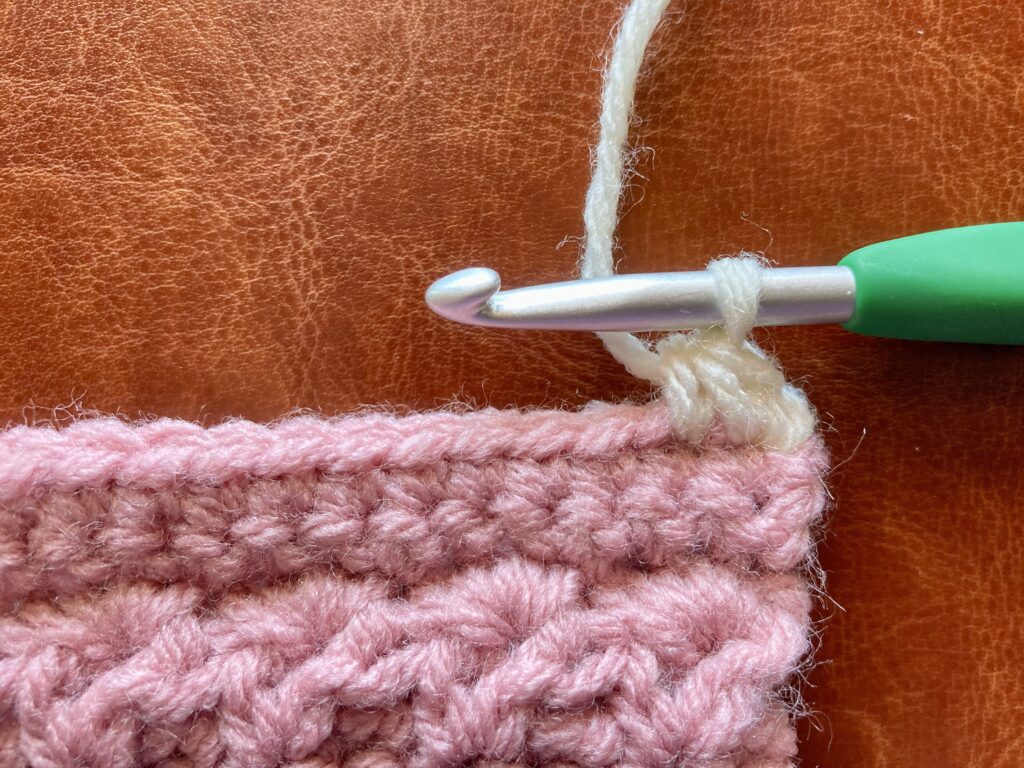
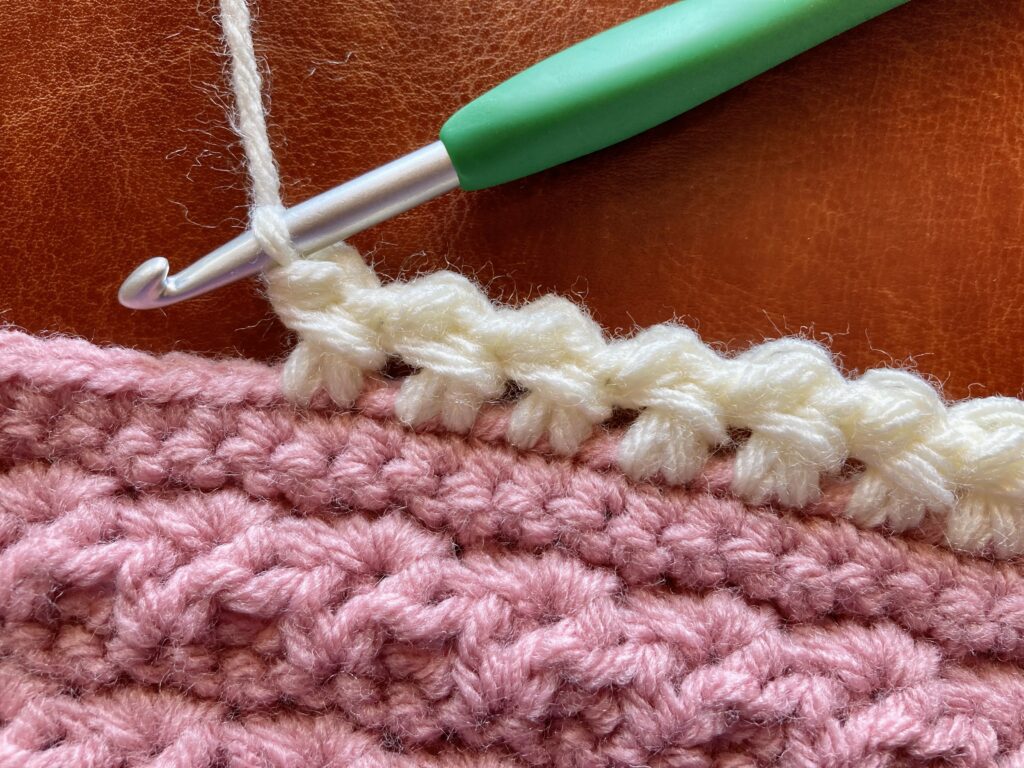
Step 3: Sc2tog (insert hook into next st, pull up a loop, insert hook into next st, pull up a loop, yarn over, pull through remaining 3 loops on hook),

Step 4: Ch 1, yarn over hook, insert hook around sc2tog just made from front to back, pull up a loop, yarn over, pull through all 3 loops on hook,
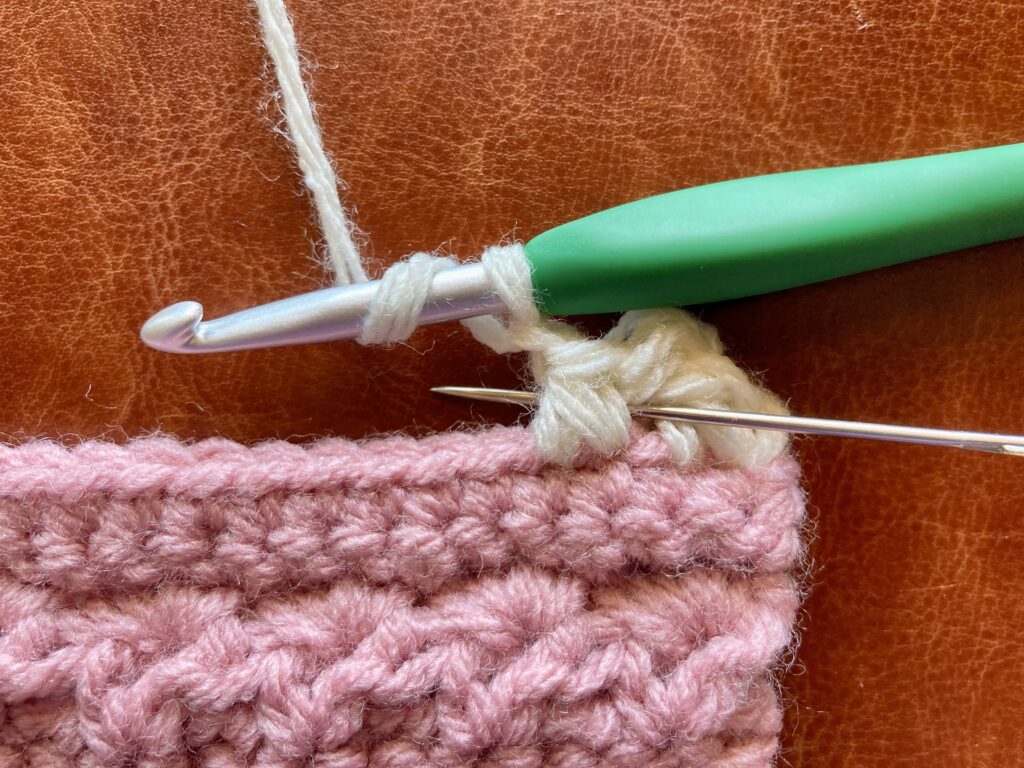

Continue to repeat step 3 & 4 around entire border / edge of crochet project.
Video Tutorial
Seeing the stitch through photos can be very helpful, however, being able to watch it can sometimes clarify it a little bit more. So, I have a video tutorial on this border technique. Check it out on YouTube HERE.
Patterns That Feature The Easy One Row Border
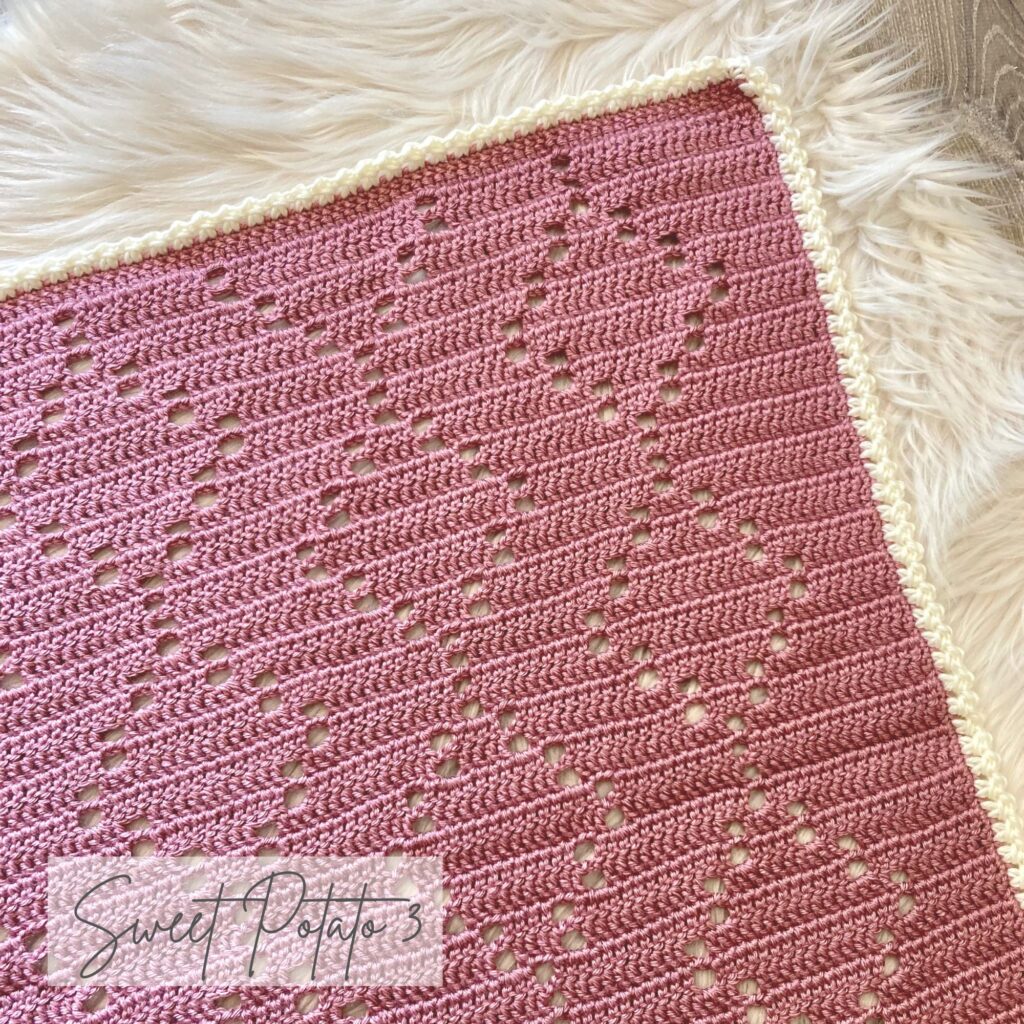
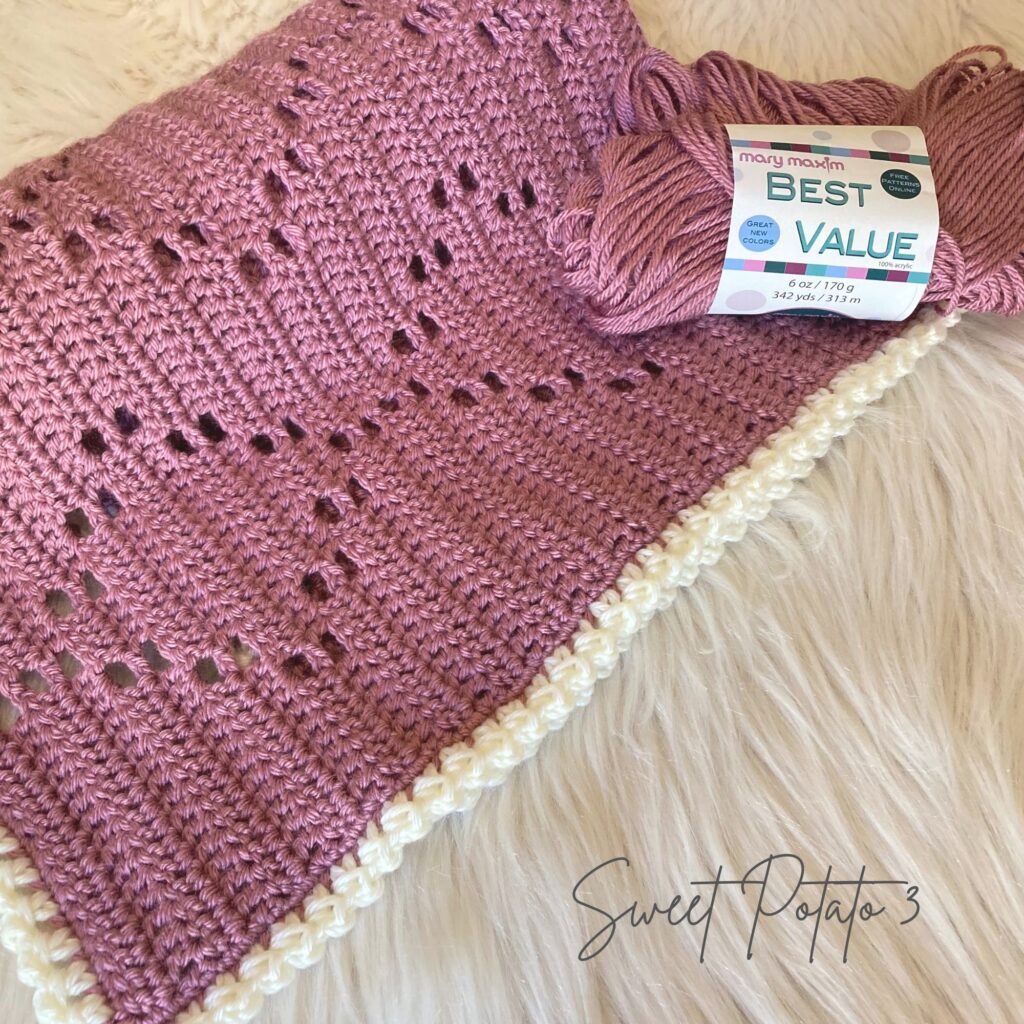
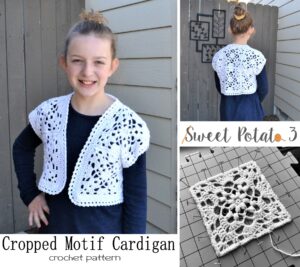
I have included this border combination in a couple of my crochet patterns and would love to share those with you today. I added this to a filet blanket design called the Diamond Drop and it was the perfect touch. It was simple and didn’t take away from the ‘diamond’ that was crocheted into the blanket.
More Borders You May Love
This tutorial was featured in a blog post all about fun, quick and unique borders. You can see them all and follow their links to find over 20 border tutorials with step by step instructions. I am sure you will find so many that you love.
More Crochet Fun
Follow Sweet Potato 3 on Facebook to see more pattern releases, sales and crochet fun, just click HERE.
Want a more interactive group experience, you need to join my Crochet & Conversations facebook group. To join the group, click HERE. It is a ton of fun and I encourage everyone to share their projects, WIPS (works in progress) and inspirations. Plus get exclusive deals, be the first to see new releases, give input on designs and have opportunities to win patterns. Join now and get to know others who also enjoy the art of crochet.


Very cool stitch. Just have a question on how you go around the corners???
In the row before I worked this border I worked multiple stitches int he corner. So, for this row, I literally just continued to work it around the corner. No need to add more stitches for the turn. Works out great! Thanks for asking.