
Do you wear glasses? Whether you are like me and have aging eyes, have worn glasses most of your life or just protect your eyes from the sun, it is fun to have a cute handmade eye glasses case. Add a fun snap closer and our favorite craft of crochet, and you’ve got a perfect afternoon project.
A few years ago I turned the dreaded big 4-0! Honestly, life has been amazing after 40, with the exception of my eyesight. I have noticed I need to lean a little closer to see clearer. Then last week I renewed my drivers license and decided it is time for me to go see an eye doctor. Thankfully, we have an optometrist in the family.

Blue Light Reading Glasses
I don’t officially have a subscription for glasses so I have been relying on readers.com over the last year. Just a little magnification helps so much! Then, I started hearing about blue light glasses and the benefits of them.
Blue light blocking glasses can help to filter out a percentage of blue light and lessen eye fatigue when you’re working on your computer screen or using electronic devices. Say goodbye to digital eye strain with a pair of blue light blocking* glasses! Also available with magnified lenses, known as “blue light reading glasses”, for those seeking the benefits of both.
www.readers.com
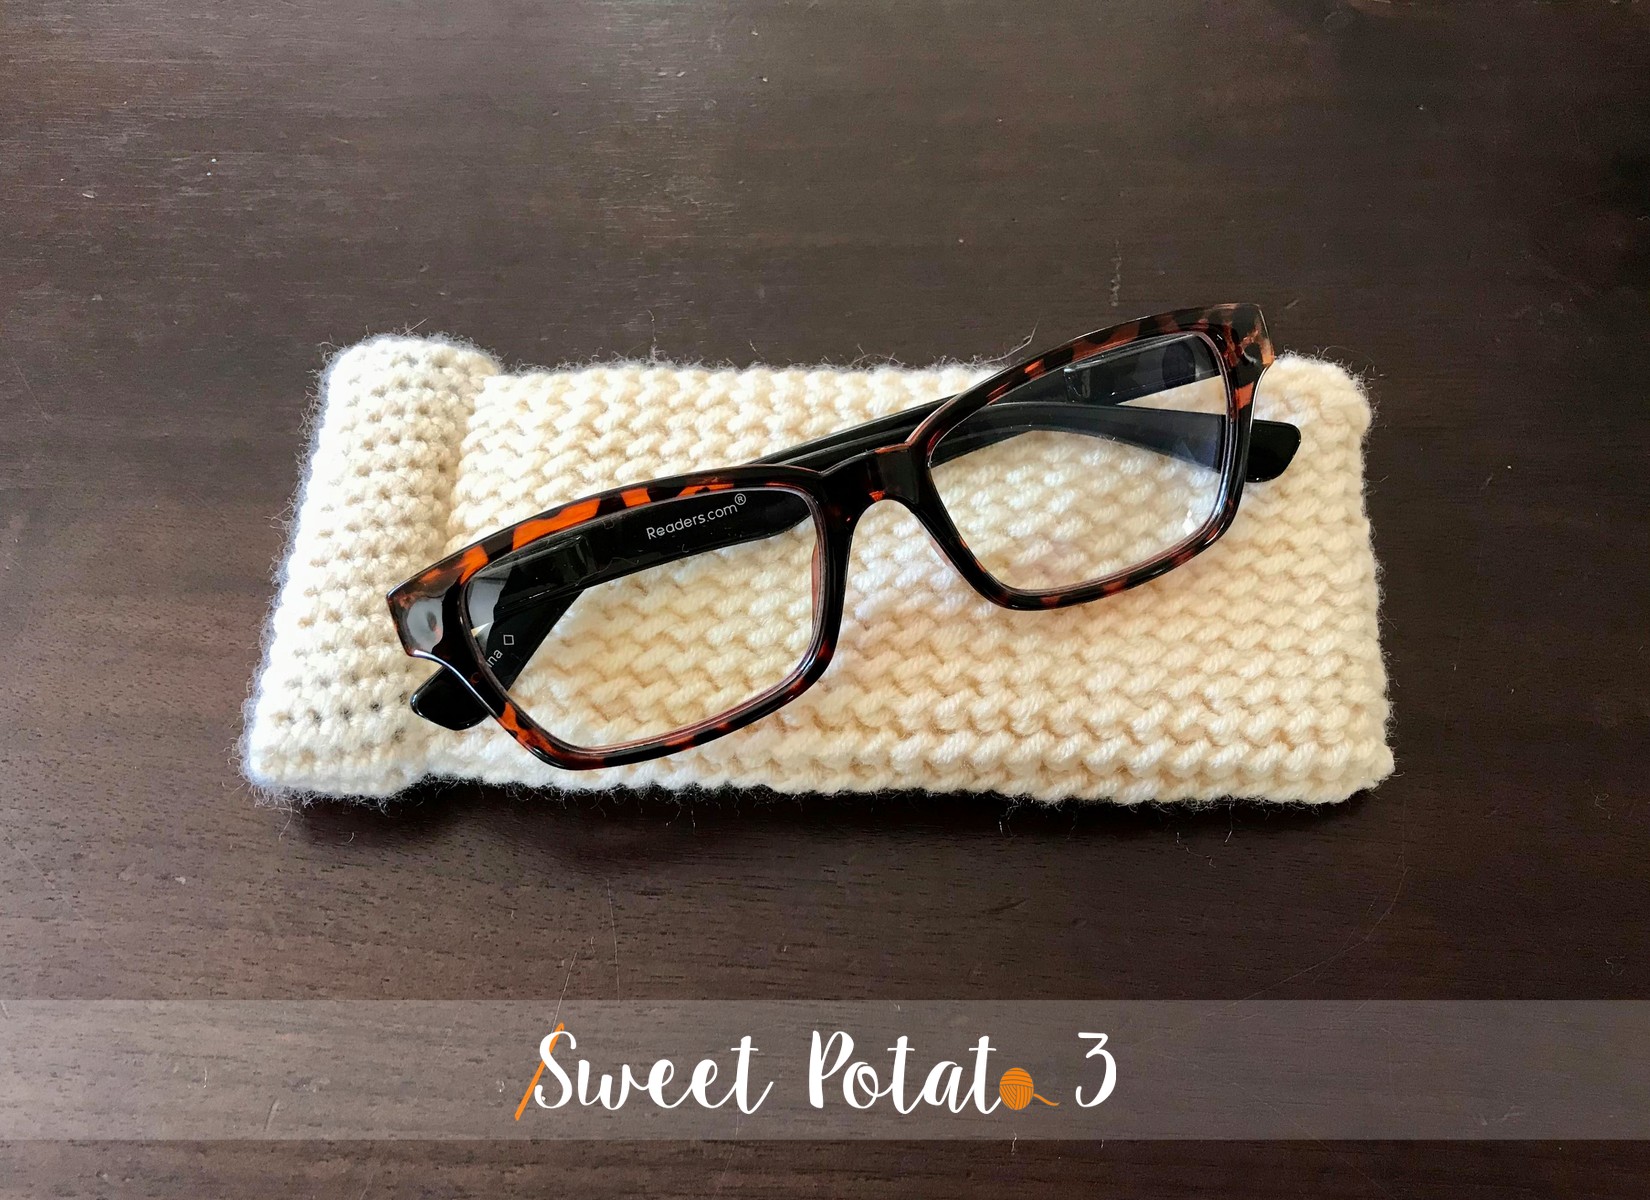
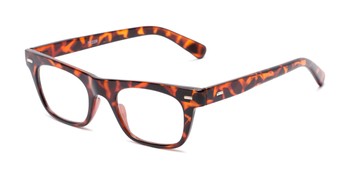
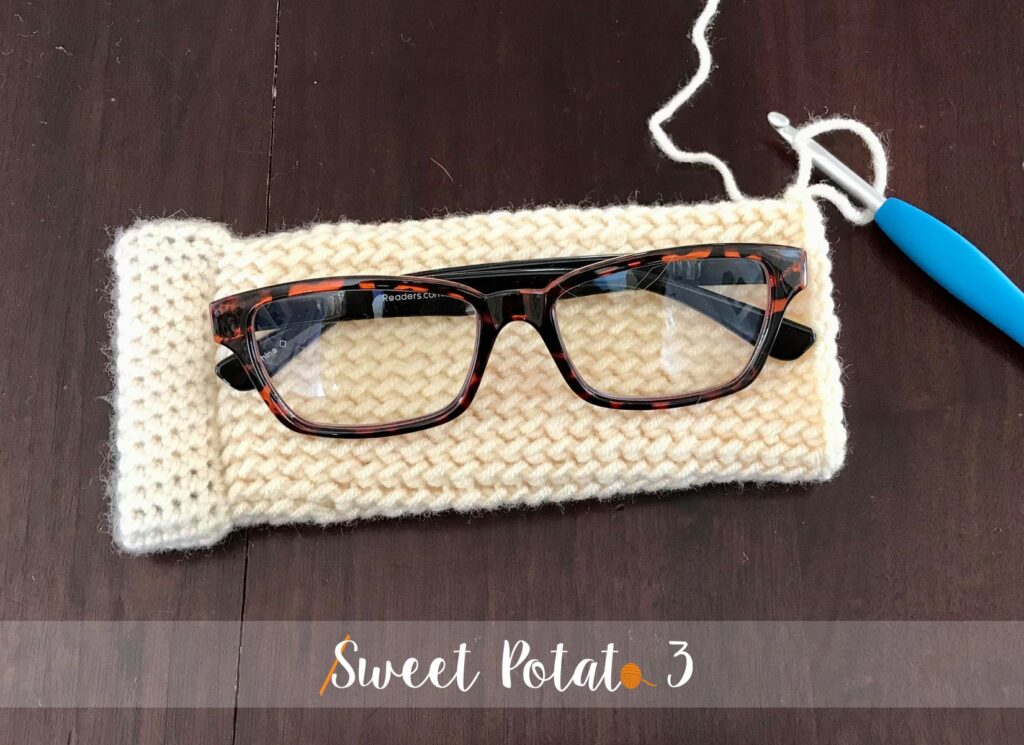
Check out how cute my glasses are! I love the Tortoise shell of the rims. I mean if you have to wear glasses, you better make them cute. Right.
Check out the entire collection of readers and blue light readers using the (affl link) button below:

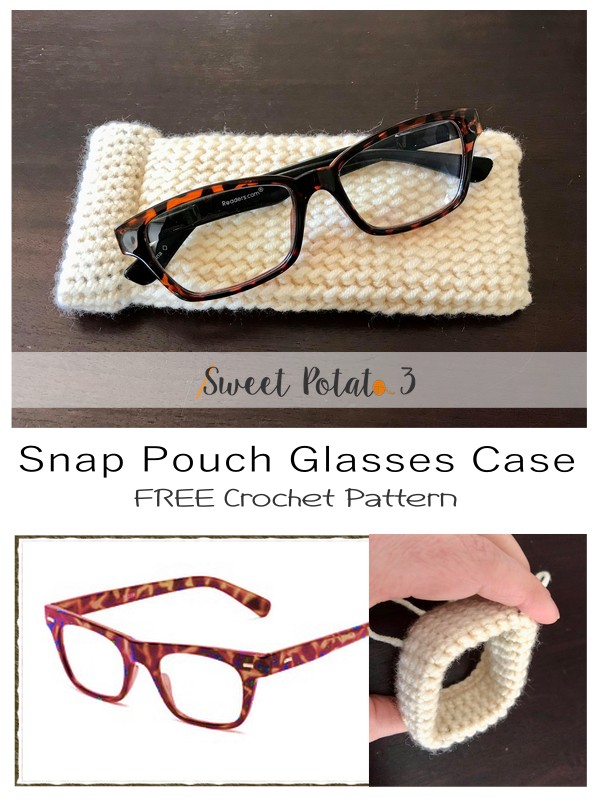
How to make your Snap Closure Glasses Case
The snap closure on the glasses case makes it easy to slide your glasses in and out of the case. I used a quick and easy stitch that creates a thicker fabric to protect the glasses. I hope you enjoy learning something new and enjoy the tutorial.
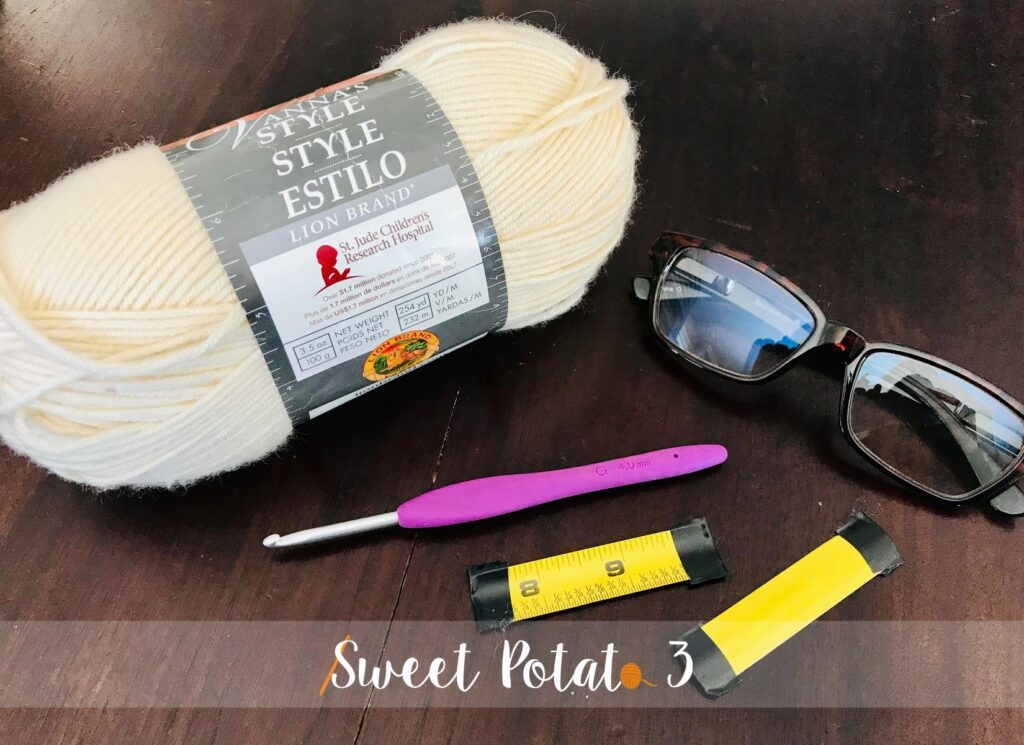
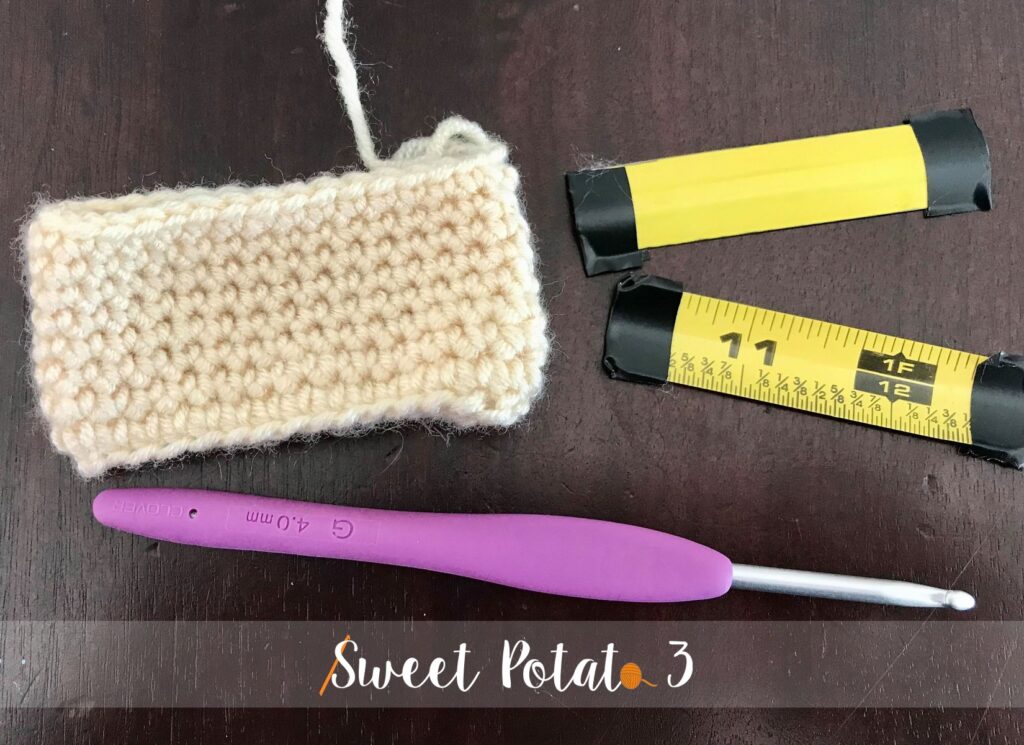
The materials needed for the Glasses Case
- Crochet Hook size G (4.00 mm)
- Crochet Hook size H (5.00 mm)
- Light Weight Yarn (#3) I used about 100 yards. In the sample shown, I used Lion Brand Vanna’s Style yarn
- Metal Tape Measure – Tape should be ¾” wide (use an old one that you can re-purpose/upcycle if possible)
- Tape – electrical tape is best, but duct tape or packaging tape will also work
- Yarn Needle
- Tin Snips or Old Scissors (cutting may dull the edges so don’t use your best pair)
Stitches & Abbreviations Used:
- Ch = Chain
- Sc = Single Crochet
- FP = Front Post
- St(s) = Stitch(es)
- R = Row/Round
Completed Size of Glasses Case:
- 3” opening and 7″ long, but instructions will allow you to customize the shape to fit any glasses
Pattern Notes
- The pouch will be made while crocheting in the round working from the opening (top) down.
- Beginning chain will not count as a stitch unless stated.
- Gauge is very important when crocheting. However, in this design I will give you measurements to follow. Use these measurements to get the correct size of your finished glasses case.
Prep the Snap Closure
- All glasses are different in size. It is a good idea to make your opening a minimum of 1 inch wider than your glasses. In this sample my glasses measure 2” so I made my opening 3”.
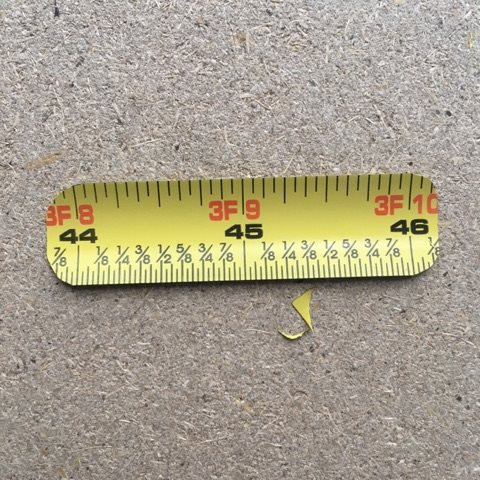
- Cut 2 pieces of the tape measure 3” long (image shows just over 2″-follow the size noted in the above note for the size of your glasses).
- Trim the sharp points so they are rounded, this will make them less likely to break through the tape and cut the yarn after construction.
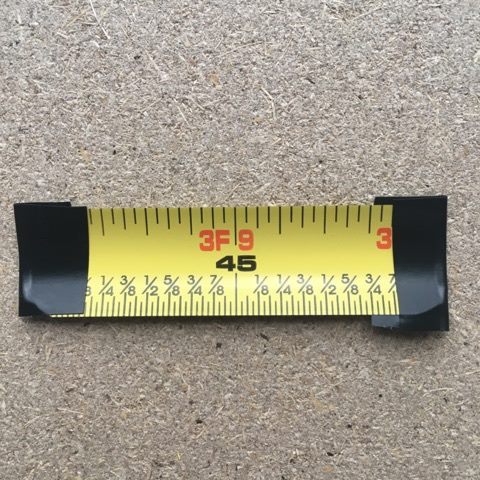
- Wrap the ends of the metal pieces with a sturdy tape. Electrical tape works best but you can use duct tape or packaging tape.
- Set aside for use later.
Crocheting the Glasses Case
Using Hook G & Light Weight Yarn
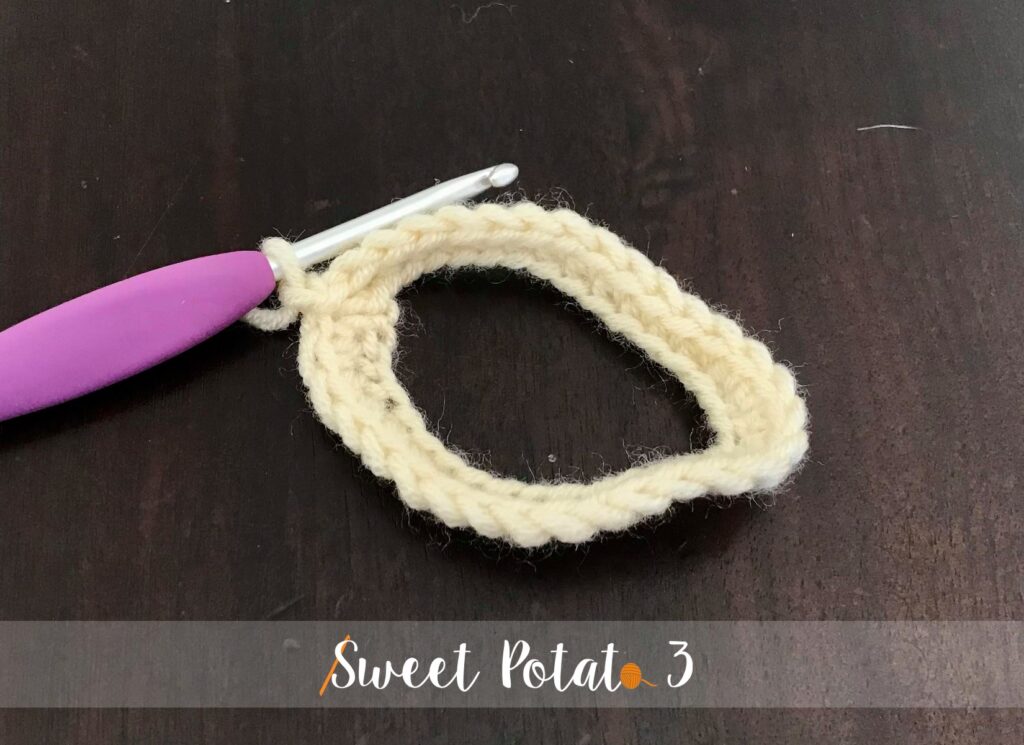
Ch 32, making sure beginning chain is not twisted, join in first ch to form a ring (or chain as many chains as needed to equal the length of your prepared metal snap strips plus 2 stitches)
R1: Ch 1, sc in each ch around, join (32)
R2-4: Ch 1, sc in each st around, join (32)
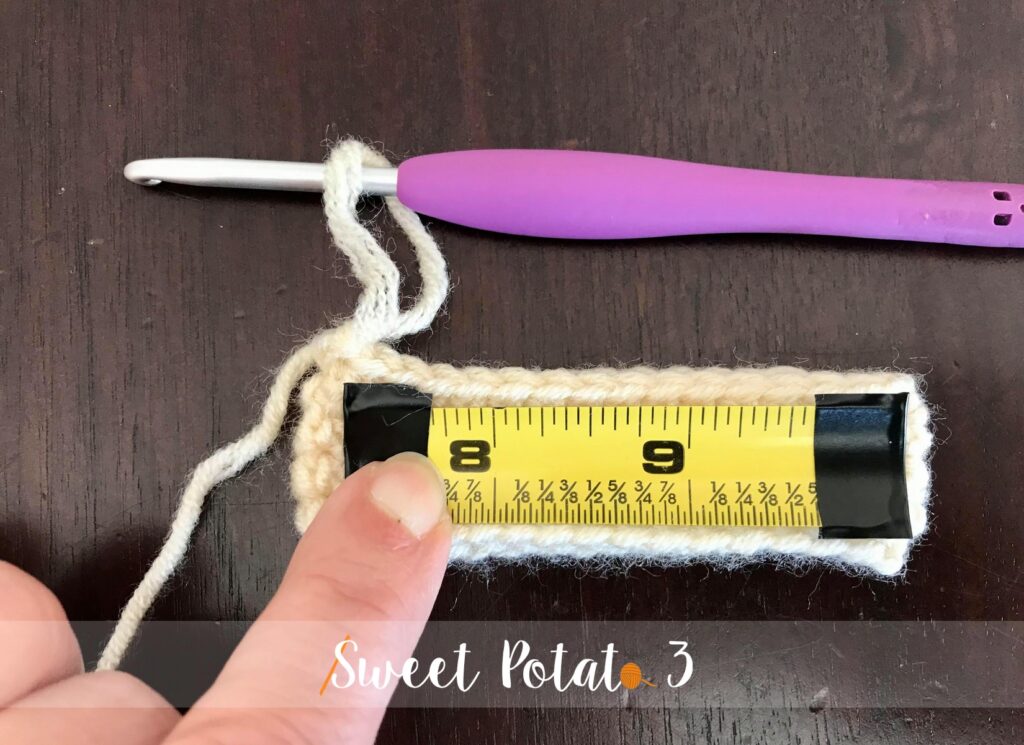
At this point check to see if the rows are equal to the width of your tape. If they are then double your row count and add 1 more row (I met my width in 4 rows, therefore I will complete a total of 9 rows (*4 rows x 2 = 8 rows + 1 more row = 9 total rows) Make sure to adjust for your tape width.
After completing the 9 rows (or the number of rows needed *see notes above), fold the crochet piece in half. I liked having a little different look to the stitches so I folded mine so the back side of the sc rows was showing on the outside, this was just personal preference and you can fold either way you want.
Place one of the prepared metal pieces inside the fold. Make sure the curved side of the measuring tape is facing the outside of the case.
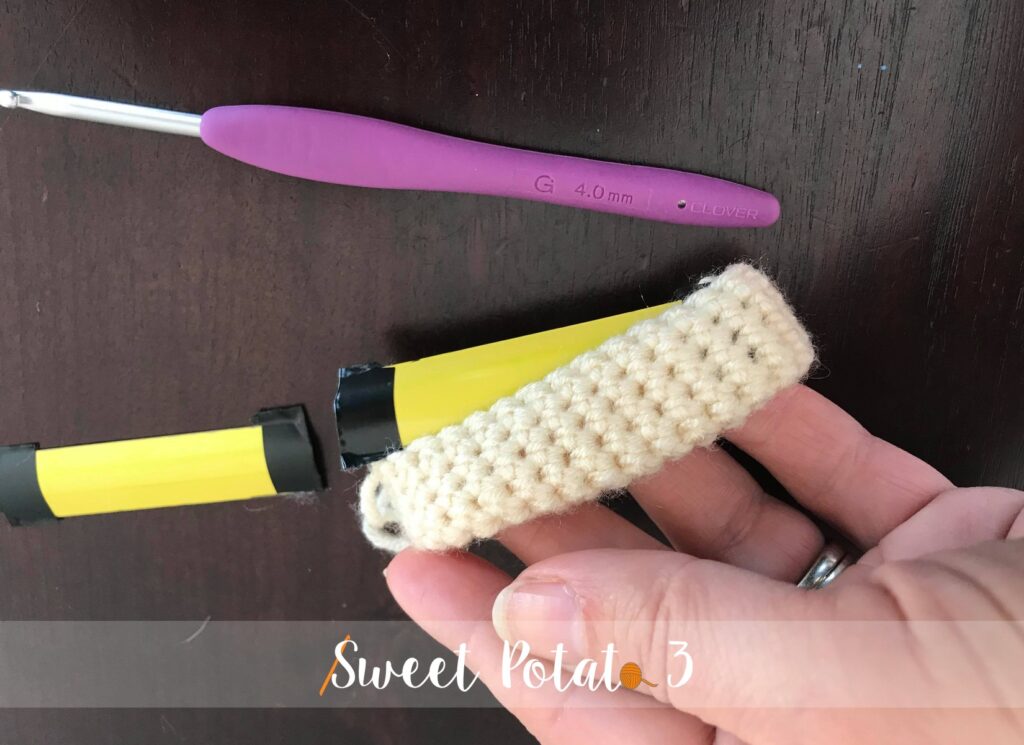
Single Crochet the snap strip into the fold by crocheting through the tops of the stitches from your last row AND through the beginning chain. Complete half of the row (16 stitches in my sample). Insert second prepared snap strip, again making sure the curved edge is facing outside. Continue to sc together around the rest of the row.
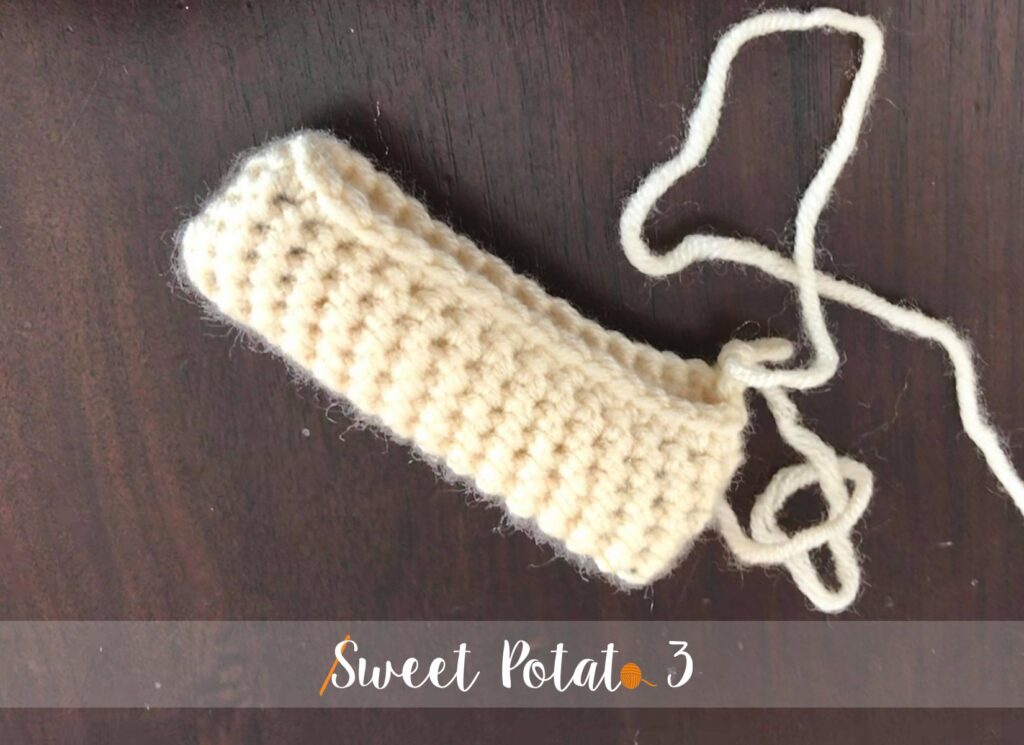
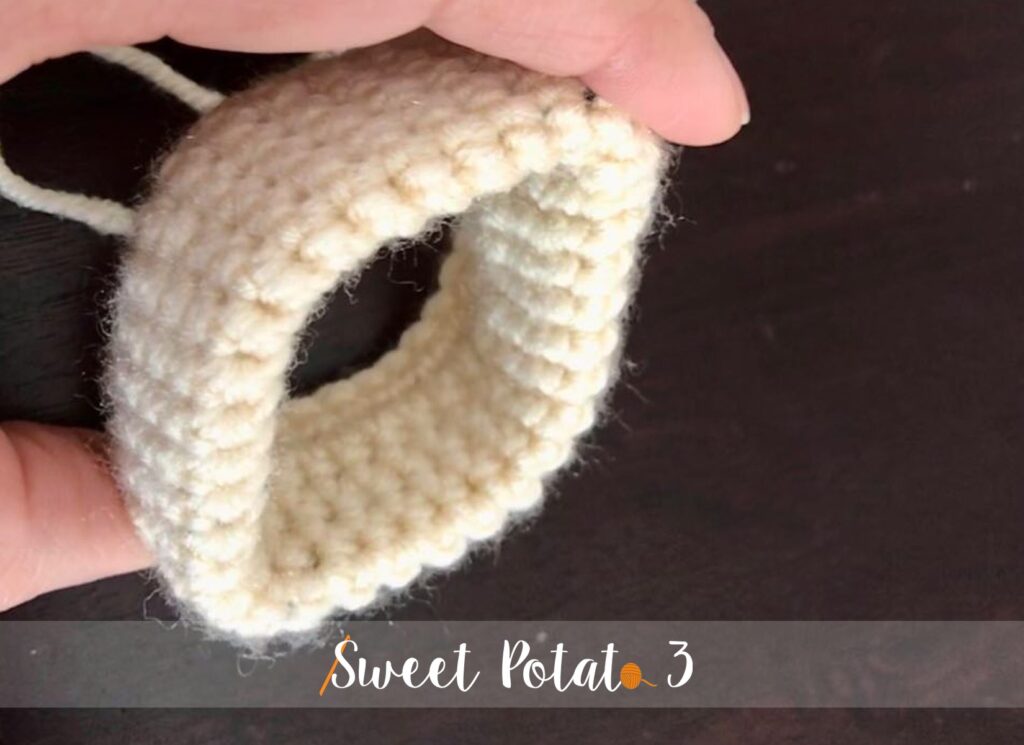
The opening snap of the eye glass case has been made. Just press on the edges and will snap open!
Change to Hook H (5.00 mm)
The body of the pouch will be made in rounds and made to the length of your glasses. Increase your hook size up two sizes
The first row will be the most difficult because the stitches from the snap section are tighter. Be patient and work slow, after the first round it is much easier.
Ch 1, FP single crochet around, do not join, you will work in continuous rounds.
Continue to FP single crochet in each stitch around until the length of your case (not counting the snap portion) measures the length of your glasses. Mine was about 7″ long.
Once the length has been reached, slst into the next stitch and fasten off leaving a long tail. Use that left over tail of yarn to sew/seam the bottom together and you are done!
More fun Crochet Tutorials Free from Sweet Potato 3
- How to make a Twist Ear Warmer – click HERE
- Dream Catcher Delight Wall Hanging – click HERE
- Tree Garland and Gift Tags – click HERE
- Hot Pads & Kitchen Scrubby with Gift Tag Printable – click HERE
Don’t miss out on any more Sweet Potato 3 Crochet Fun

Join my facebook group SP3 Crochet & Conversations and share your finished project, we love seeing them and love support one another in our love of crochet.

Such a clever idea. Nice job.
Wow this is perfect! I am excited to show this to my daughter so we can make some. What a great gift idea too. A few years ago I had to start wearing readers. I got a cute pair in purple tortoise shell. I’m gonna have to check out the readers website!! Thanks and God bless (((Hugs))))