The holidays are a time for warmth, love, and a little sparkle. What better way to set the scene than with a beautifully crocheted candle wrap? This project combines the soft glow of candlelight with the intricate charm of crochet, creating a unique decorative piece that’s perfect for your holiday mantel, dining table, or cozy corner. Whether you’re hosting a festive dinner or looking for a handmade gift, this crochet candle wrap is sure to add a touch of magic to the season.
In this post, I’ll guide you through the steps to create this elegant accessory, perfect for any level of crocheter. With just a few supplies and a bit of your time, you’ll have a stunning piece of decor that’s as practical as it is beautiful. Let’s get started and make this holiday season shine!
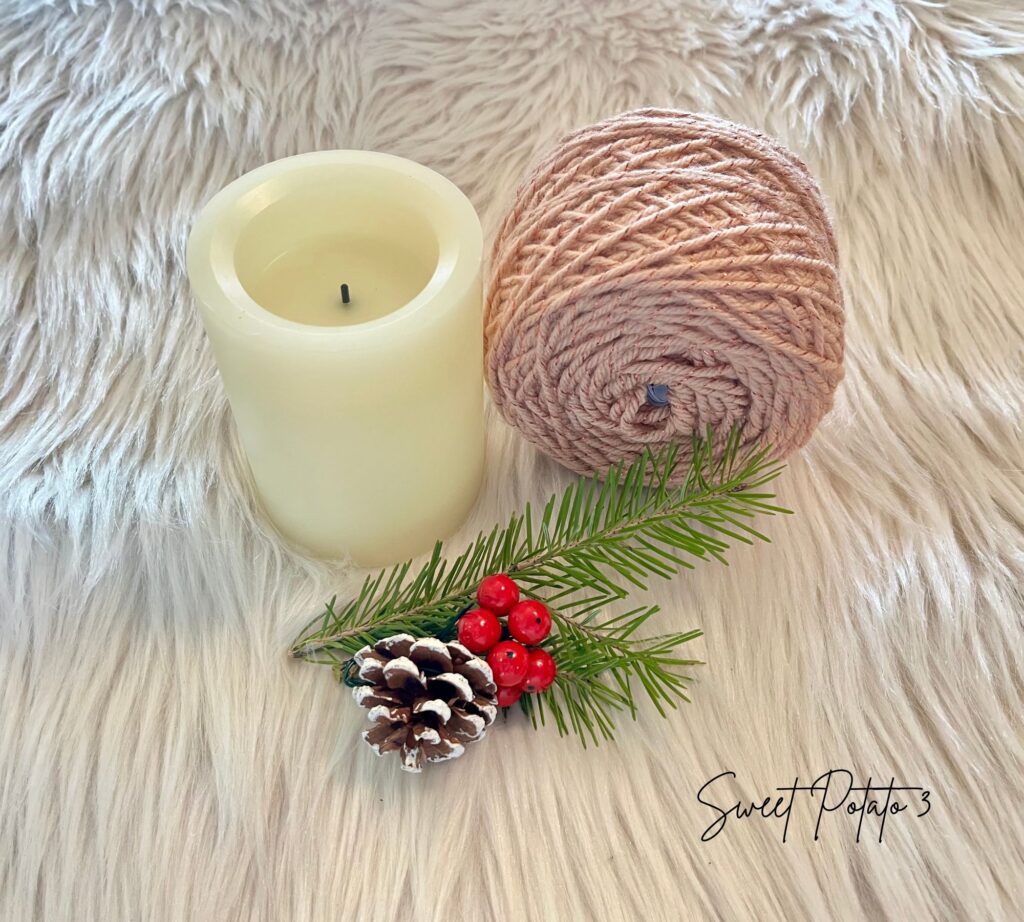
Simple Candle Wrap Materials
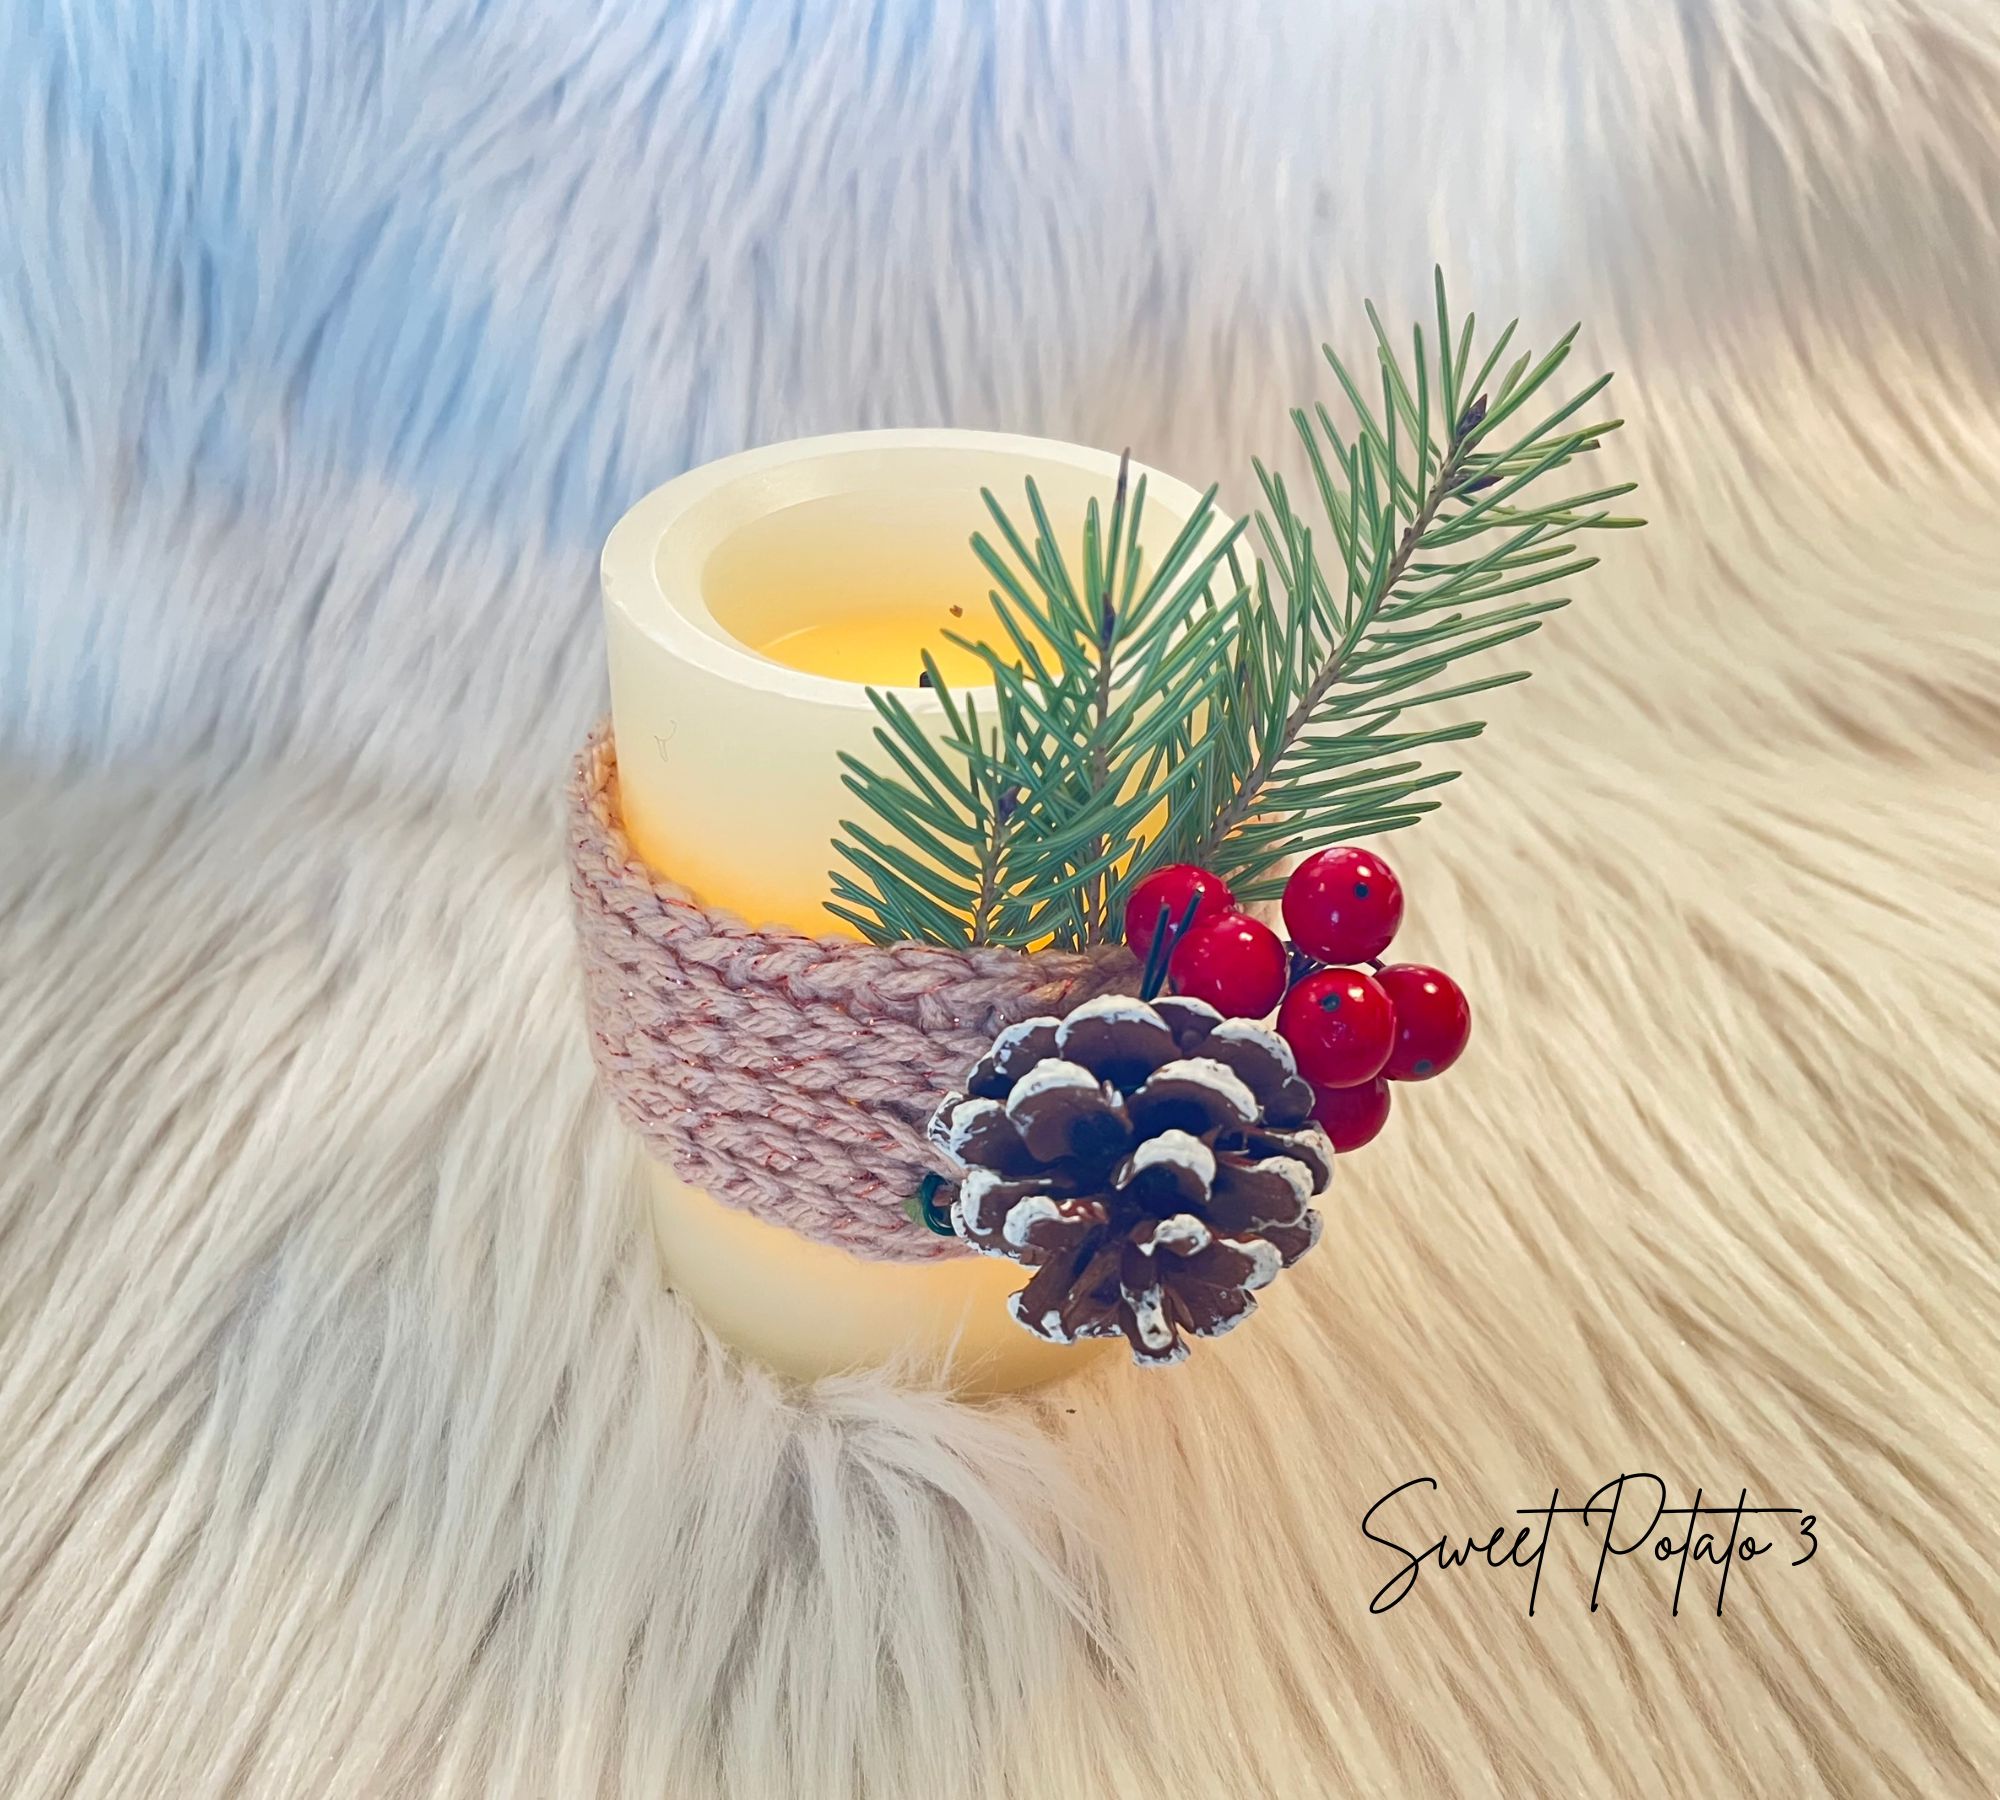
One of the fun parts of this quick project is that you can make it with scrap amounts of yarn and practically any size of candle you have laying around. I picked to make my candle wrap in a fun yarn that has a little tensil/sparkle in it and it adds that festive touch for the holidays.
Important Note: Only use wickless and/or flameless candles when using the cable candle wraps. Open flames and yarn do not mix and can be very dangerous. Here are some nice wickless candles that I like better than the set I have, see them HERE.
- Scrap amounts of yarn – I used worsted weight Mary Maxim Sparkle
- Crochet Hook H (5.00 mm)
- Wickless Candle – I used a candle that was 9 1/2 inches around and about 4 inches tall, but any candle size will work. Here are some wickless candles that I like even better than the set I have, click HERE.
- Yarn Needle
- Scissors
- Measuring Tape
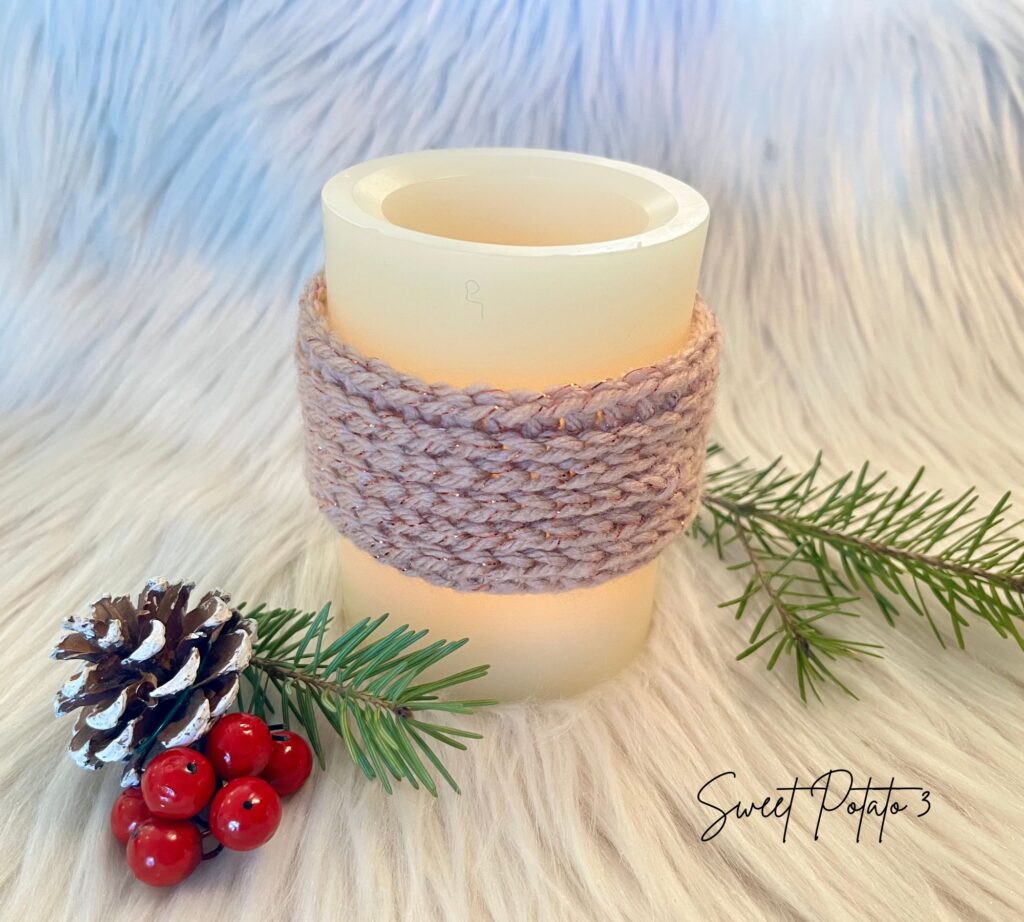
Starting your Simple Candle Wrap
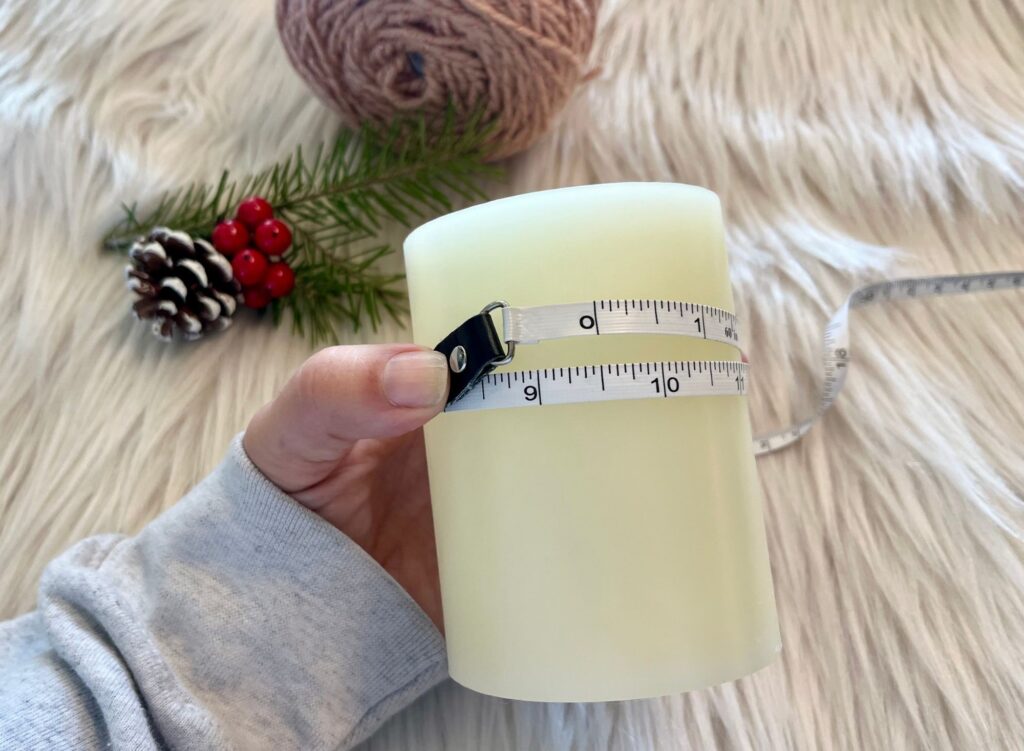
To begin your candle wrap, measure around the candle and get a basic measurement, then crochet a foundation row of half double crochets (video tutorial below if you are unfamiliar with this stitch) that is about 1/4 inch shorter than the candle measurement. Making this a little shorter will allow for a little stretch that will keep the candle wrap up and eliminate it from sliding down the side of the candle.
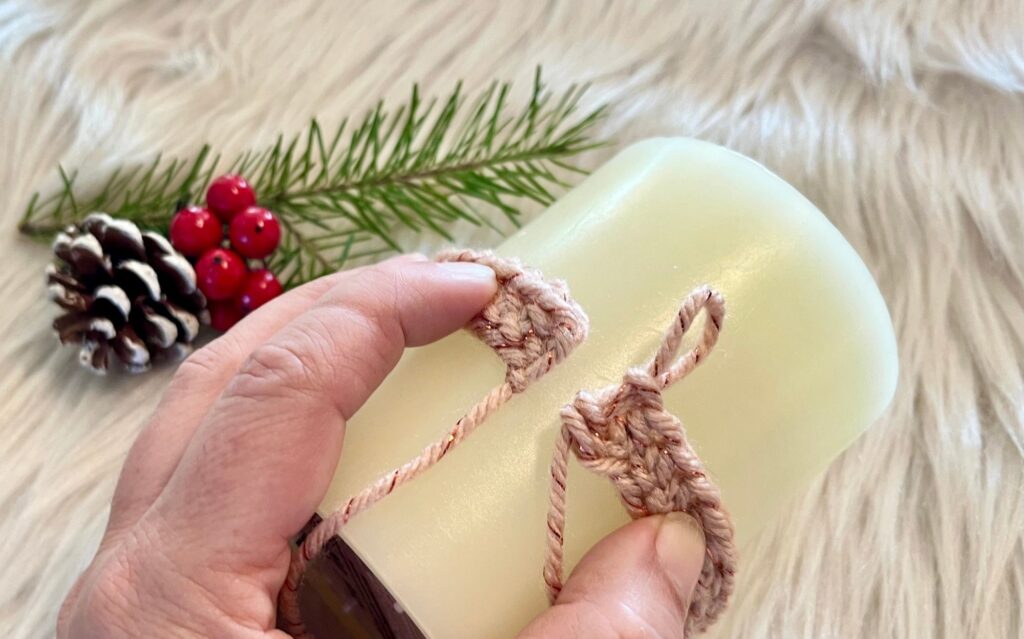
For your foundation row it is important to use a foundation half double crochet stitch. This will give your wrap some stretch so it can hug the candle and not be too tight resulting in digging into the wax coating. If you are unfamiliar with the foundation hdc watch the video tutorial below:
The stitch count may be different for each project since your candle size will vary. I used a crochet hook H (5.00 mm) and crocheted 36 foundation hdc. After your foundation has been completed join with a slip stitch.
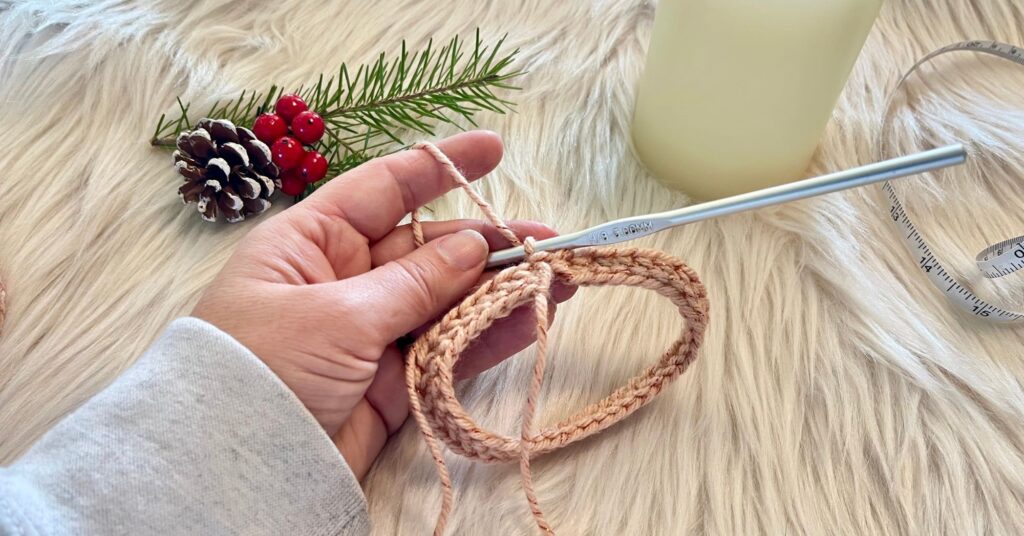
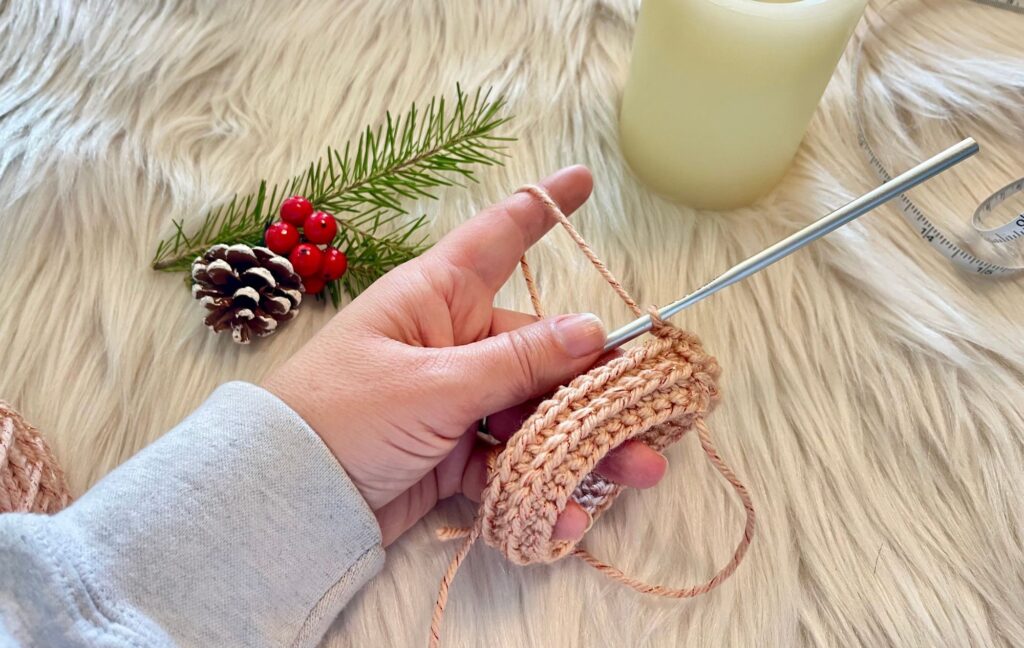
Continue with a chain 1 and crochet a round of half double crochets in the back loop only ending with a slip stitch join in top of the 1st hdc. If you are not familiar with crocheting in the back bar, watch the tutorial below:
Two rows have now been completed. For the third row of the simple candle wrap you will create a chain space, this space will be used to slide your decorative items into the wrap. To decide where to place your “space” take your total stitch count and divide it in half. In my sample I crocheted 36 stitches in each round, so half of 36 is 18 stitch. “18” is the number to remember in the third row of instructions.
For row three, chain 1, hdc in the back bar half way around (this is where I crocheted in the 18 stitches-use your half number). After you have crocheted half way around your simple candle wrap, chain 2, then continue to crochet a hdc in the back bar of each stitch around and join.
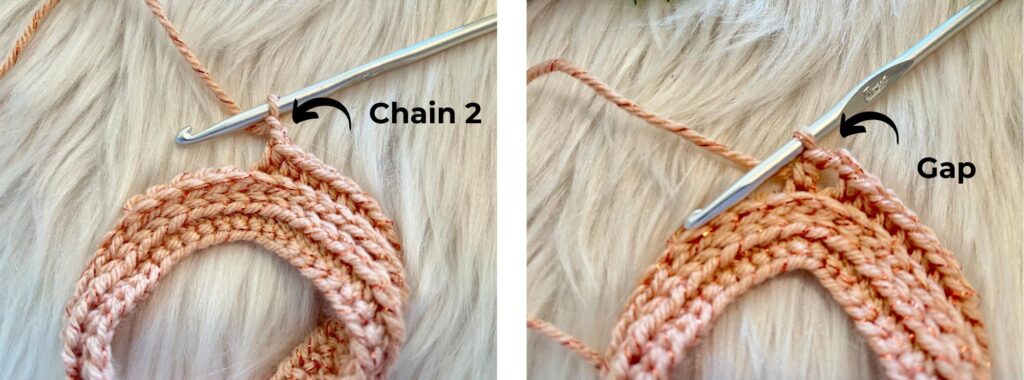
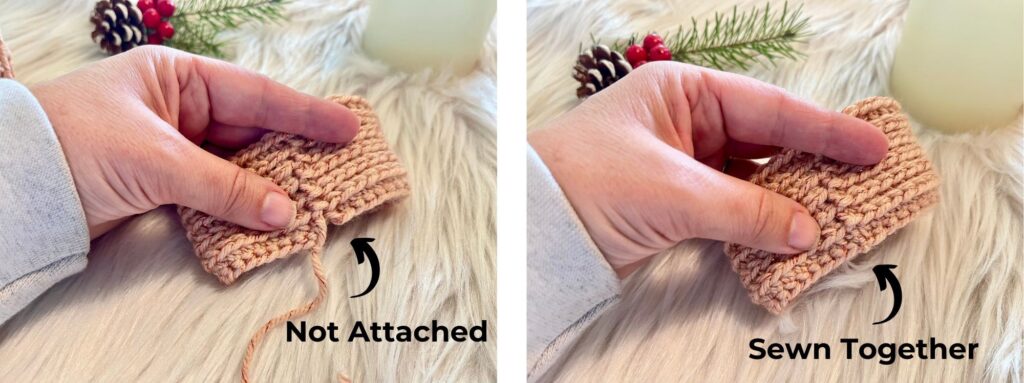
Your Simple Candle Wrap is now half way completed. Work 3 more rows of half double crochets in the back bar and fasten off after your last round. The project is almost completed. If you look closely, you will notice the first and last stitch of your foundation row are not attached. Use the starting piece of yarn to sew this together.
Simple Candle Wrap Finishing Touches
And just like that your Simple Candle Wrap is crocheted. All that is left is to add a touch of festive decor. I grabbed some decor from my holiday box, red berries and a small pinecone and then I clipped a twig of pines. Insert this into the “space” that was created in round three and it transforms a cute and simple wrap into a cheerful piece of decor.
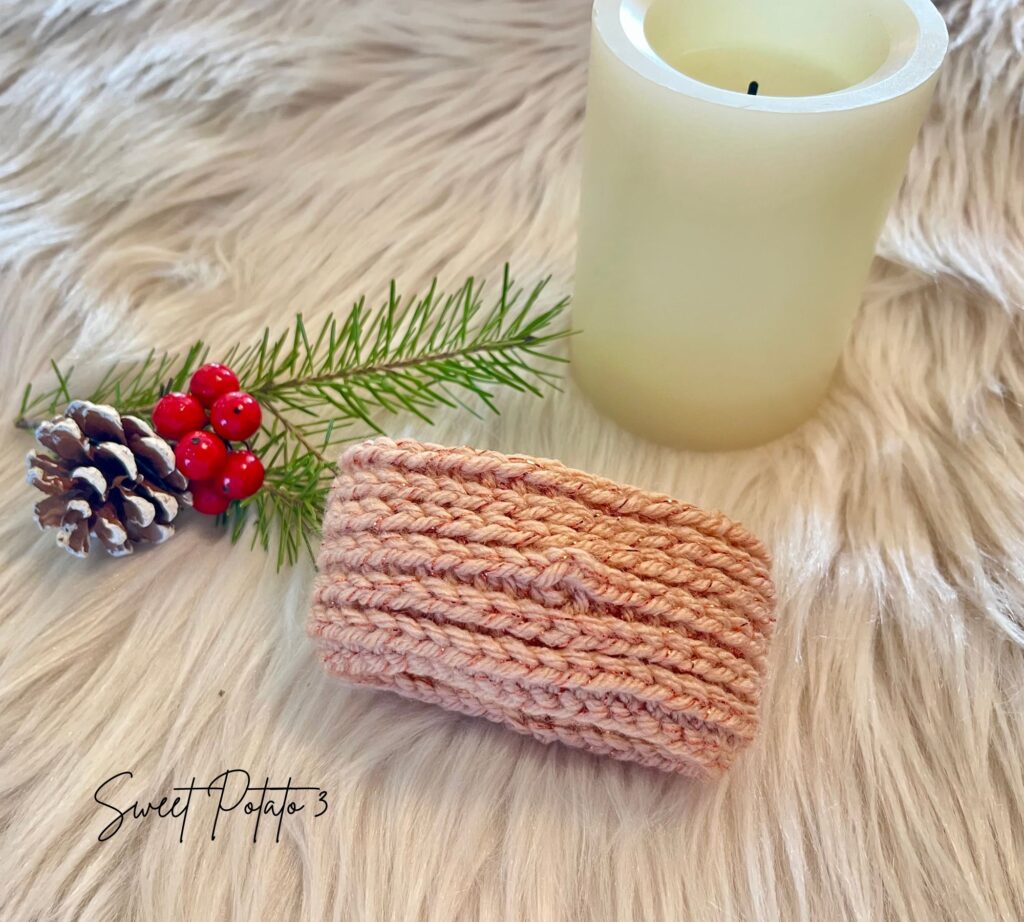
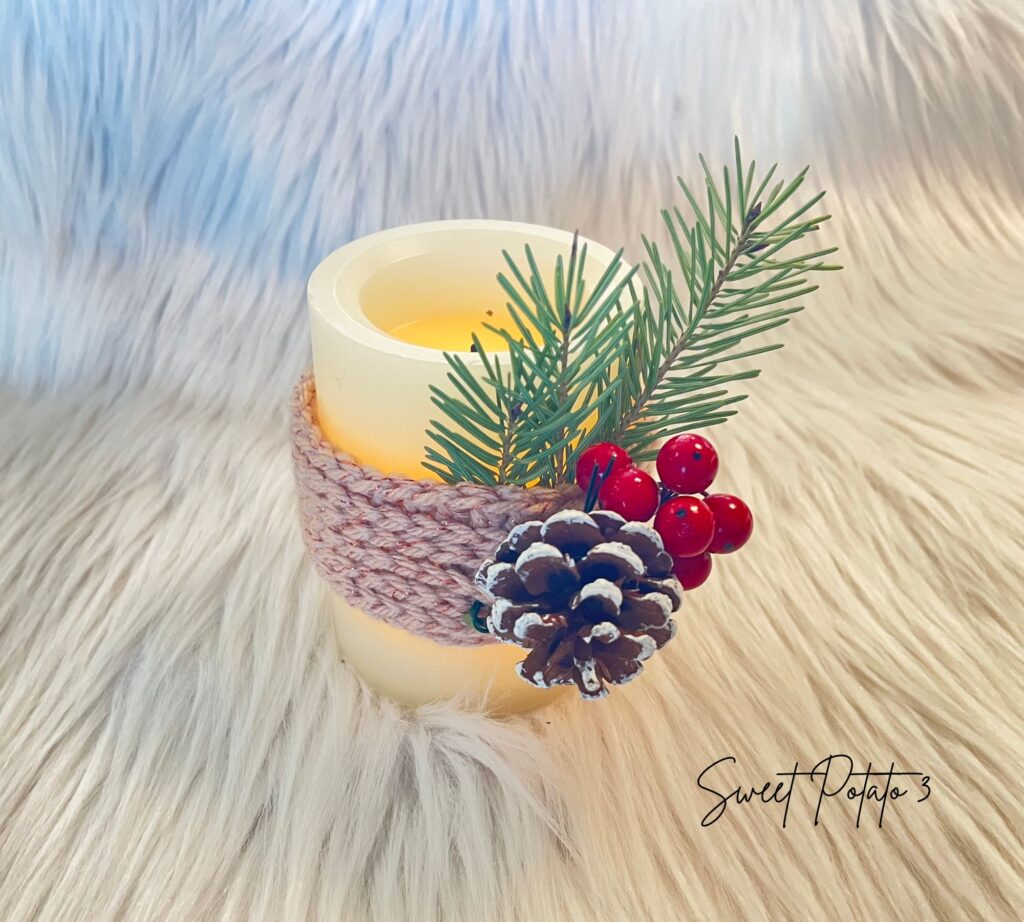
More Candle Wraps You May Love
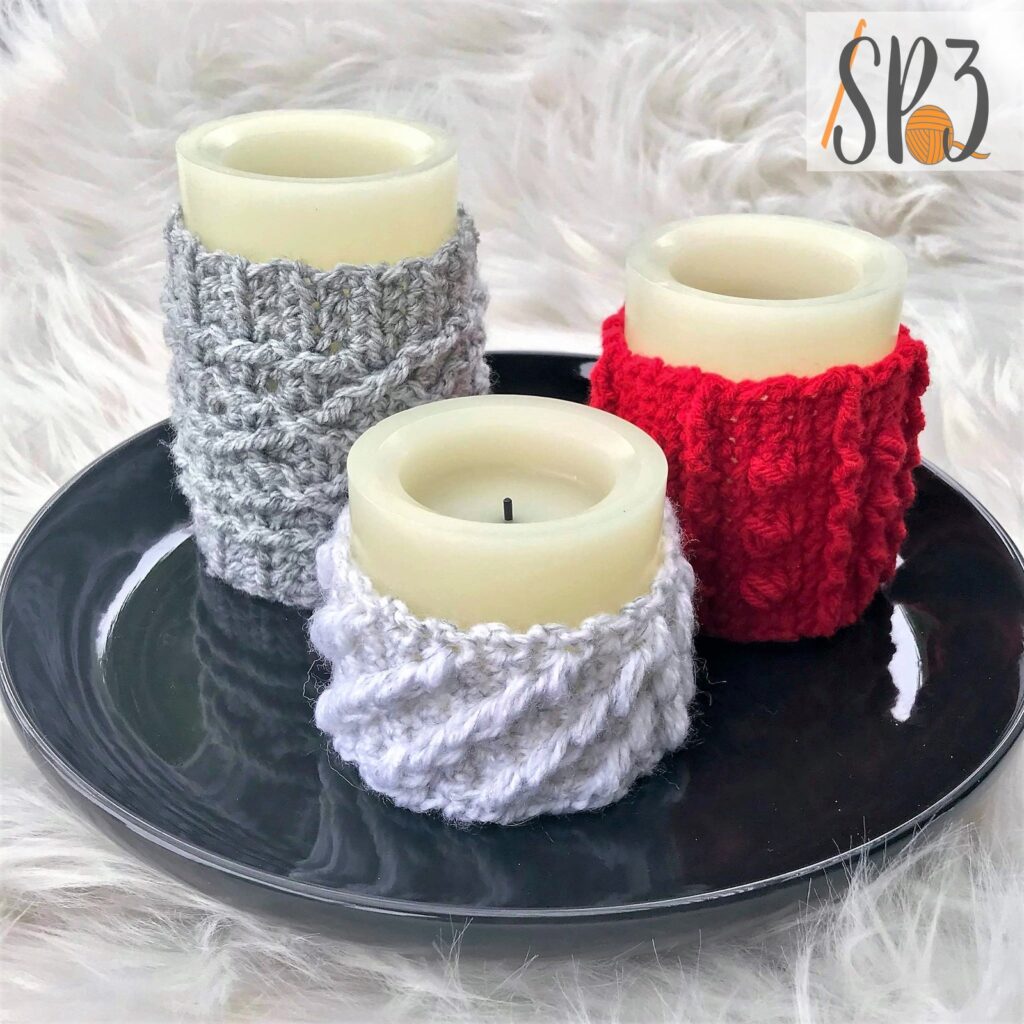
If you like this candle wrap and would like to try a more advanced set of candle wraps, check out my Cabled Candle Wrap Pattern. This pattern is a set of three designs that are full of texture and charm and made in holiday colors can really elevate your decor.
You can find this set of cable candle wraps and all the details by clicking HERE.
More Crochet Fun
Follow Sweet Potato 3 on Facebook to see more pattern releases, sales and crochet fun, just click HERE.
However, if you would enjoy a more interactive group experience, you need to join my Crochet & Conversations facebook group, click HERE. It is a ton of fun and I encourage everyone to share their projects, WIPS (works in progress) and inspirations. Plus you get exclusive deals, are the first to see new releases, give input on designs and have opportunities to win patterns. Join now and get to know others who also enjoy the art of crochet.


