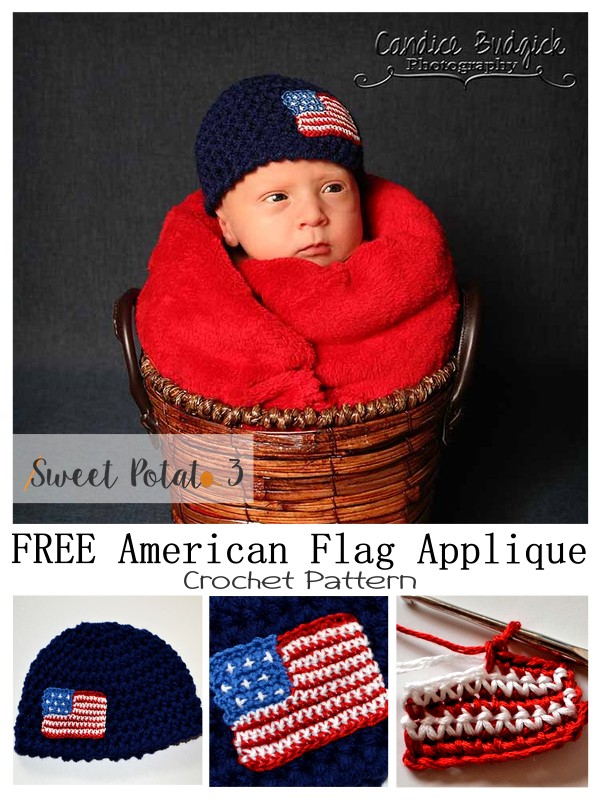
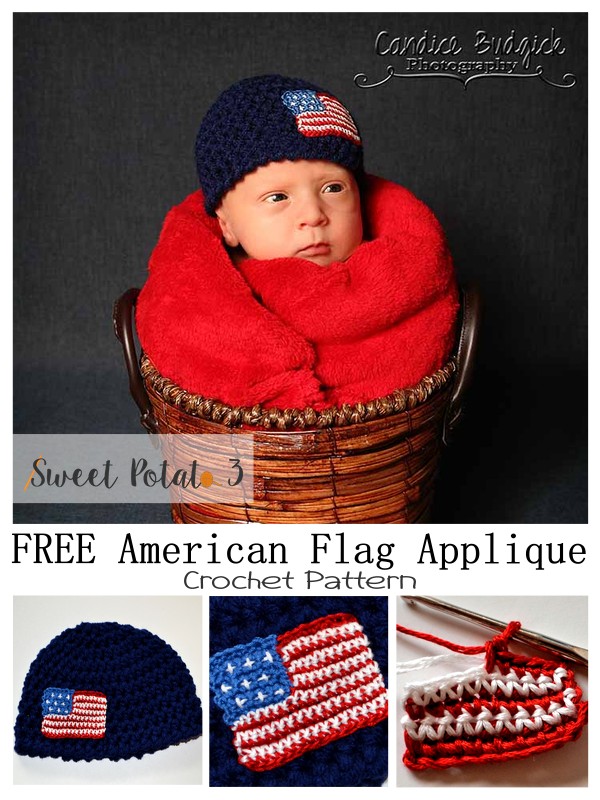
I love crocheting appliques to add a personal touch to a crochet piece whether it is a hat, blanket, sweater, handbag or really anything. When I first started selling crocheting hats, a photographer wanted me to make them a hat with an American Flag on it.
As much as I love crocheting appliques, getting details can be tricky. When you crochet an American Flag one detail you must have is the 13 stripes. Trying to get 13 stripes even with a fine yarn is pretty difficult to get it to fit onto a newborn hat.
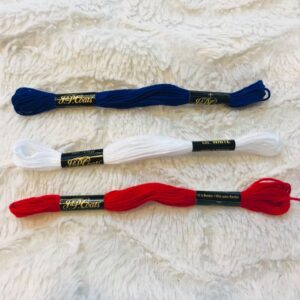
Because yarn wasn’t working I tried to find #10 thread but I only had red and white in my stash and the right shade of blue I couldn’t get locally. Trying to come up with a solution I noticed my daughters friendship bracelet kit in the corner. Sure enough, she had a bundle of each color I needed.
Making the Hat
I started by making a newborn hat using my FREE basic hat pattern you can find by clicking HERE. I made the newborn size with no ear flaps and made one change on the final row, instead of a row of single crochet I worked my final row in reverse single crochet.
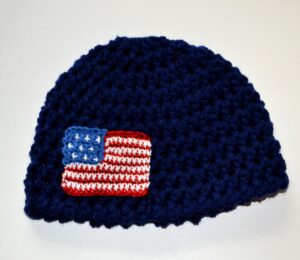
American Flag Applique Pattern
To make the applique I used the following supplies:
- Embroidery Floss/Thread in Red, White & Blue
- Crochet Hook 1 (2.75 mm)
- Needle
Final Applique Size
- 1 ¾” High
- 2 ¾” Wide
Stitches and Abbreviations in the pattern are:
- Ch = Chain
- Sc = Single Crochet
- St = Stitch
- R = Row
Instructions
The American Flag Applique will be made by working the blue section first.
- R1: in blue, Ch 8, sc in 2nd ch from hook and each remaining ch, turn (7)
- R2-7: Ch 1, sc in each st across, turn (7) fasten off after row 7 leaving 6”of thread.
The next piece will be made as one but will alternate between red and white. It is easiest to bury the color not being used under the sc then bringing it up at the end of the row.
- R1: with red, Ch 10, sc in 2nd ch from hook and each remaining ch, turn (9)
- R2: with white, Ch 1, sc in each st across, turn (9)
- R3: with red, Ch 1, sc in each st across, turn (9)
- R4-7: repeat rows 2 & 3
- R8: with white, Ch 1, sc in each st across, now place your blue square next to the striped piece and continue with sc across 7 of blue piece (continue to bury the red thread so you can pick it up in R9), turn (16)
Using yarn end of the blue thread, sew up the opening between the two pieces.

- R9: with red, Ch 1, sc in each st across, turn (16)
- R10: with white, Ch 1, sc in each st across, turn (16)
- R11: with red, Ch 1, sc in each st across, turn (16)
- R12: with white, Ch 1, sc in each st across, turn (16) fasten off white thread
- R13: with red, Ch 1, sc in each st across, fasten off red thread (16)
- Weave in all ends
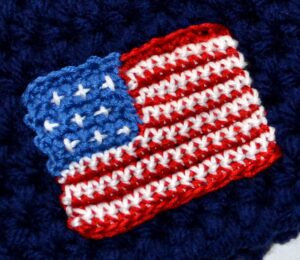
Sewing the Applique Onto the Crochet Piece
Sewing on the applique to your crochet piece may be frustrating at time to get it to lay right, but more importantly so that it looks professional without being able to see the stitching on the backside of your work. I created a video tutorial on how to do this easy technique and you can watch it by clicking HERE.
Other Applique Patterns You May Love:
- All Boys Applique Set – click HERE
- Sleep Tight Teddy Bear – click HERE
- Darling Animal Applique Round Up – click HERE
More Crochet Fun
Follow Sweet Potato 3 on Facebook to see more pattern releases, sales and crochet fun, just click HERE.
However, if you would enjoy a more interactive group experience, you need to join my Crochet & Conversations facebook group, click HERE. It is a ton of fun and I encourage everyone to share their projects, WIPS (works in progress) and inspirations. Plus you get exclusive deals, are the first to see new releases, give input on designs and have opportunities to win patterns. Join now and get to know others who also enjoy the art of crochet.


