A couple months back, I had a Stitch A Day event where I shared new crochet stitches. This was so much fun, no one wanted it to end. I started to receive requests for more specific stitches including a few suggestions for different Borders and Edges. So here we go, let’s take the next 4 weeks of May and learn a new one each day.
Did You miss the stitch a day?
If you are thinking, what Stitch A Day? You may have missed it, but it is still available. You can see all the stitches tutorials and find their links, they will forever be on my blog by clicking HERE.
Learn Borders & Edging Techniques
For the first 4 weeks of May, I will be featuring a different designer and a free tutorial that they have for a border and/or edging. Most of these a quick and would look amazing on practically any crochet project.
If you want to be notified each day with the updated technique, make sure you have subscribed to my newsletter HERE.
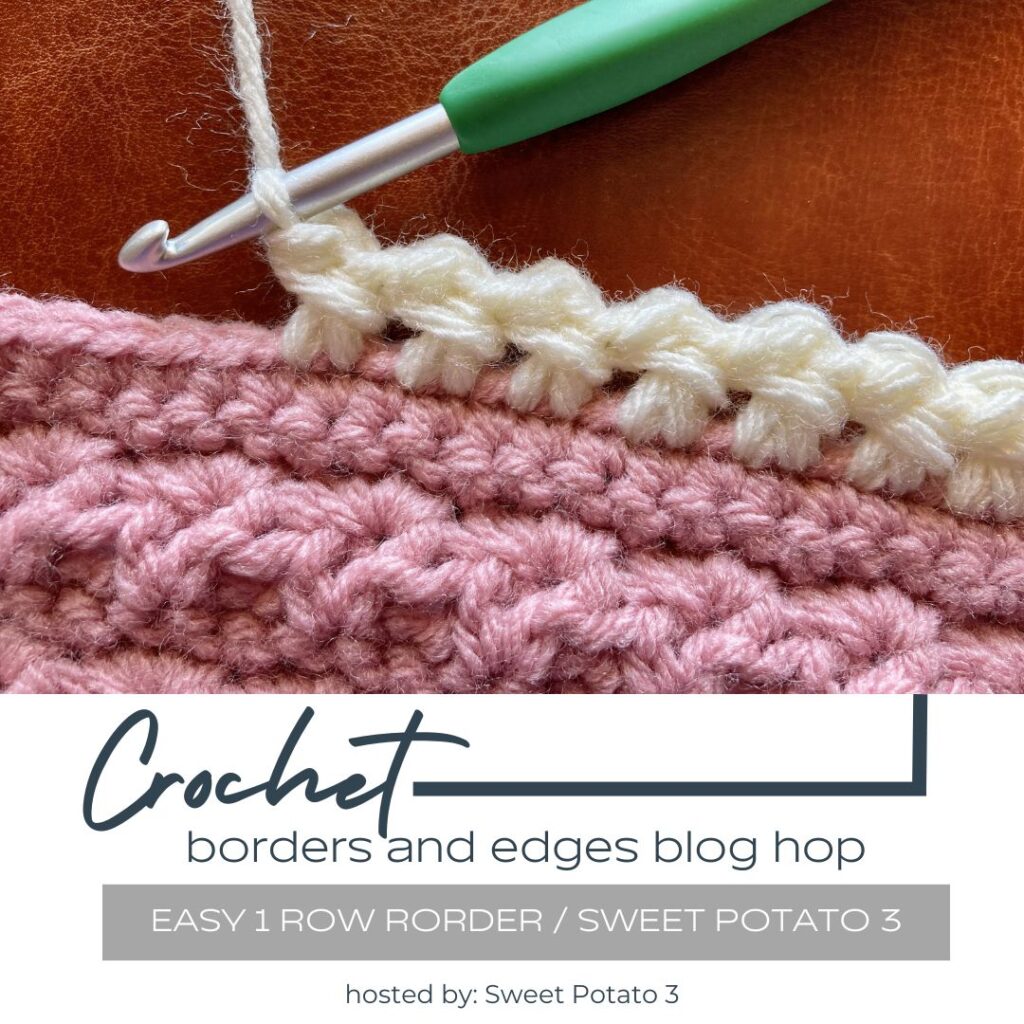
Easy one row border
I love when you can find a fun border that doesn’t take forever to crochet. This is a great technique that looks like more than one row, but it isn’t! It’s so fun to work up.
This tutorial is by Christine from Sweet Potato 3 Patterns.
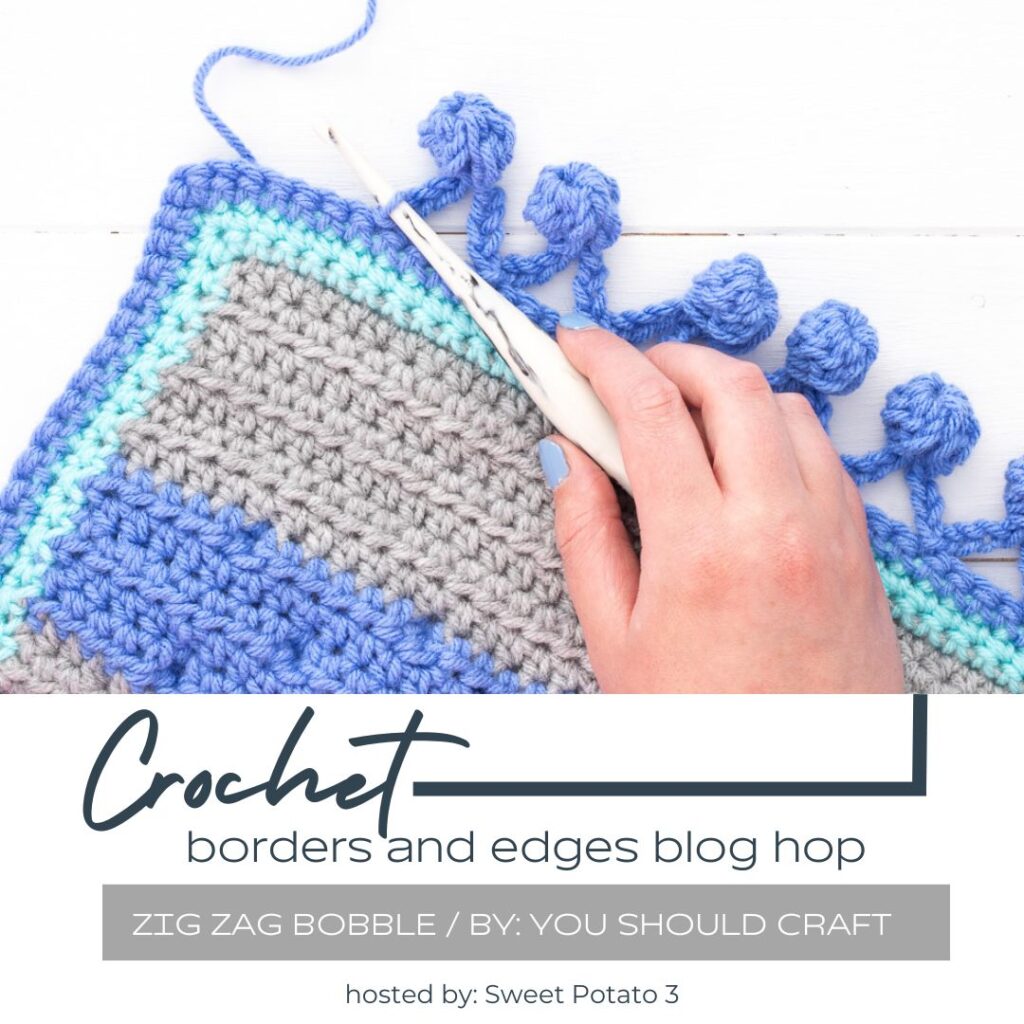
The Zig Zag Bobble Border
This is such a fun and playful border. This is one that I have yet to try, but you can bet, I’ve added it to my list to try very soon!
Here is a great tutorial by You Should Craft that walks you through the steps of crocheting this fun stitch combo.
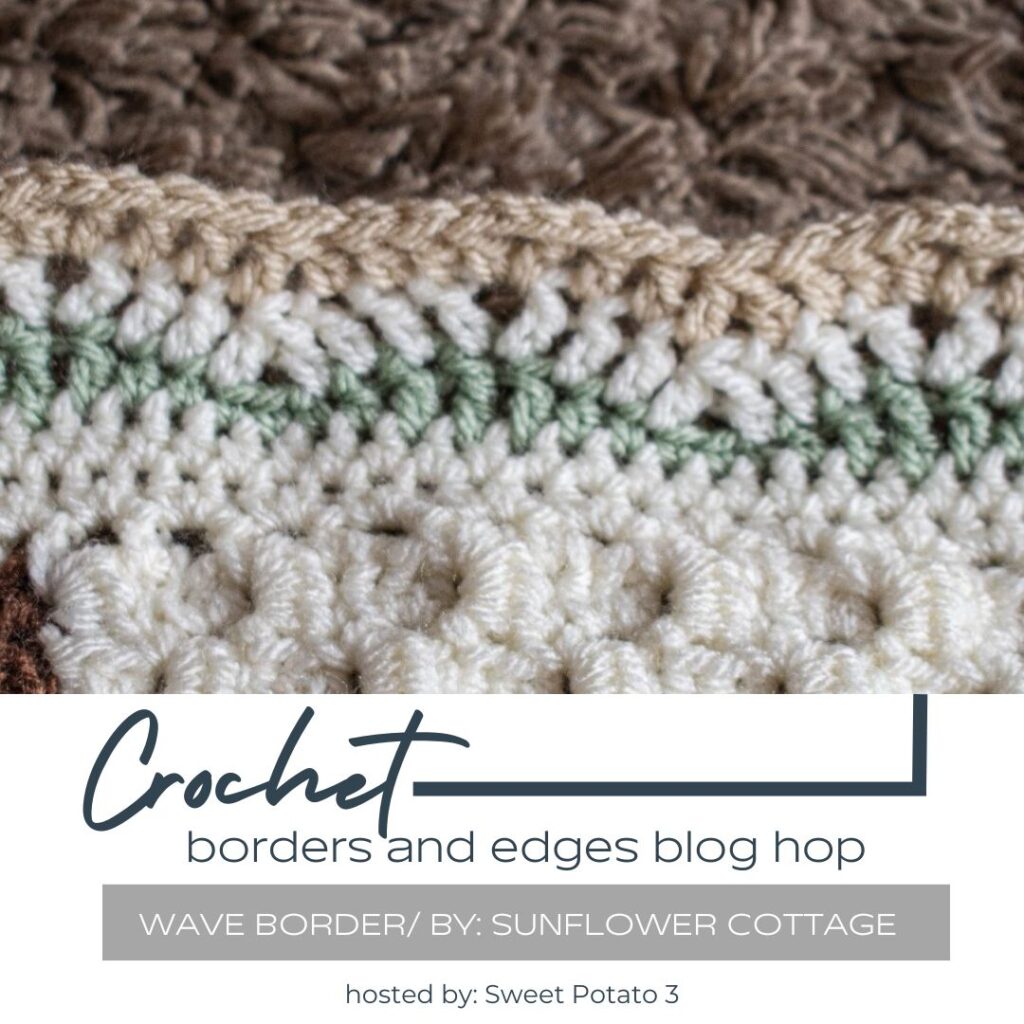
Wave Border
If you want a nice clean border that shows a bit of a wave to it, this tutorial by Sunflower Cottage is just what you need. Changing the color of yarn in the rows that create the wave really makes the design pop. This is a great play on stitches that you can really see.
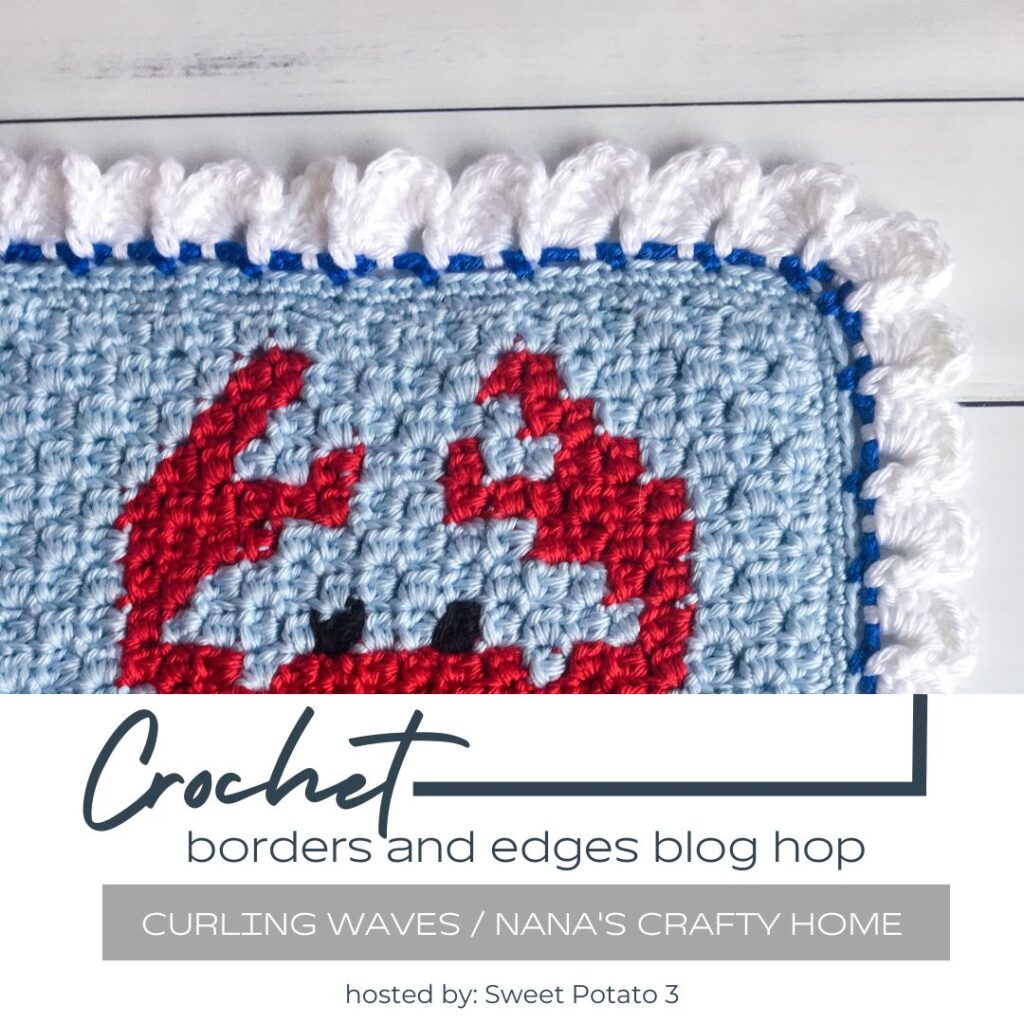
Curling Waves Border Tutorial
So yesterday we have a flat border that featured a wave. BUT, today we have a wave that speaks more and says “look at me!”
How cute is this border, so fun and playful. Nana’s Crafty Home shows exactly how to work this stitch combination. And, while you are there be sure to see her darling blanket she has it one (you can kind of see that cute little crab already…).
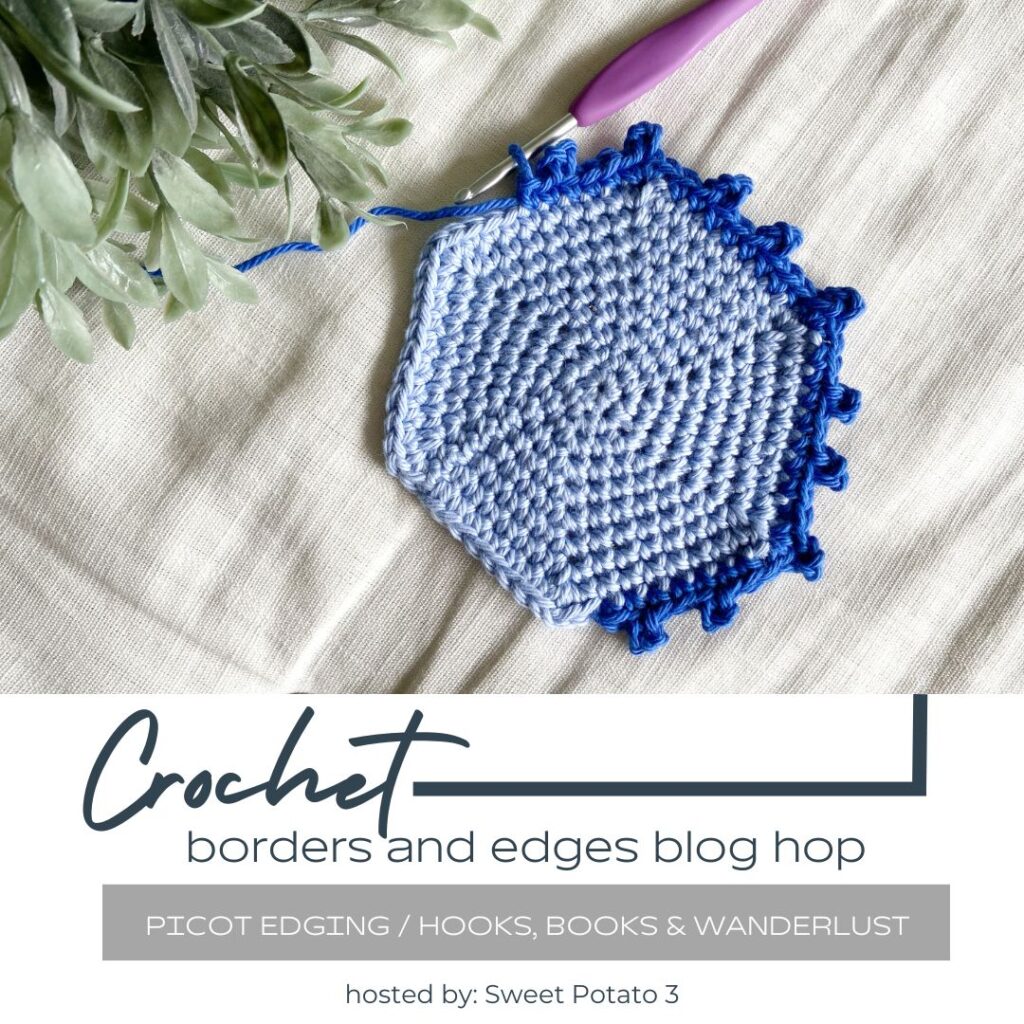
A Picot Edging
Sometimes something that looks simple is the best way to go. A traditional picot edging can sometimes add the perfect touch to your project.
My friend Kristen, designer of Hooks, Books & Wanderlust has a great photo and video tutorial to show you simple this really is. Check it out in the button below:
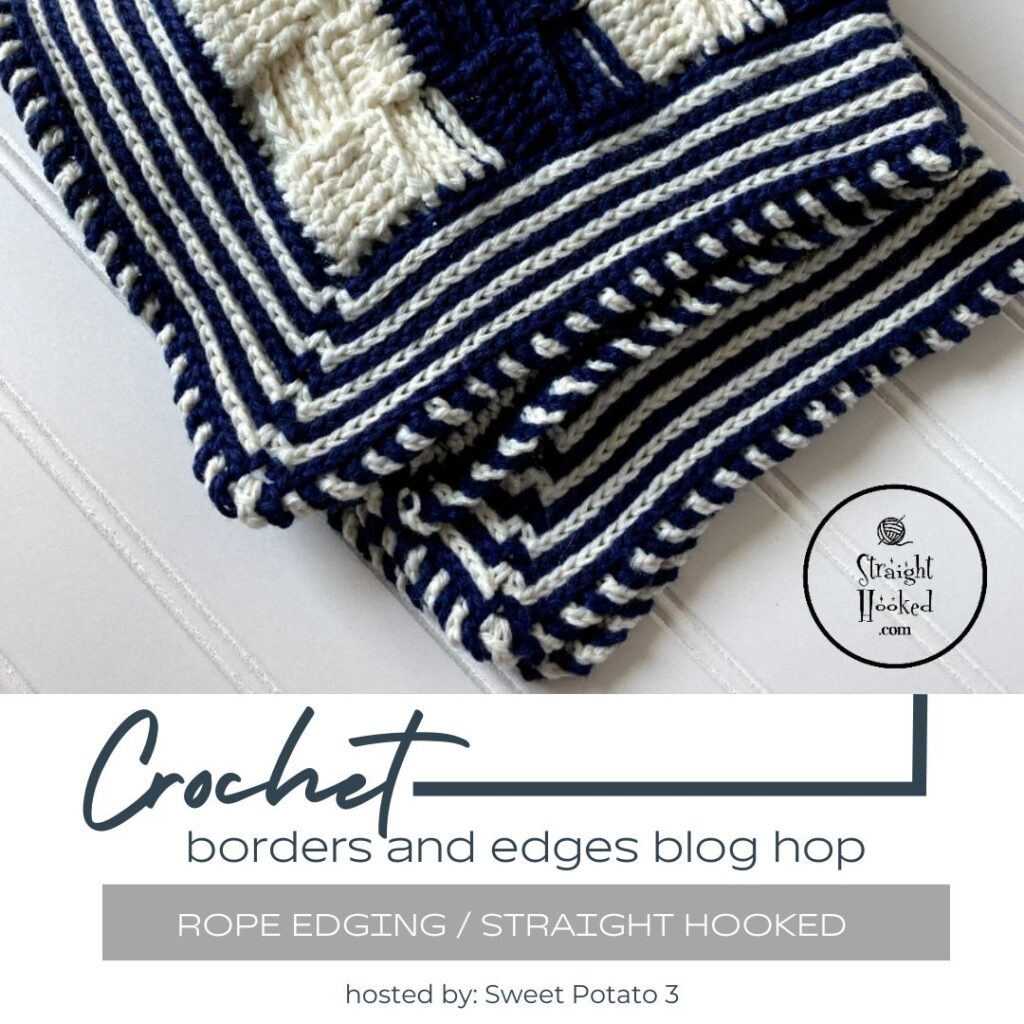
Crochet Rope Edging
I love the way the rope edging lets you use two colors to really make the border a statement in the design. Straight Hook has a great video tutorial that will walk you through the steps to create this look.
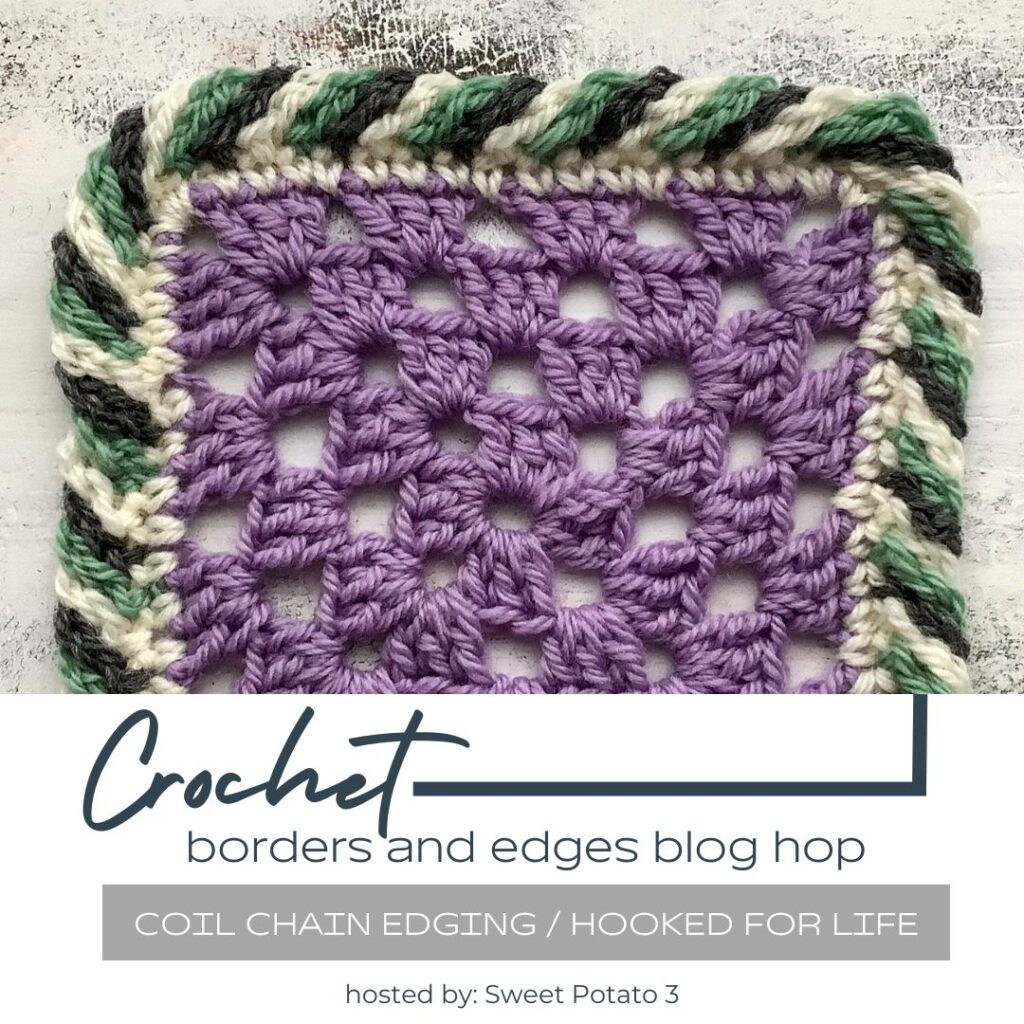
The Coil Chain Border
This tutorial is similar to the one above, BUT, it has a completely different look with the additional colors. I wanted to share both of these with you because they really are worked up a little differently.
This 3 color option is being shared by Hooked for Life, Be sure you check it out and pin it or save it for later.
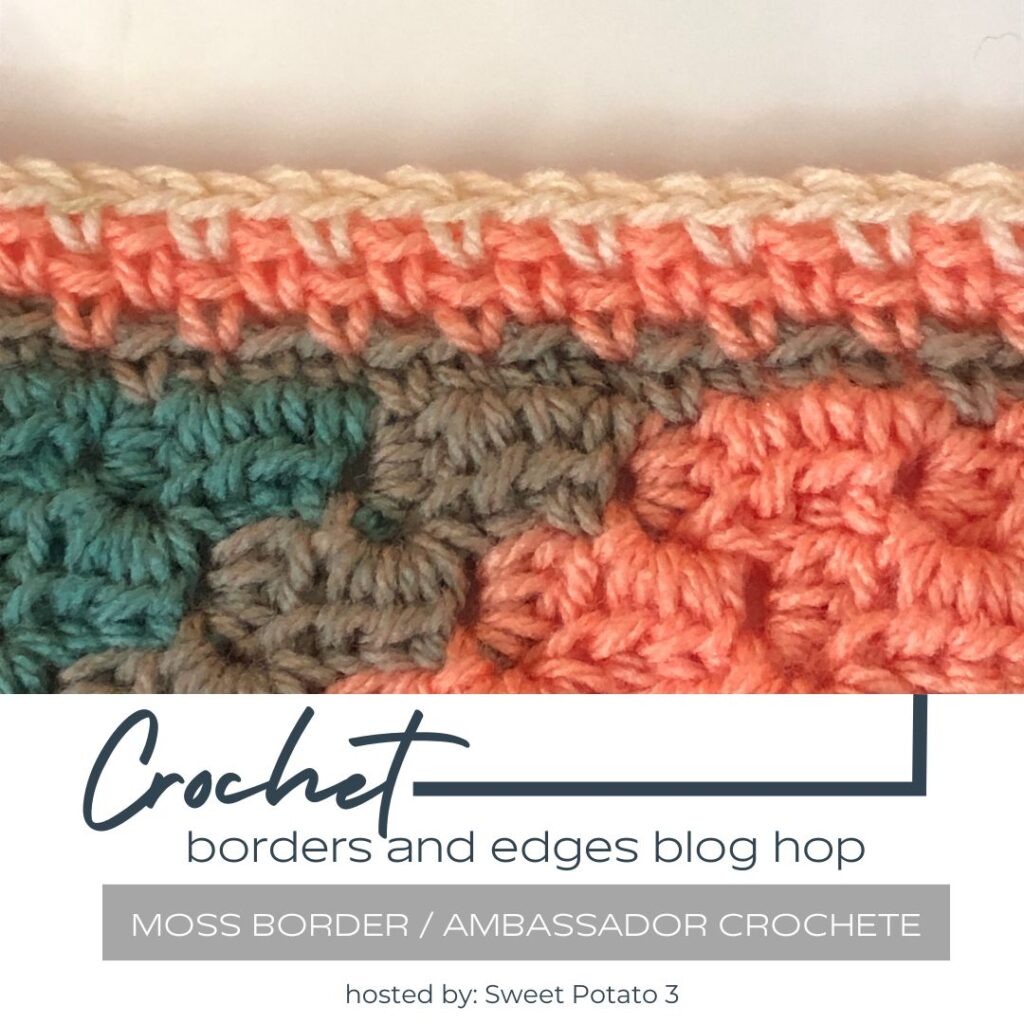
Moss Stitch Border
The Moss Stitch Border is also known as the linen stitch or even the granite stitch. This border is a lovely classic look that creates clean look that drapes perfectly.
Ambassador Crochet is sharing their tutorial that I know your going to love. This is a great stitch combo that you can crochet in a solid color or with multiple colors as shown. I have used this in a few of my blanket designs.
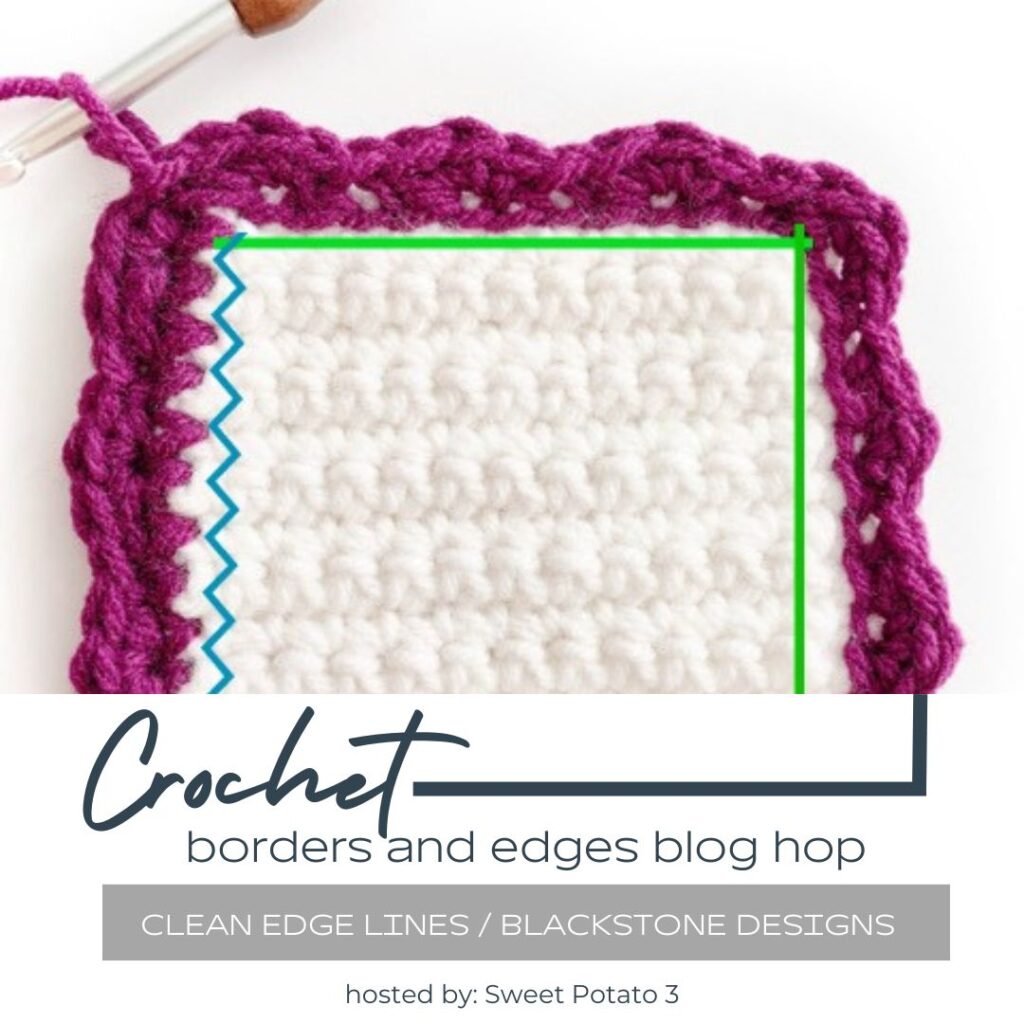
Clean Edge Lines
Today I am excited to share a technique that can change the look of your border foundation. I love discovering new techniques that elevate your skill level. So, a huge thank you to Blackstone Designs for sharing this with us today.
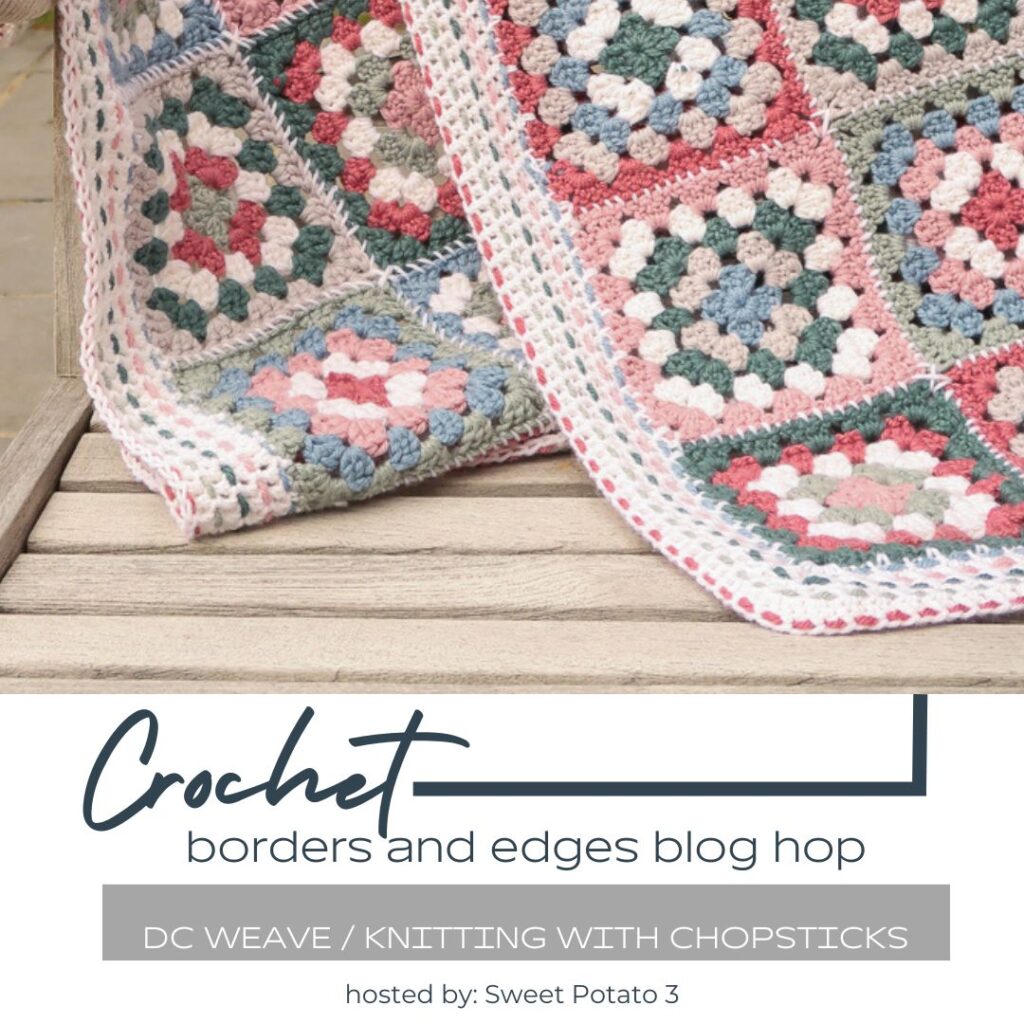
DC Weave Crochet Border
I think this is one of my favorite borders being features this month. The reason is because I love the woven look AND this is one I have never tried before.
We should both try it together, it looks like so much fun. I have to thank, Knitting with Chopsticks for sharing this amazing tutorial with all of us.
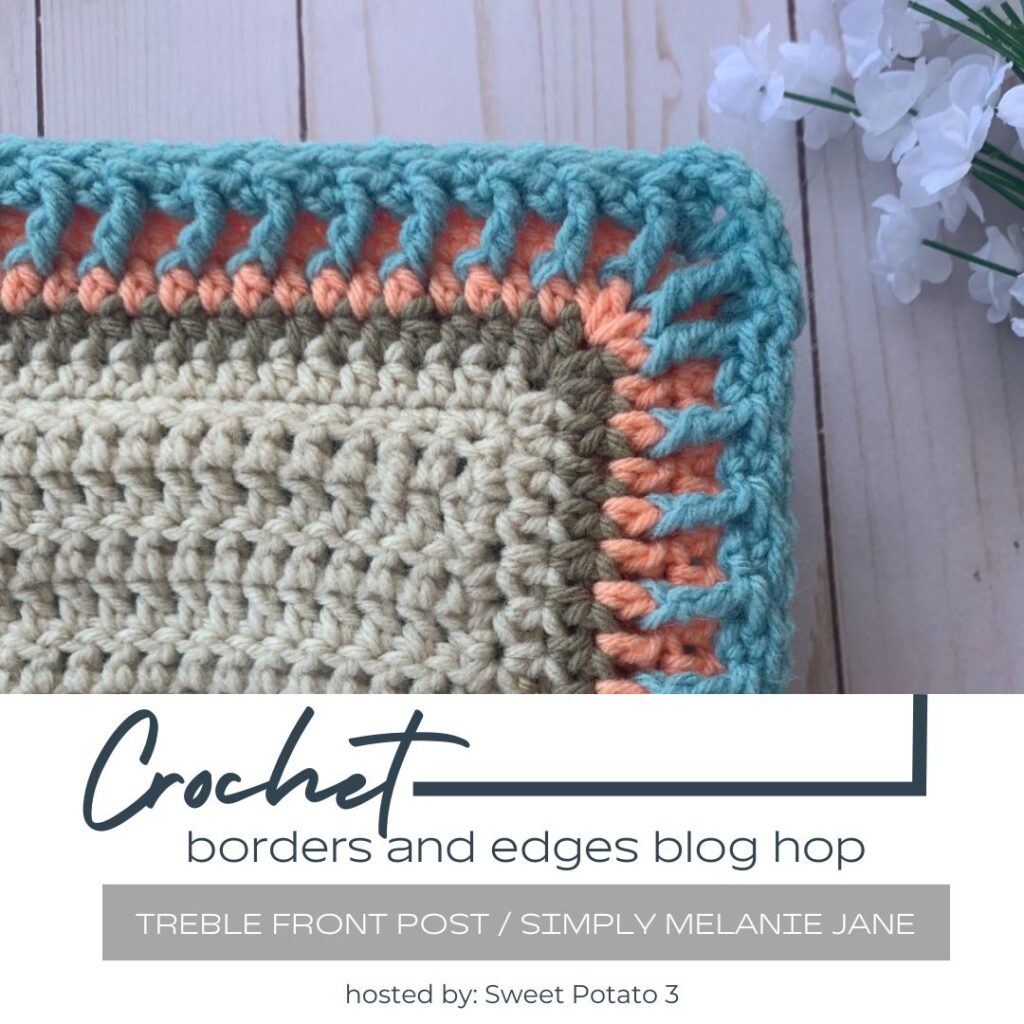
Treble Front Post Border
If you have more than one color and want your border to really pop, this is a great option. The multi-colors really make the texture created in the front post stitches stand out.
It would look great in a solid color too, but wouldn’t have that added pop that this shows. Check out the full stitch tutorial by Simply Melanie Jane below:
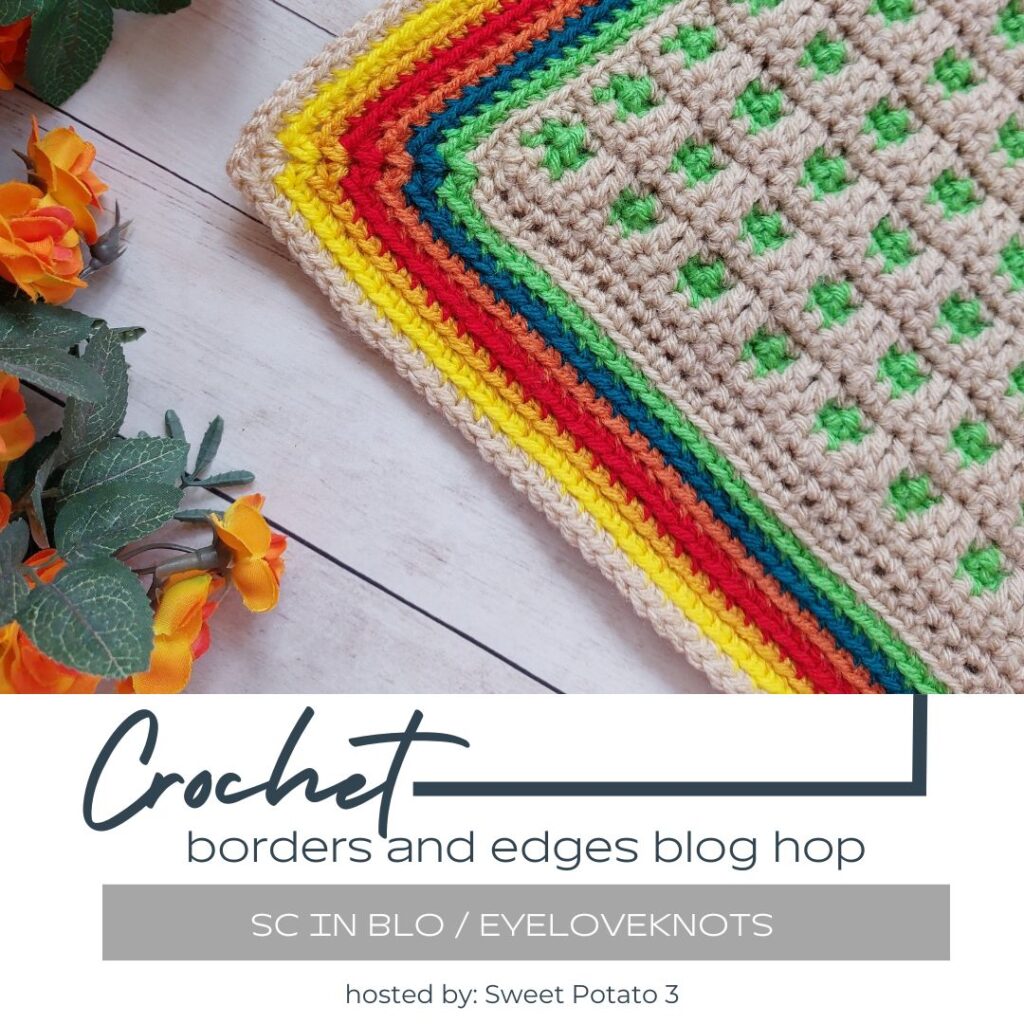
Single Crochet in Back Loop Only
A fairly easy technique of single crocheting the back loop only creates this gorgeous look! The clean edges and color changes are a great way to finish off a project. But I think the part I am totally in love with, are those fun corners!
EyeLoveKnots have a fun and easy to follow tutorial on just how to make this border. Check it out through the button below:
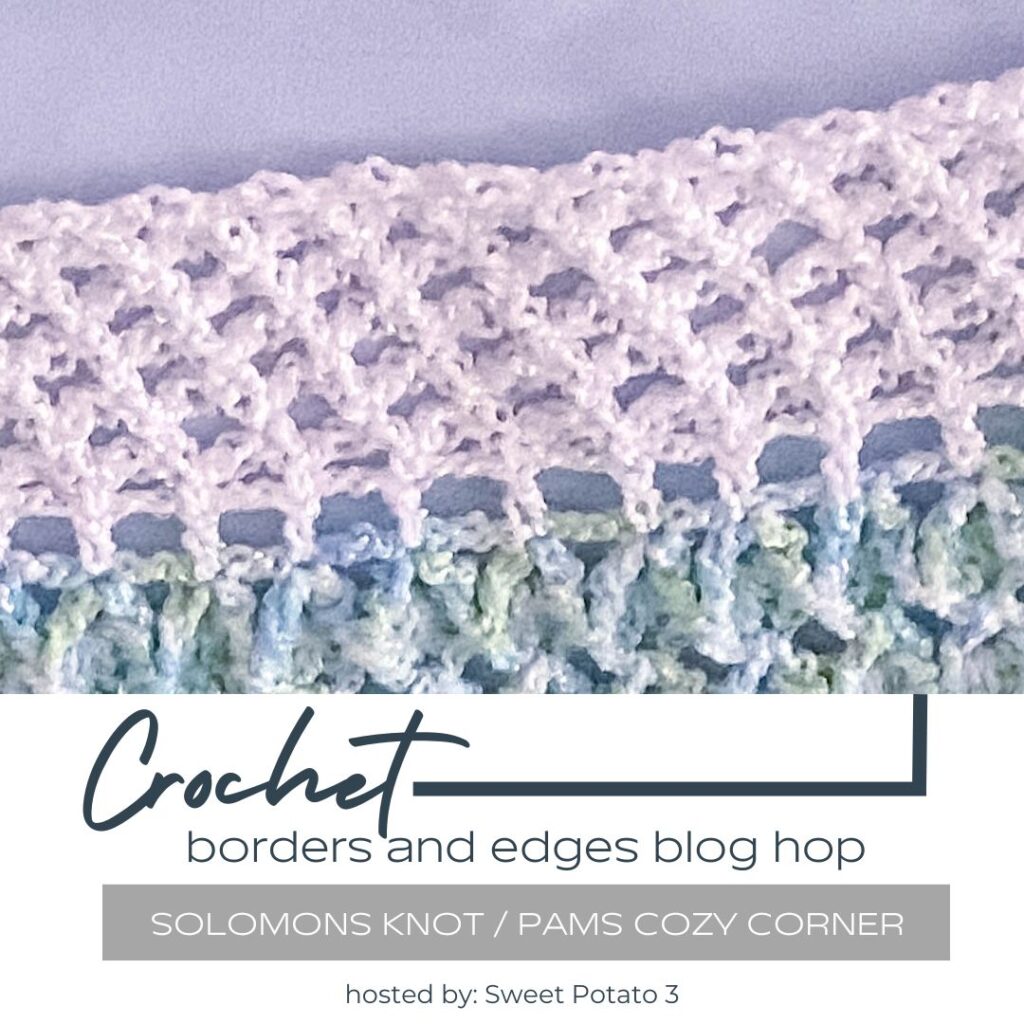
Soloman’s Knot Border
Some crochet projects need a nice lightweight border, something maybe a little lacey. The Solomon’s Knot is a border tutorial you should bookmark for one of those projects.
Pam’s Cozy Corner has a great photo tutorial to walk you through this lovely stitch pattern technique. And for those (like me) who find it easier to watch, check out the video tutorial also in the link below:
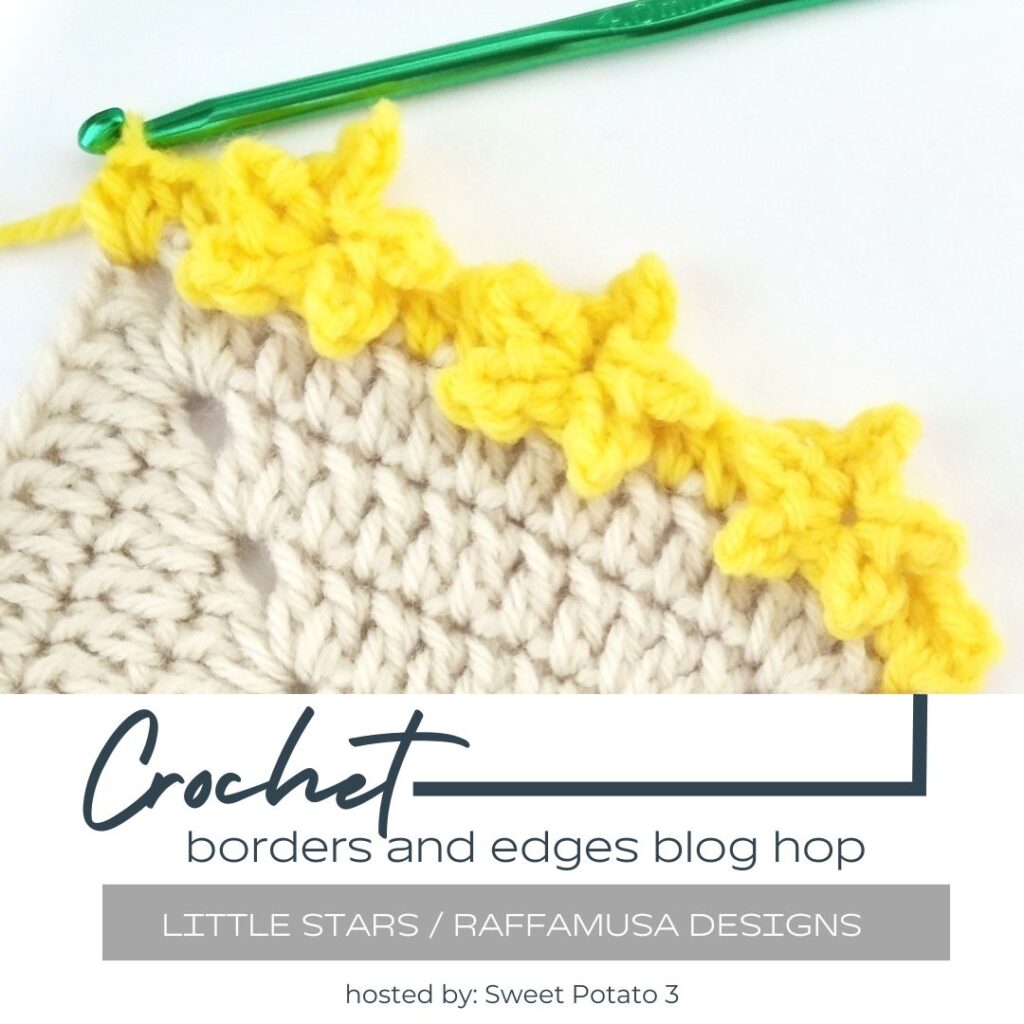
Little Stars Crochet Border
This feature is so fun and unique. As you crochet the border you will be shown how to crochet these adorable little stars. This is a bold border that I am sure would be the perfect touch on some projects.
Raffamusa Designs is sharing a great photo & video tutorial on how to work the Little Stars Border up!
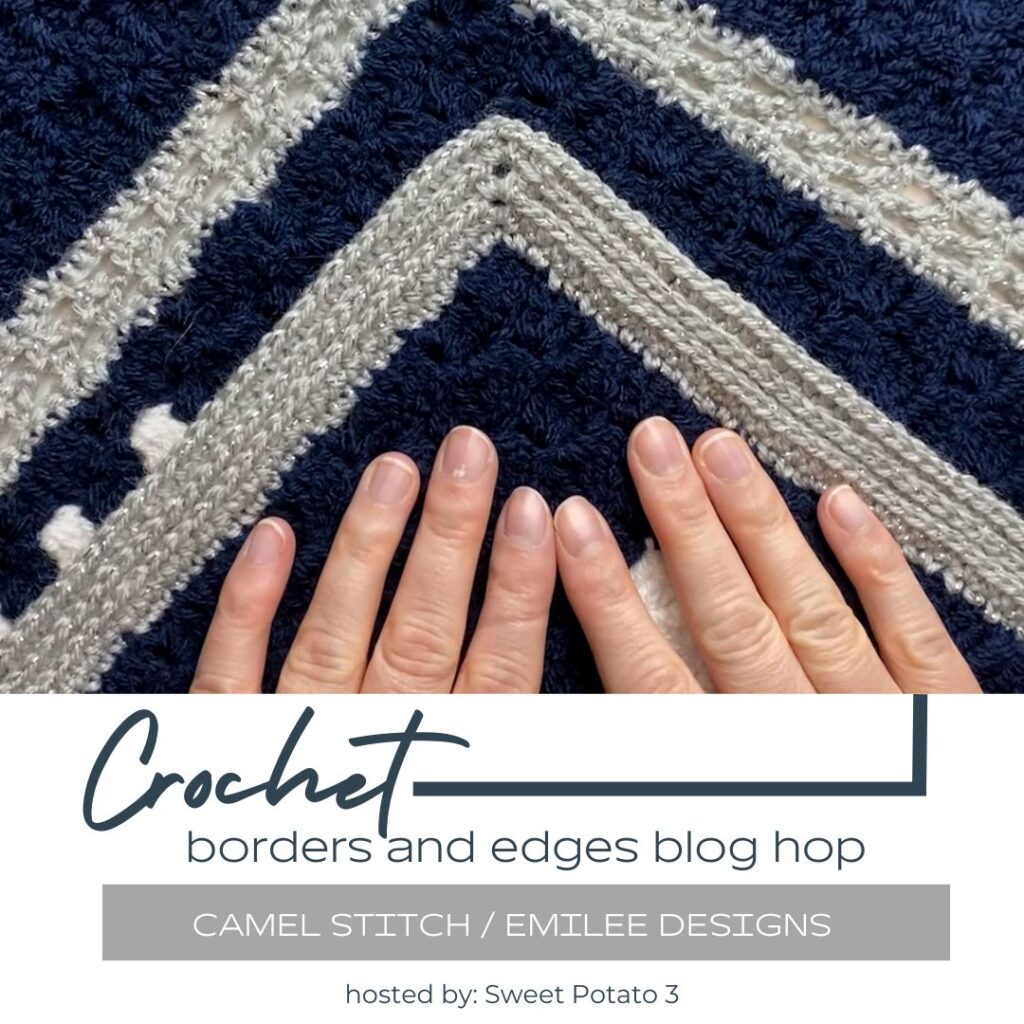
Camel Stitch Crochet Border
Another visually appealing border, this is similar to the crocheting in the 3rd loop border above. However, this gives you a visual of the solid color that creates a nice clean textured border.
Another great video tutorial on this technique thanks to Emilee Designs, be sure to check it out below:
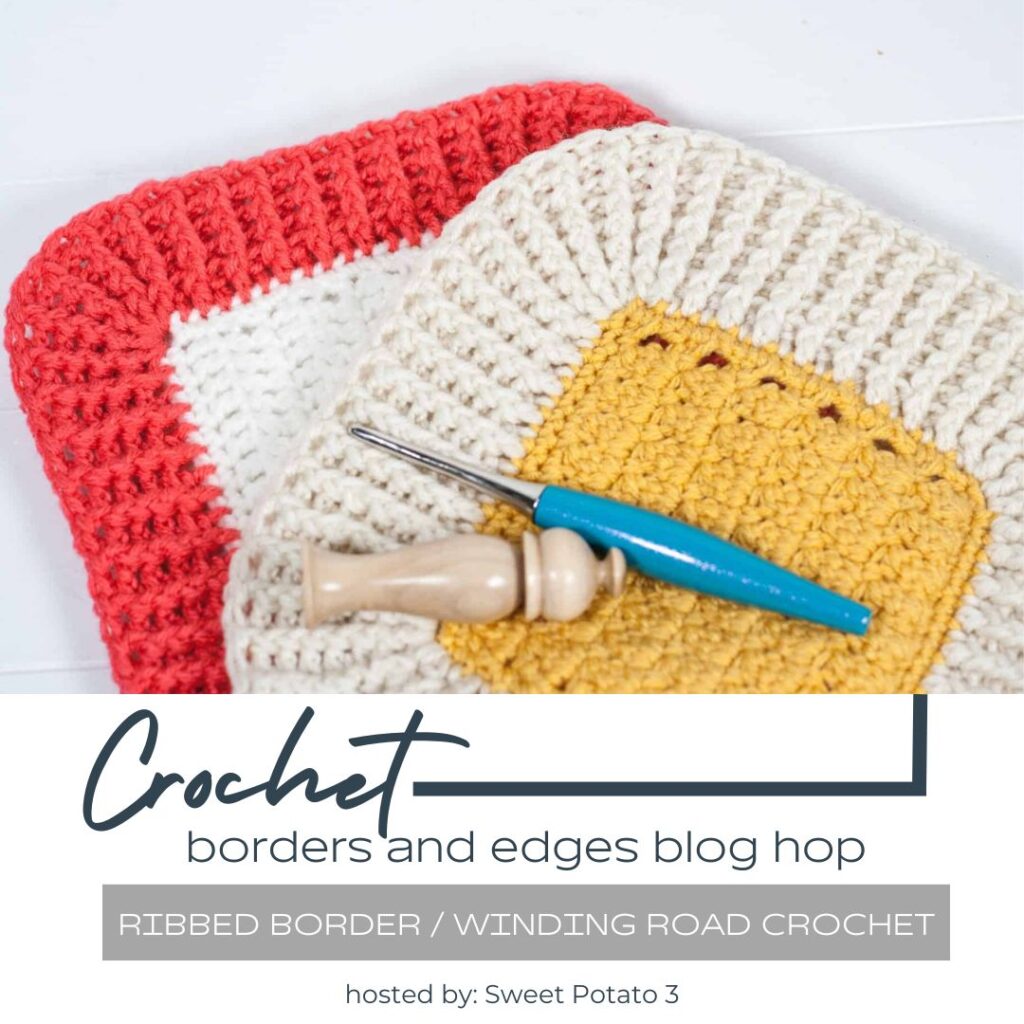
Ribbed Border Crochet Tutorial
The ribbed border is a classic way to finish your crochet project. This look is ideal for so many projects including, blankets, pillows, sweaters and other garments and so much more.
Winding Road Crochet has a great tutorial that will show you how to crochet this fun rounded corner border.
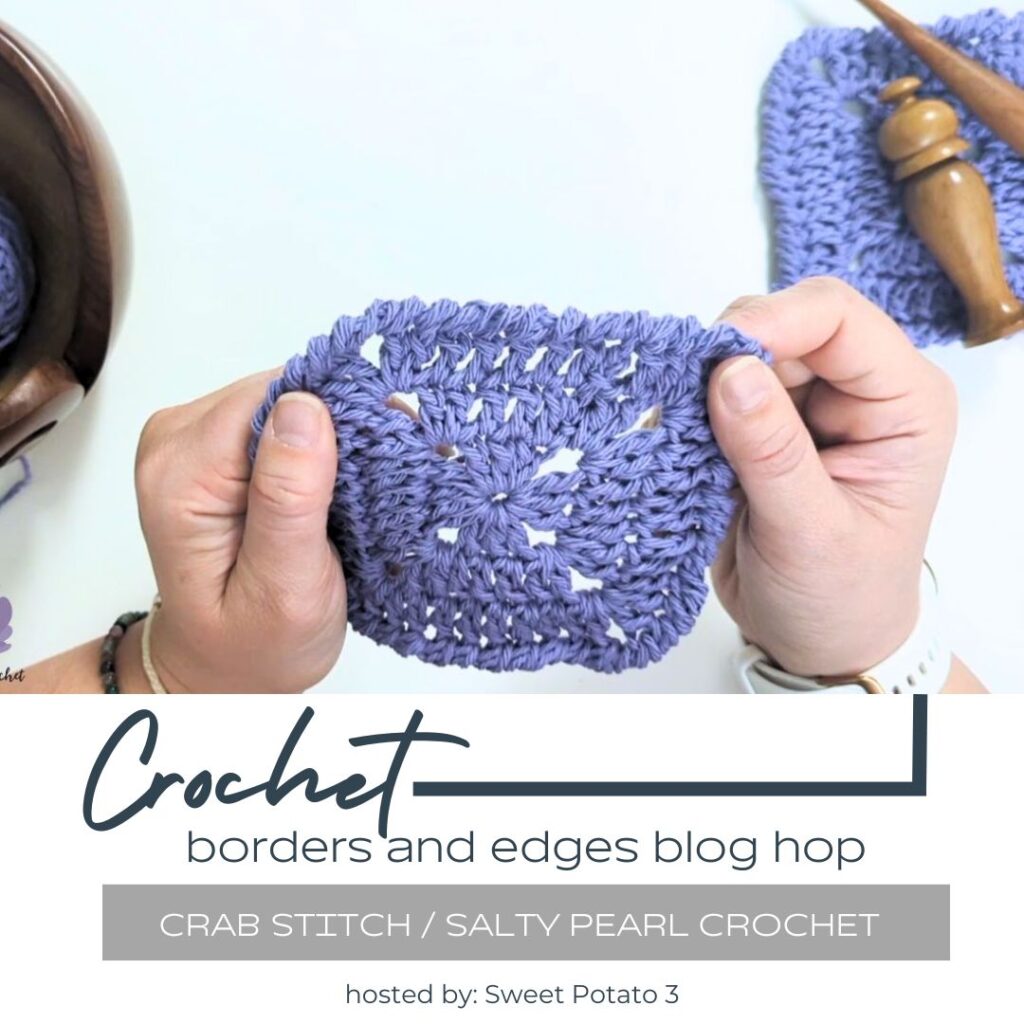
Crochet Crab Stitch Tutorial
One of the first borders I learned to crochet was the crab stitch, also known as the reverse single crochet stitch. I love how it creates an edge that looks like it is rolled. It’s a fun way to finish off a project.
Check out this great tutorial by Salty Pearl Crochet:
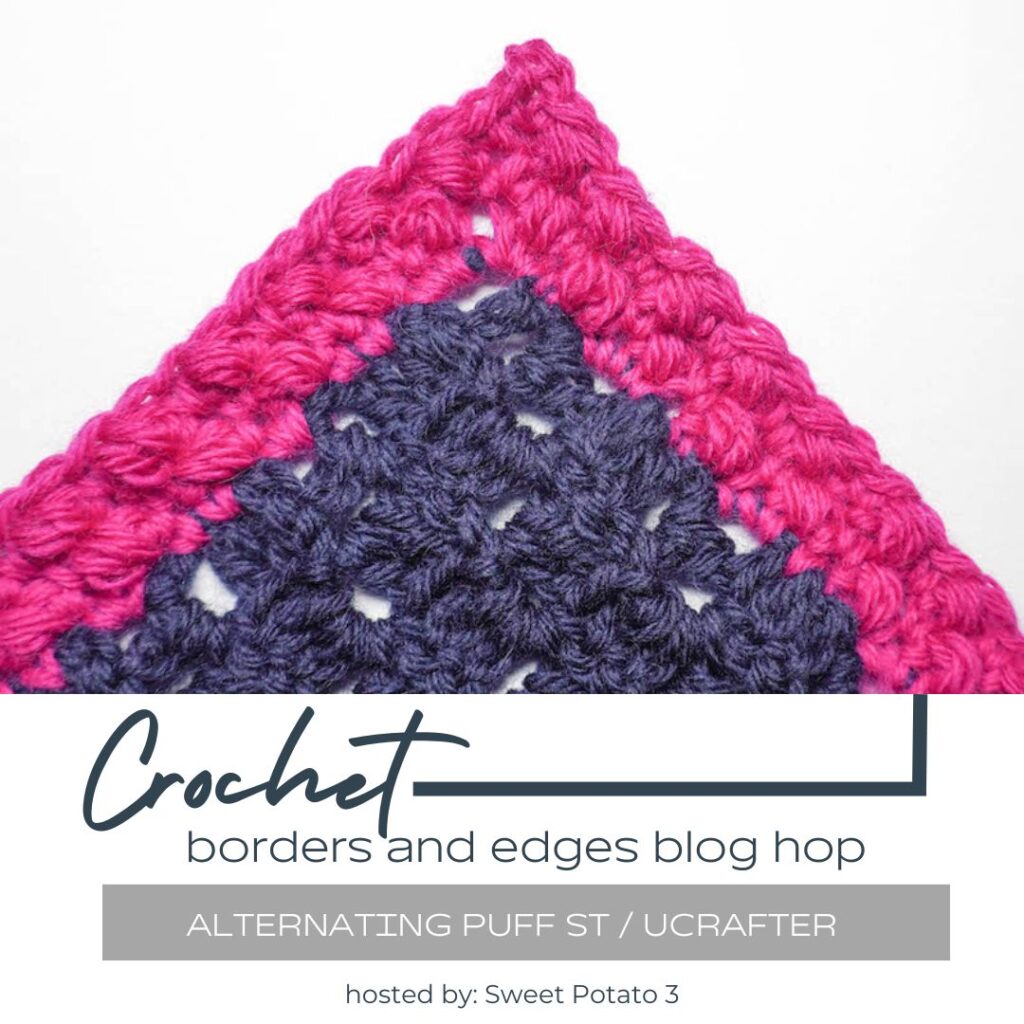
Alternating Puff Stitch Border
Want a bold border that still has texture but stands out like a border should, then the alternating puff stitch is what you need to try!
I love how this is a solid border, I must give this one a try.. maybe even my next project!
This great tutorial is by Underground Crafter, be sure to check out the step-by-step instructions in the link below:
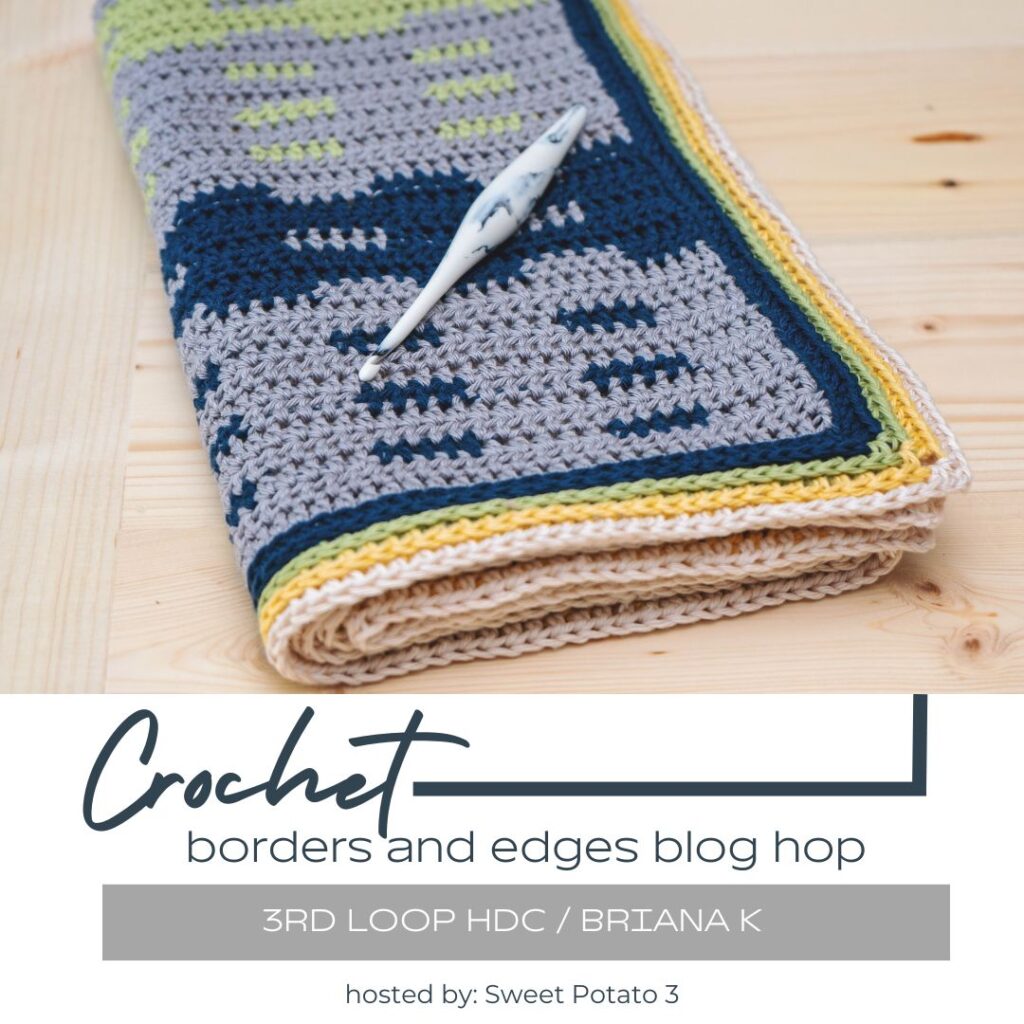
3rd Loop Half Double Crochet
This is a border that creates nice clean lines and is great for square or rectangular crochet projects. The lines that are created look like braids laying across the top of the crochet stitches.
You’ll love this tutorial and can see more angles of the stitches in the linked tutorial by Briana K below:
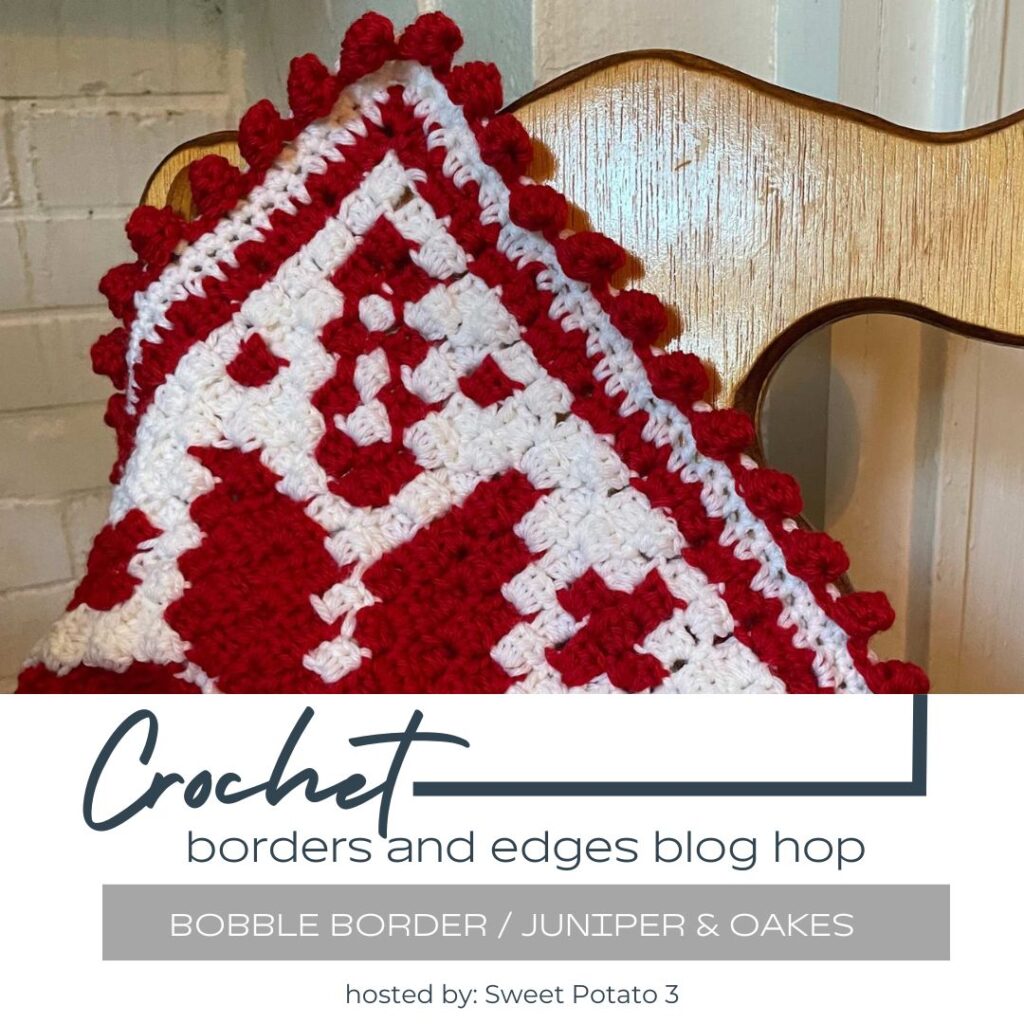
Bobble Border Tutorial
Our final border is a fun border that is all about fun! It’s a bobble border that is a cute way to finish a project, it adds a playful touch that you will love.
A fun tutorial by Juniper & Oakes will walk you through crocheting the bobble border, be sure to check it out through the button below:
Other Crochet Stitches & Tips You May Want to Check Out
- Stitch A Day – Crochet Stitch Tutorials – click HERE
- How to Sew on An Applique with a No-Show Back – click HERE
- How to Crochet a Foundation Row (sc, hdc, dc) – Click HERE
- Blocking Crochet Pieces: Why, When & How – Click HERE
- How to Add Labels to Your Crochet Project – Click HERE
- Adding Care Instruction Labels (a FREE Printable) – Click HERE
- Crochet Hooks: Wood, Plastic or Aluminum – Click HERE
- Ideas on How to Clean Up Your Craft Room – Click HERE
More Crochet Fun
Follow Sweet Potato 3 on Facebook to see more pattern releases, sales and crochet fun, just click HERE.
Want a more interactive group experience, you need to join my Crochet & Conversations facebook group. To join the group, click HERE. It is a ton of fun and I encourage everyone to share their projects, WIPS (works in progress) and inspirations. Plus get exclusive deals, be the first to see new releases, give input on designs and have opportunities to win patterns. Join now and get to know others who also enjoy the art of crochet.



Thank you very much for this video. This is so helpful. I have been crocheting for a very long time and never had a way that made sense or looked uneven. Thank you again
Hi there, thanks for the info. I think the one row border is goint to proove very useful.
Thanks, again!
You have a link to adding fabric labels to your crochet items.
When clicked on… there is no tutorial to adding fabric labels to your crochet items.
Can you put the tutorial information in the link?
I know that was posted in 2014 and now it’s 2023 which is 9 years later.
But the tutorial should still be available.
I am having trouble getting to the border directions. Only day 1 shows up. Please let me know what I am doing wrong. Thank you
Just refresh your screen, you computer isn’t updating the post, but a quick refresh usually does the trick 🙂
I’m just loving the tutorials. Thank you x
Pingback: Spring & Summer DIYs, Decor & Outfit Ideas
Pingback: Yarn Crafts & Coffee Monthly 5 - EyeLoveKnots